Results 1 to 40 of 961

Thread: My K20a2 EG build up thread - TONS of pics!

Hybrid View

  1. #1
    Senior Member
    Join Date
    May 2005
    Location
    Southside
    Age
    47
    Posts
    1,268
    Rep Power
    22

    Thumbs up

    Here we go Session 3:


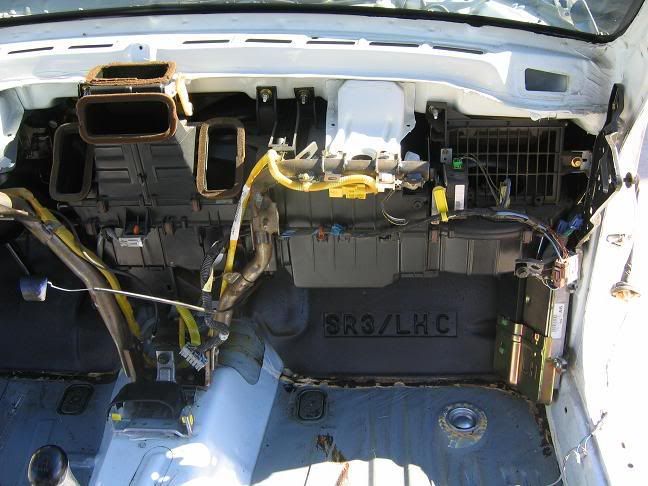
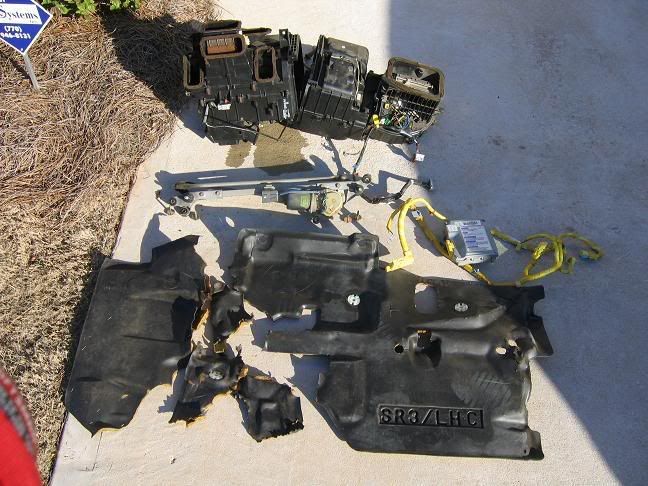
    Look at all those leaves. That entire system was disgusting!!
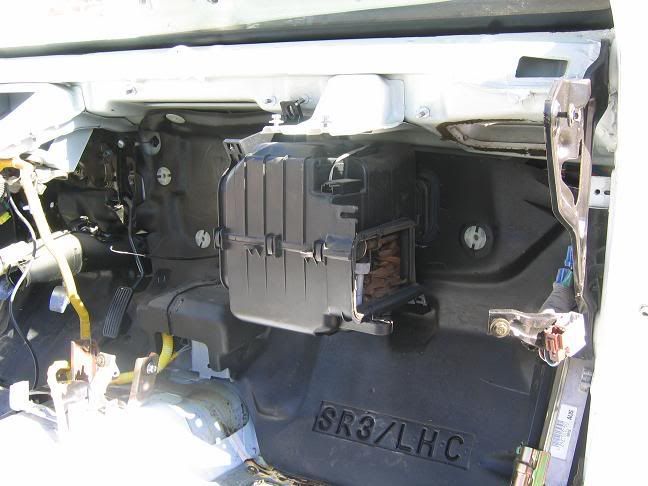
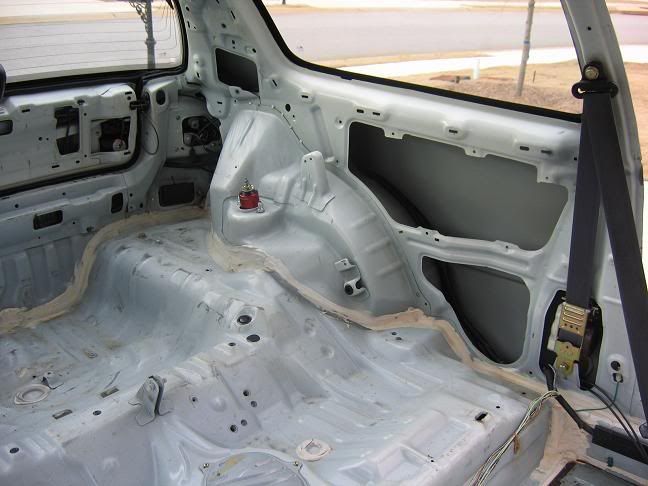
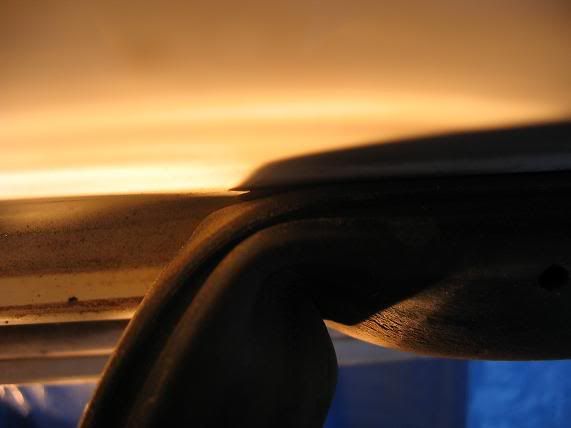
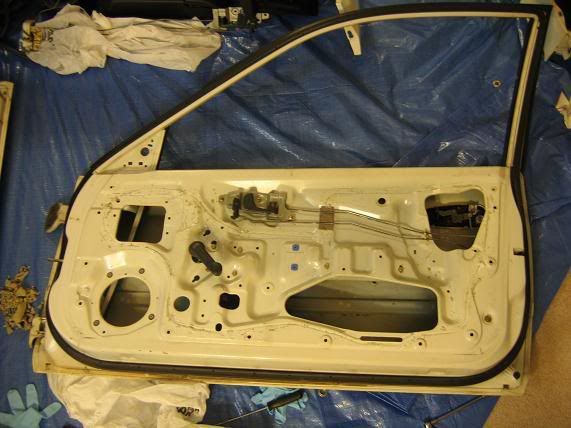
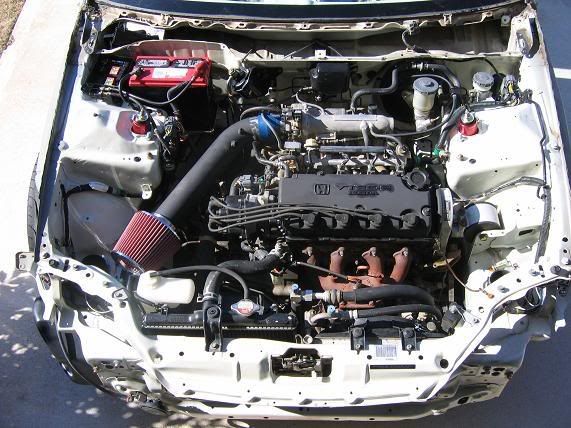


    Looking better now:


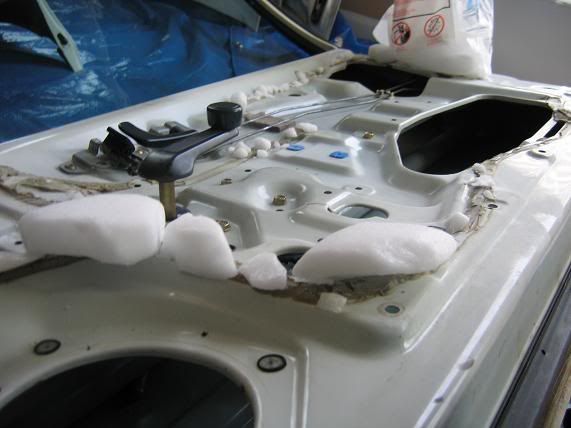
    On to the firewall mat. It was a PITA on the drivers side up around the steering column. I got very frustrated because I had to get my hand up in small areas with a razor blade to help cut parts of the mat

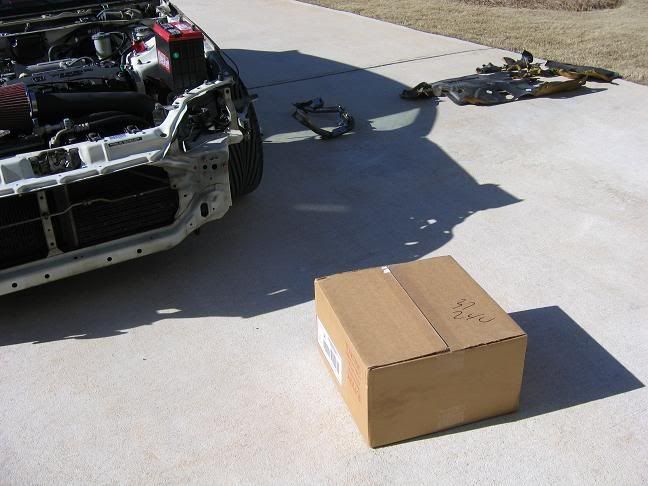
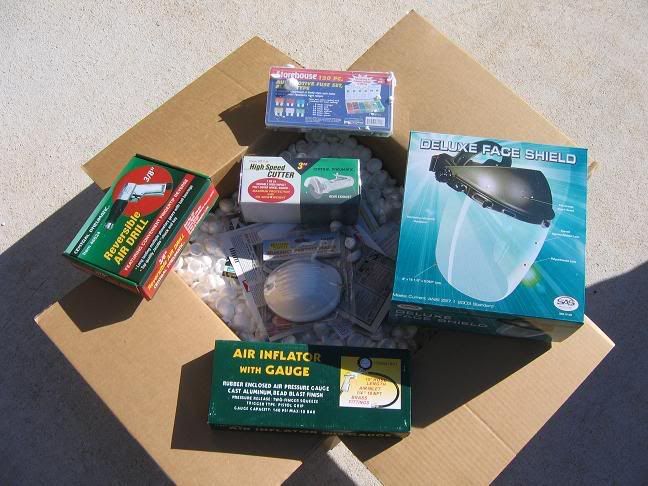
    Fedex cheered me back up:


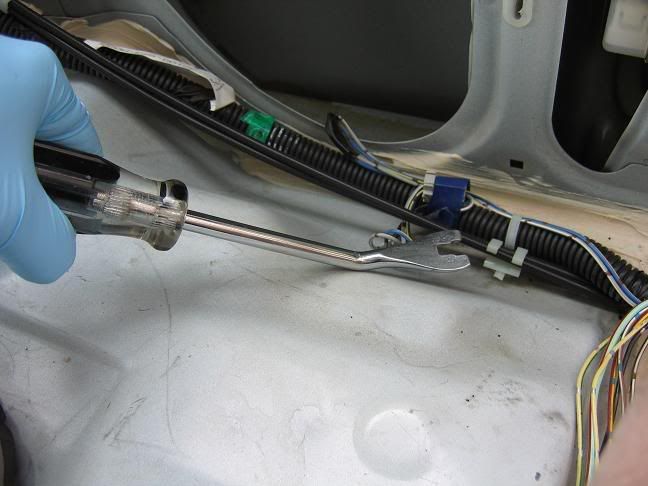
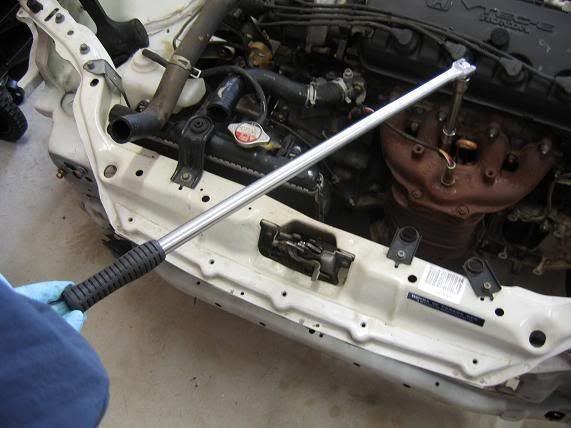
    Long a$$ extension FTW


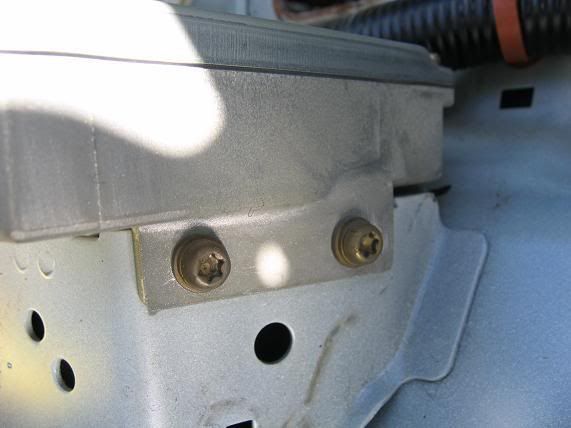
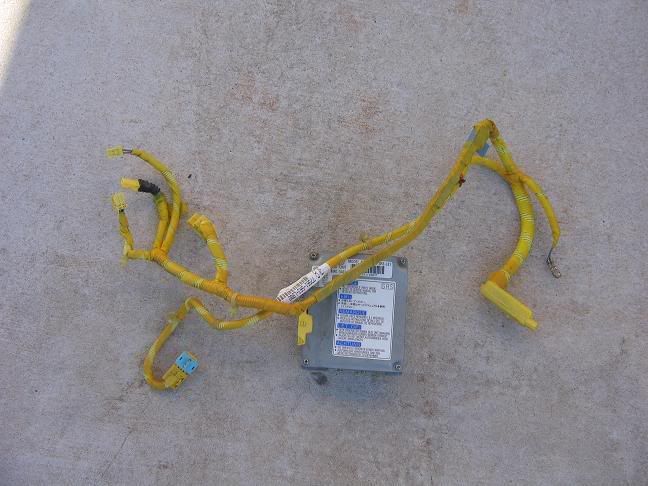
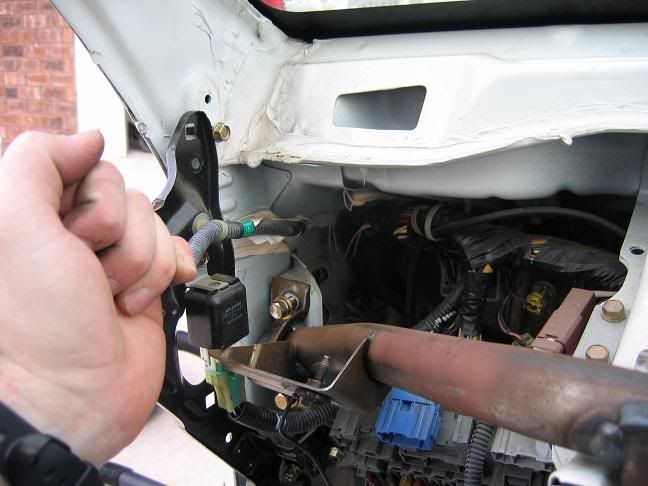
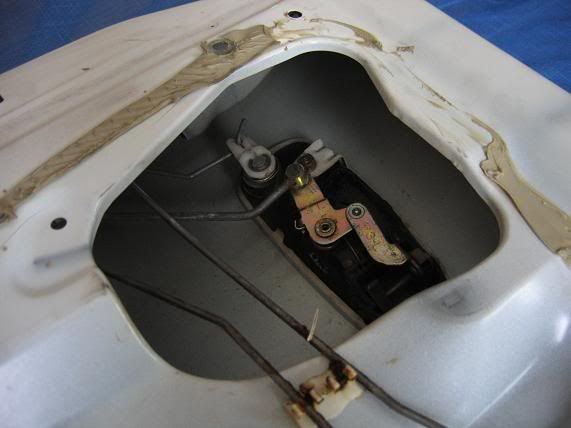
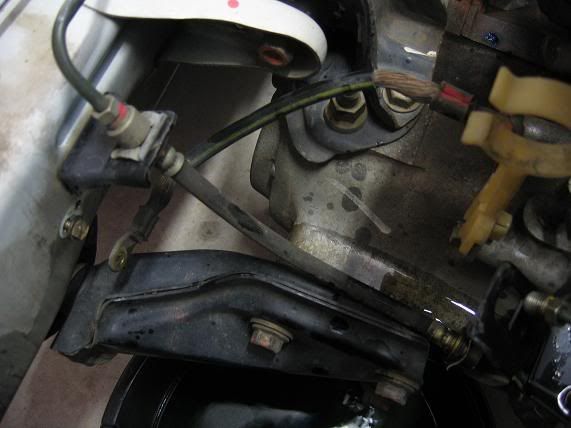
    After the firewall mat was removed which BTW weighs 8 pounds, I started on the SRS system.

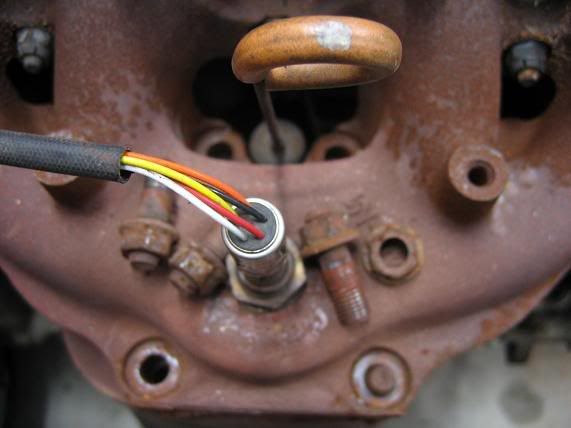
    Couldn't "unscrew" the bolts so I drilled them out with my brand new drill:


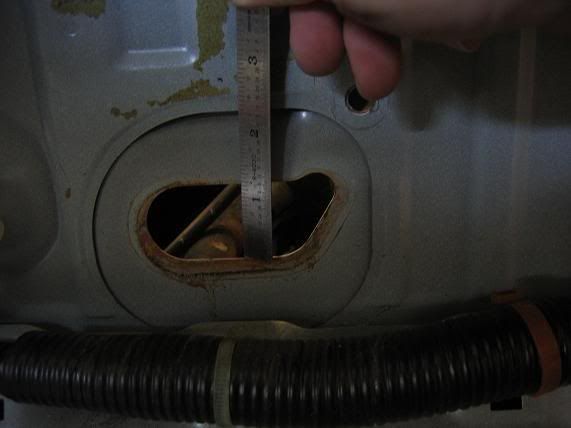
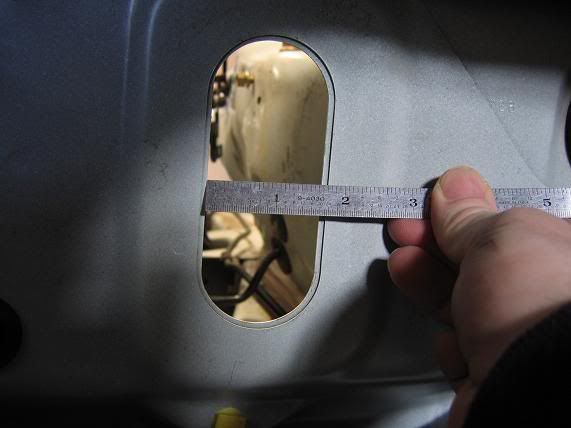
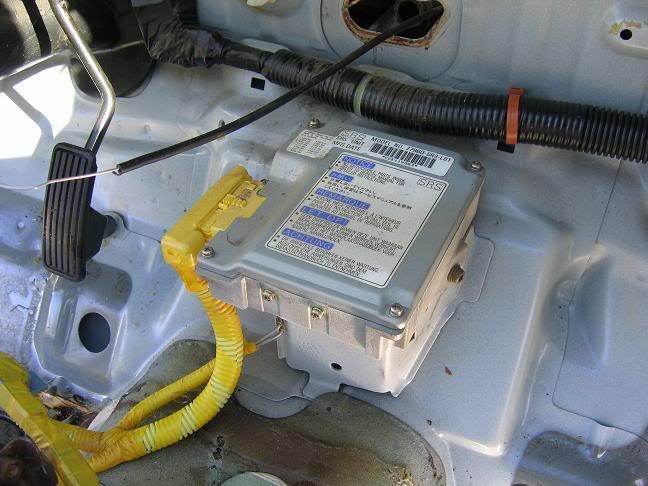
    SRS unit for those who've never seen it. My first time seeing one :boobies:


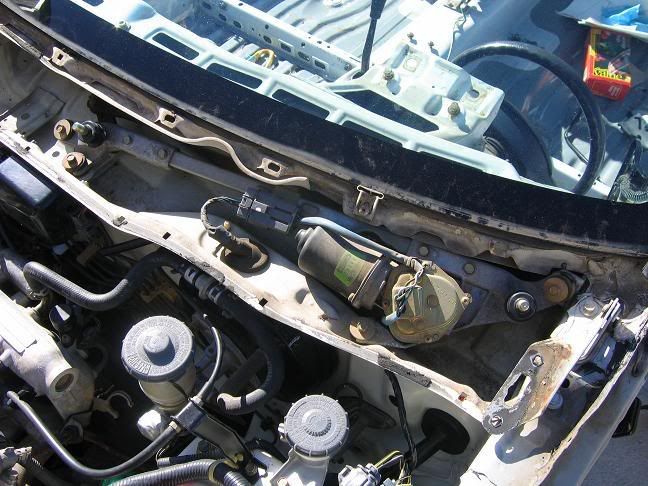
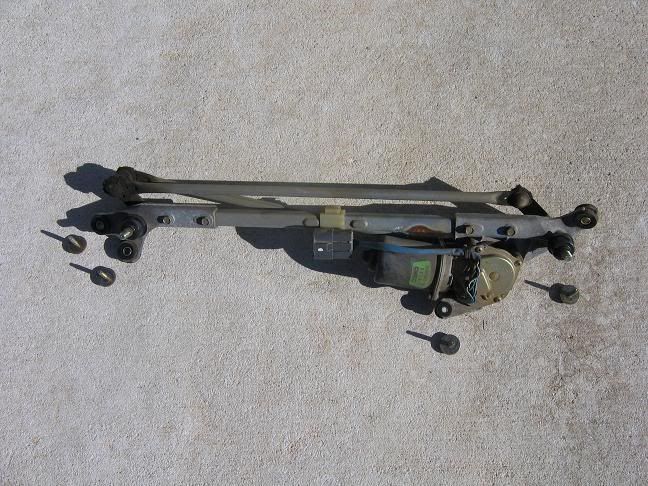
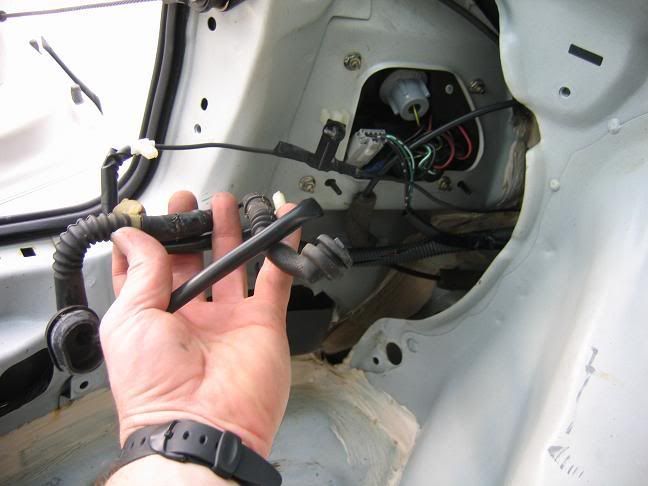
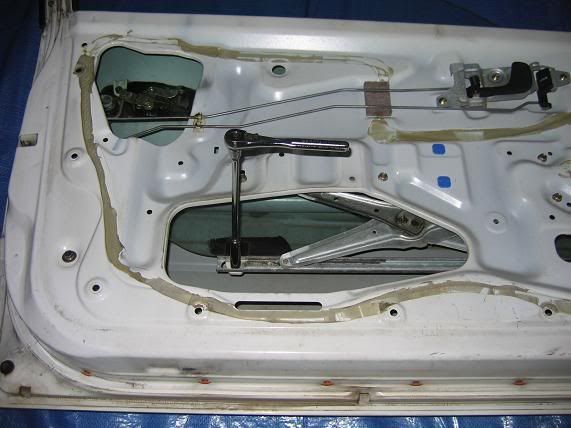
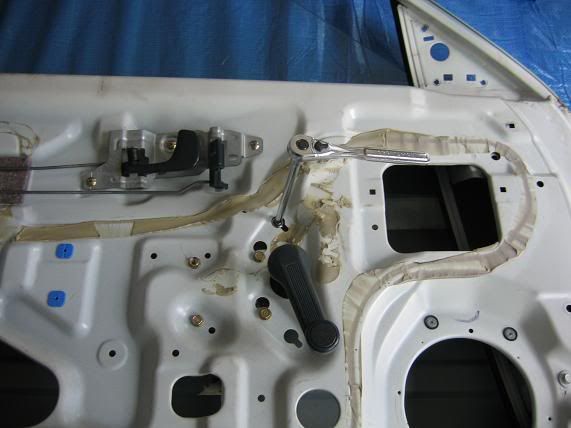
    Next was the windshield wiper system. Don't plan to drive in the rain and Rain-X works wonders

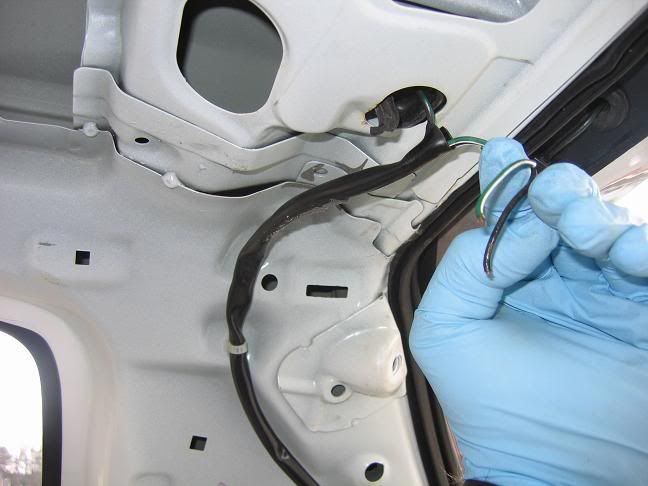
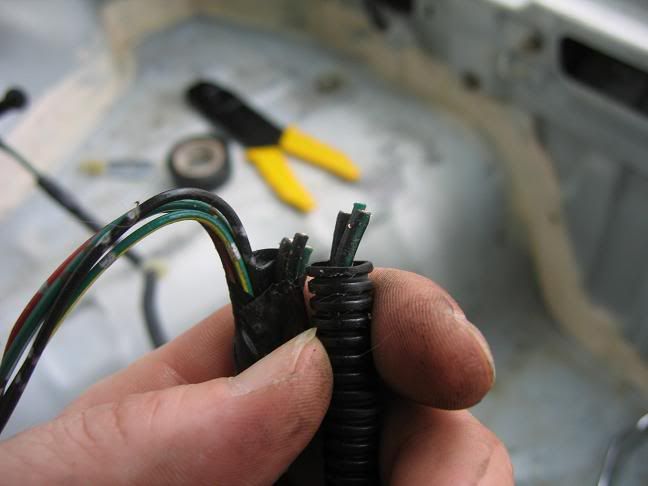
    Just 4 10mm bolts holding it along with a wire harness to disconnect:


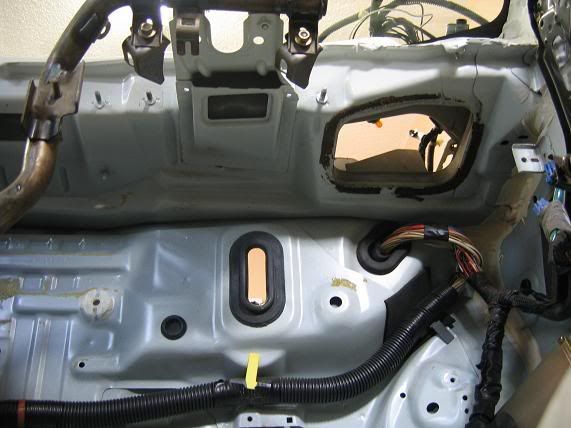
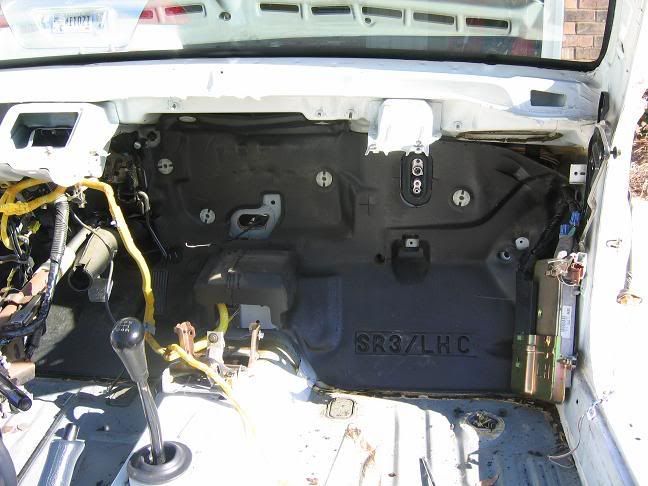
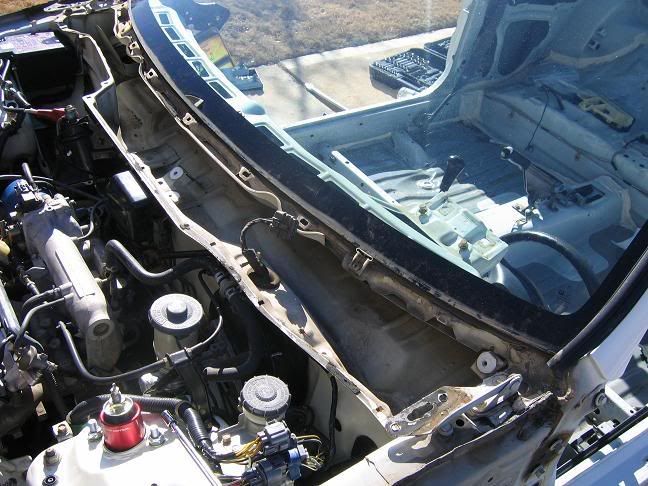
    Cleaner and of course weight reduction is always good
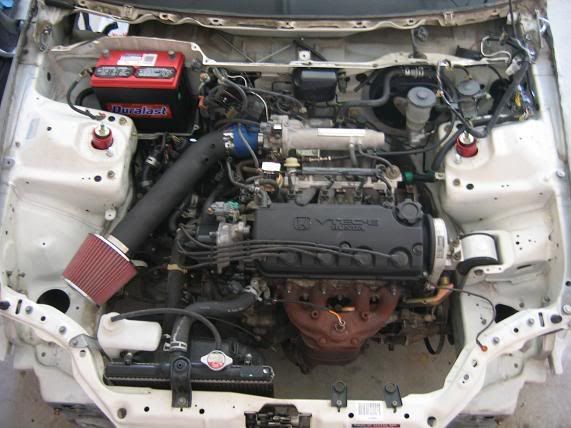


    Session 3's work:


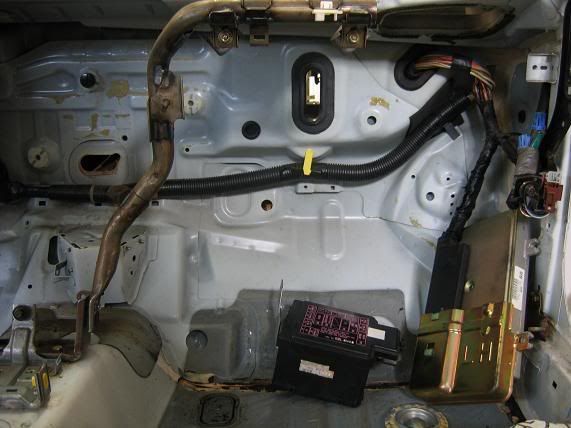
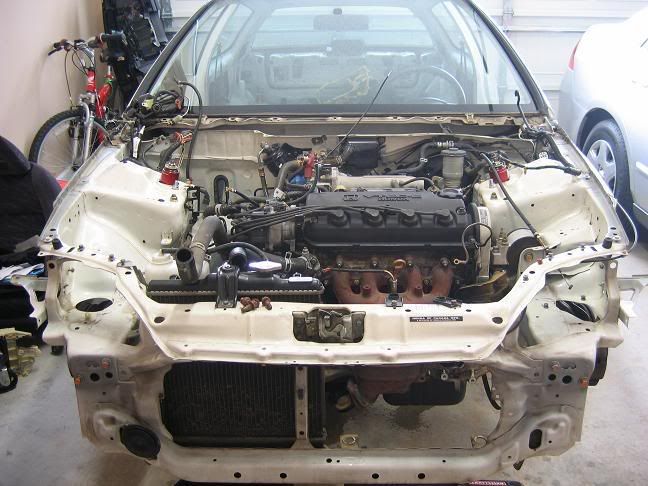
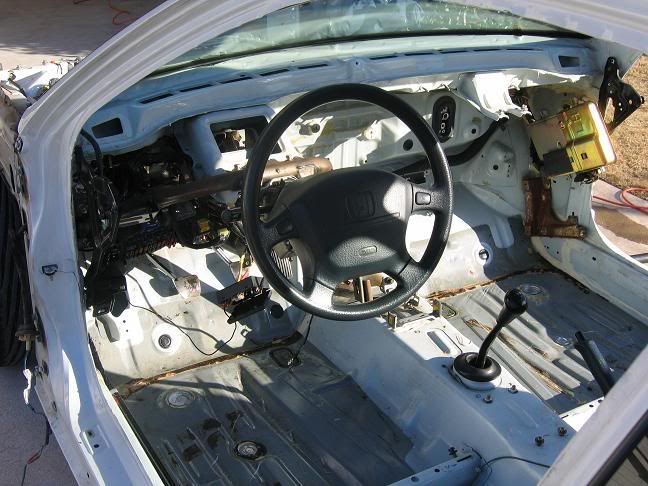
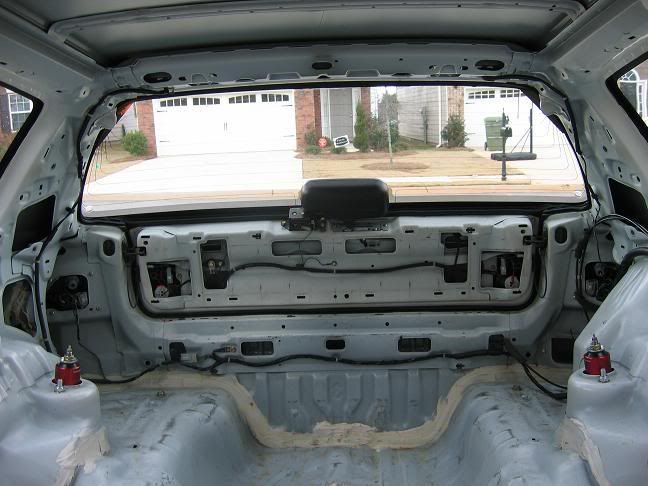
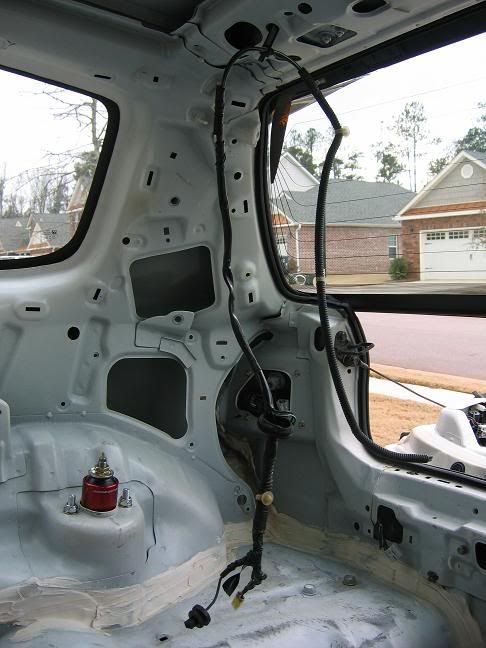
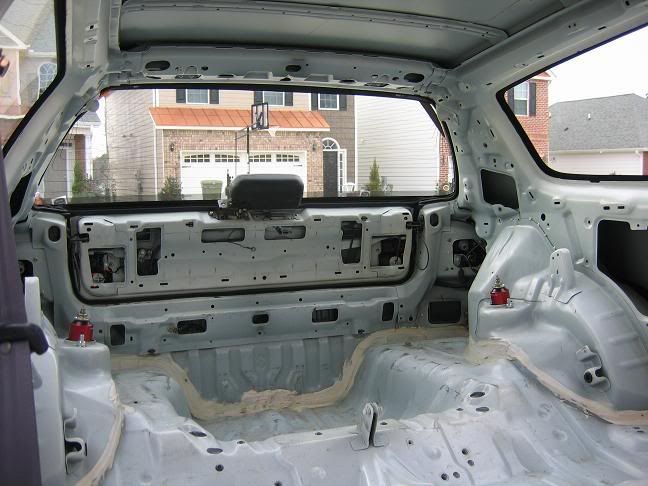
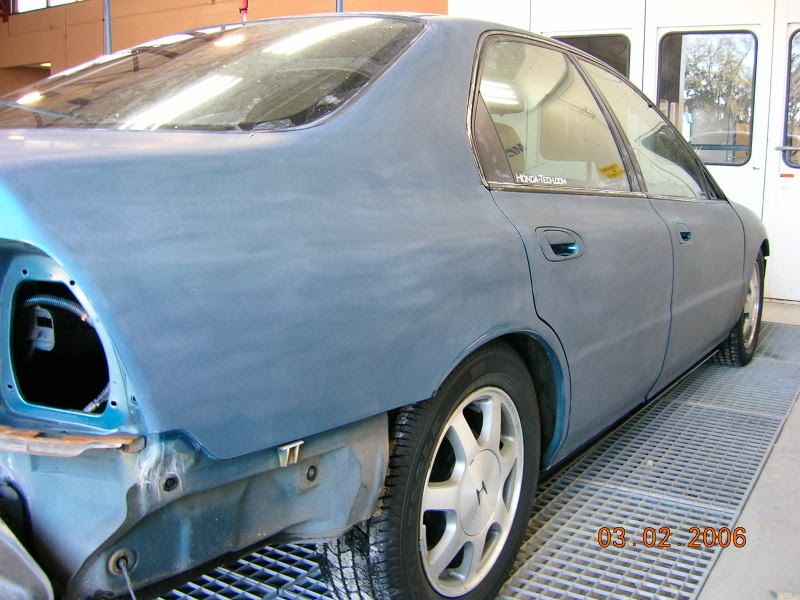
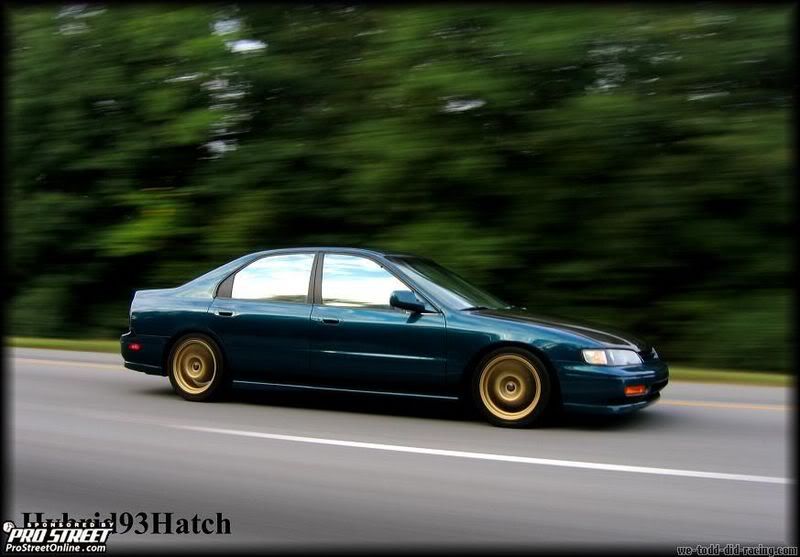
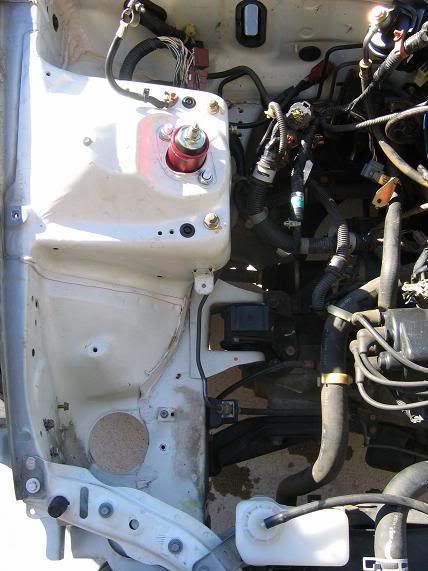
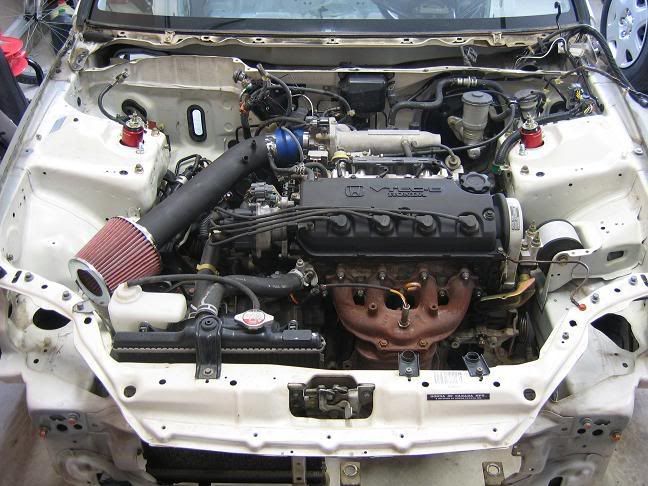
    How she sits after Session 3:
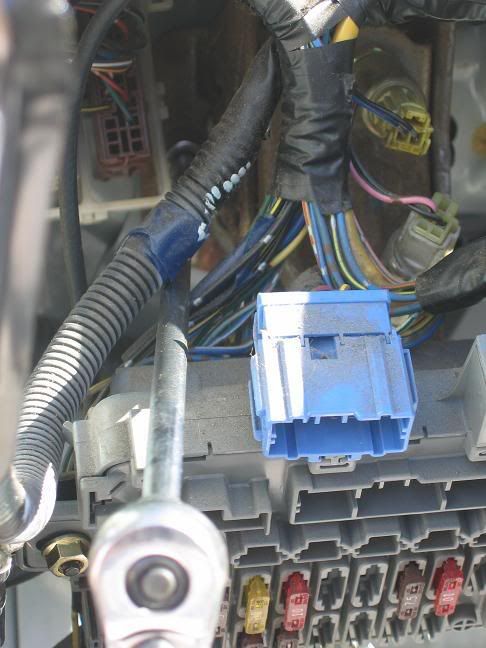
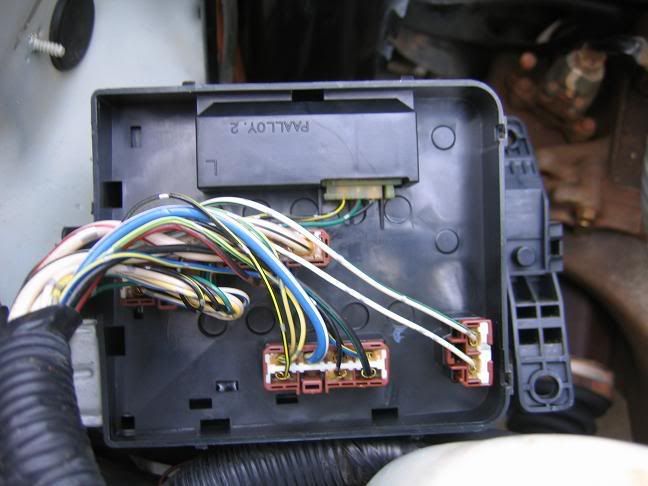
    ECU tucked Time to work on the fuse box and possibly the battery


  2. #2
    Senior Member
    Join Date
    May 2005
    Location
    Southside
    Age
    47
    Posts
    1,268
    Rep Power
    22

    Default

    Session 4:

    Today I only had a few hours since I went over to a friends house to help move some sheets of wood to his attic from garage. I did manage to tuck the hatch wires, remove the dome light, and took a look at relocating the fuse box.

    Here's what I started with today:


    Panel tool really helped out with a lot of the clips:


    Handy little mirror allowed me to easily squueze the rear of the clips with angled pliers for an easy removal:


    These 2 wires were just tucked in the hole :hammer: Any idea what they were for??


    I ended up cutting that part of the harness since I don't need the 3rd brake light or defroster:


    This is what was removed when I made the cut above:


    There was no need to cut the driver side defroster harness, so I tucked it back out of the way:


    For the gas/trunk lever located inside the door sill remove the (2) 10mm bolts:


    With pliers just grab the wire and rotate downward toward the little gap. The wire will just come out:


    And the completed rear interior tuck:


    I removed the dome light harness.

    This is where the dome light wires lead to.
    Disconnect and the dome light harness is good to go for reinstall:


    Had a little bit of time left, so I took a close look at relocating the fuse box under the dash.

    My first time seeing the back side of a fuse box:


    How do I get that under here?? Need some pointers with this one
    I'm thinking first unwrap all the wiring under the battery area.

  3. #3
    Senior Member
    Join Date
    May 2005
    Location
    Southside
    Age
    47
    Posts
    1,268
    Rep Power
    22

    Default

    Had some change in plans for the interior paint. Looks like the weather is going to stay cool (30's-50's) until March. Not good for painting. So, talking with my bro down in Ocala he's decided he will be painting the interior, doors, engine bay, and complete exterior. He doesn't like to do dings and $Hit so in the meantime I am going to find someone who can remove EVERY ding on the car. He was already set on spraying the bay before the K20 goes in of course. Besides he is really good when it comes to painting. Throw some of his work in here:

    His Accord:


    The EK I traded for the EG I have now:


    Wettin' her up:


  4. #4
    Senior Member
    Join Date
    May 2005
    Location
    Southside
    Age
    47
    Posts
    1,268
    Rep Power
    22

    Default

    Removing the rubber that surrounds the perimeter of the door was pretty easy. Just need to pull the rubber to one side which then slips off that side of the banana clip. Then back toward the other side and the rubber slides off the banana clip. Repeat 17 or so times:


    Banana clip:


    Removing the glass:

    Remove the (2) 10mm bolts


    Carefully angle the forward part of the glass downward and raise the rear to remove the glass:


    When removing the molding that runs along the top of the door some clips may remain on the door. Just push as shown and lift off the door:


    Prying out that copper colored pin to remove the door handle was a PITA!!!


    Once said and done with removing the moldings and window crank , this is what's left:


    Yeah, nasty a$$ glue that is a PITA to remove 
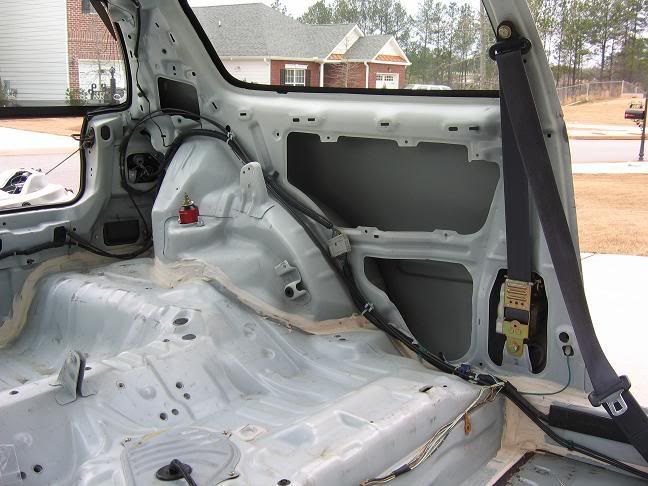
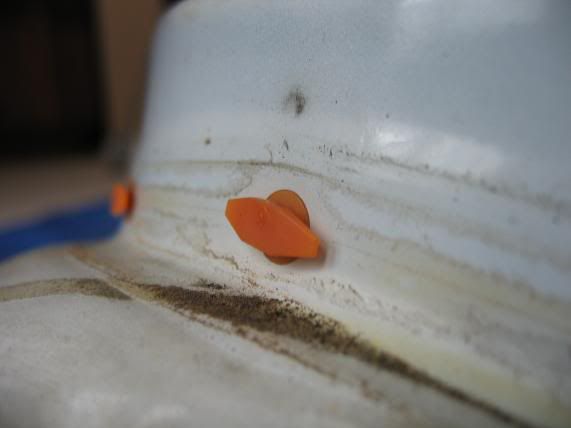
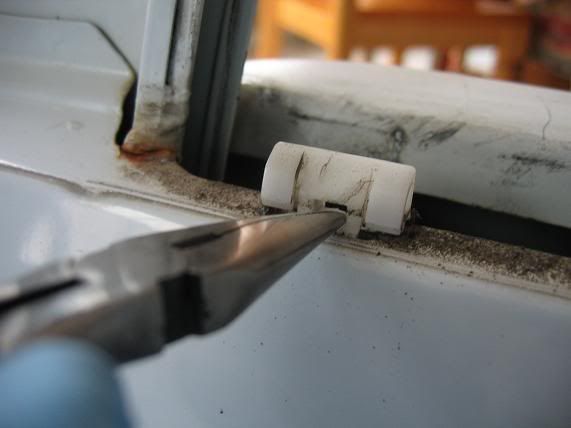
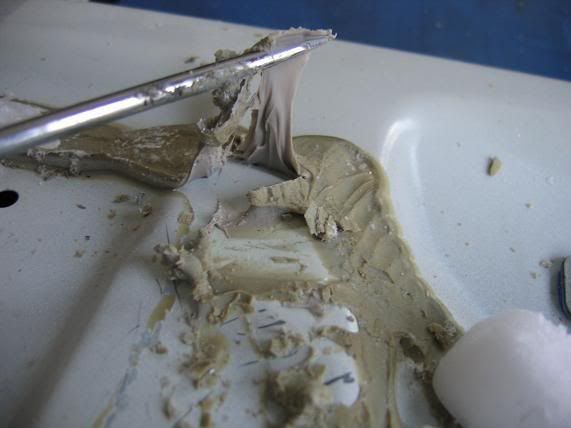
So, first I try some ice cubes to hopefully make the removal easier:


    It worked ok, but not the results I wanted especially with the mess from the melting ice. So, then I took the door out in the 30 degree weather and worked on it there for a few:


    Getting better, but still a lot of glue left

    Today was time I did the 2nd door:


    Didn't want to go back outside to work on the door, ice cubes suck!!! ....so I went to the local grocery store and picked up 4 lbs of dry ice:


    This is really a PITA. But, I just keep telling myself it's got to be done so DO IT


    Ended up crushing it down and feeding the door like a little baby:


    Here's what I ended up with at the end of the night. I'm hoping the glue that is left will harden over the next few days / week which is much easier to work with than the soft stage:


    And my $hithole living room


  5. #5
    Senior Member
    Join Date
    May 2005
    Location
    Southside
    Age
    47
    Posts
    1,268
    Rep Power
    22

    Thumbs up

    The Accord was due for an oil change and tire rotation. I knocked that out and thought I'd be ready to get back in the house since it was 40 degrees out. But, the double layer of clothing had me feeling good. So, I put some new gloves on and went to work.....

    From this:


    To this:


    From this:


    To this:


    Just pinch the clips and the harness came loose:


    What was removed today:


  6. #6
    Senior Member
    Join Date
    May 2005
    Location
    Southside
    Age
    47
    Posts
    1,268
    Rep Power
    22

    Thumbs up

    Session 7:

    My main goal today was to disconnect everything from the motor so I can pull it very shortly and start the cleaning, prepping, and tuck. On to the pics:

    Started with this:


    Removing the wire harnesses from the metal support brackets:


    I took pics of ALL the lines I disconnected so I know what is what:


    Coolant drained, clutch line and ground disconnected:


    B.A.M.F.B.B.FTW:


    3 bolts / 1 nut removed 
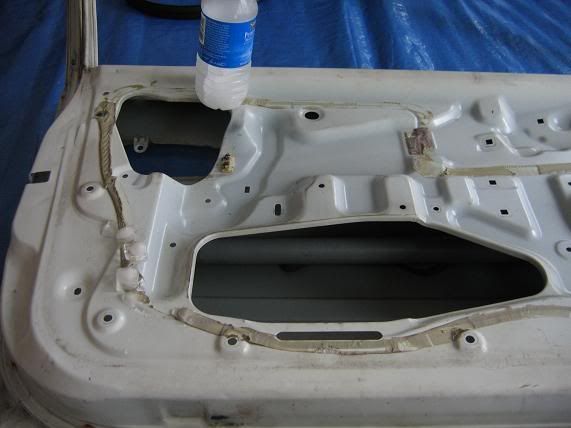
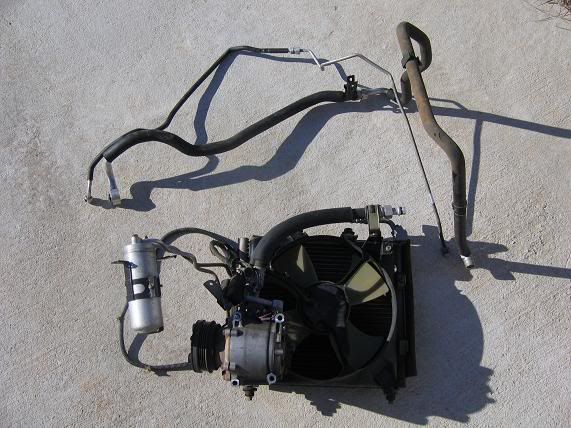
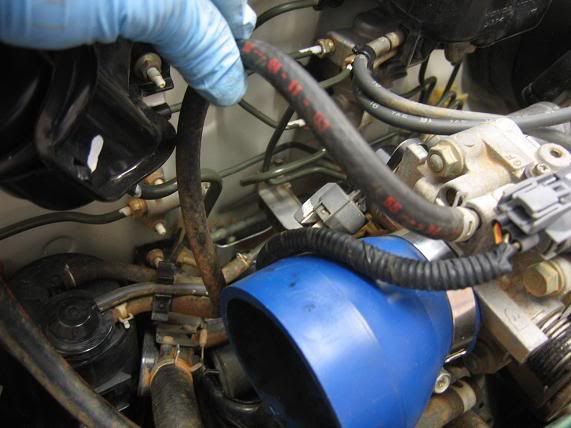
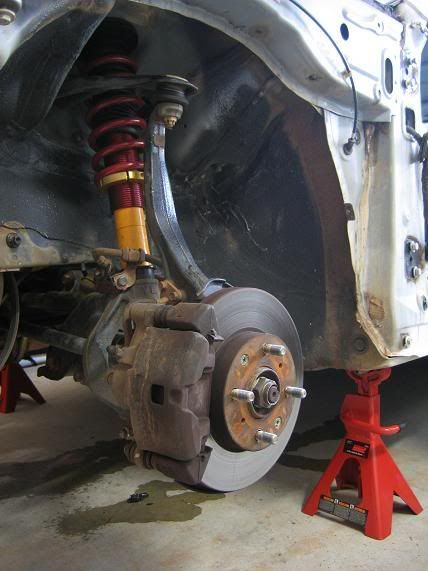
Most likely going to remove the entire exhaust since I am thinking about removing the motor from the bottom:


    Got to check out Tom's "How-To remove an axle" thread:


    Looking at where I want to mount the fuse box:


    Will water come into the car with that large opening?


    Which hole should I use to run my wiring for the tuck?

    A = approximately 1 1/4"


    B = approximately 1 2/3"


    What it looks like at the end of today:


Posting Permissions

  • You may not post new threads
  • You may not post replies
  • You may not post attachments
  • You may not edit your posts
  •  
About us
ImportAtlanta is a community of gearheads and car enthusiasts. It does not matter what kind of car or bike you drive, IA is an open community for any gearhead. Whether you're looking for advice on a performance build or posting your wheels for sale, you're welcome here!
Announcement
Welcome back to ImportAtlanta. We are currently undergoing many changes, so please report any issues you encounter with the site using the 'Contact Us' button below. Thank you!