Nice hatch, even tho it is taken apart. Good luck even tho you might not need it. You doing everything by text book down to the washer and nuts in the Ziplock.


Nice hatch, even tho it is taken apart. Good luck even tho you might not need it. You doing everything by text book down to the washer and nuts in the Ziplock.
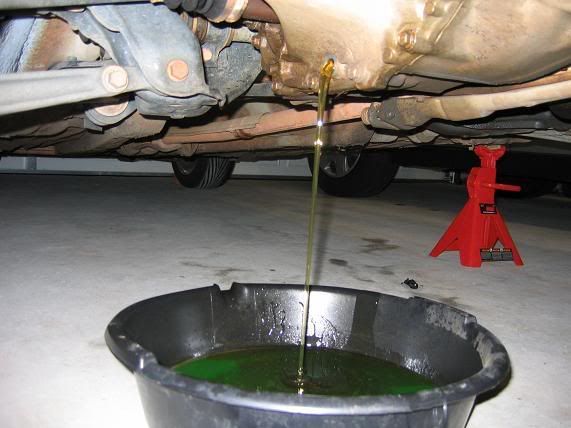
Drained the tranny:
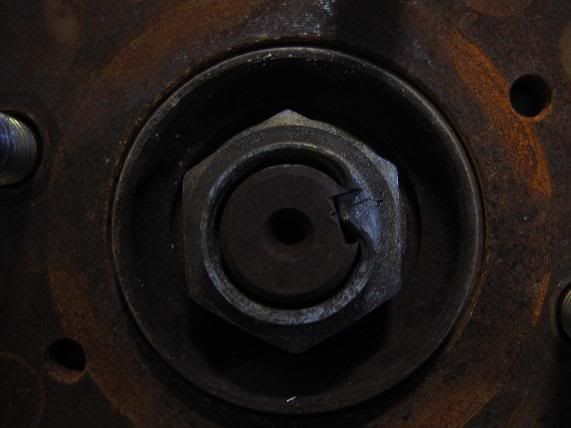
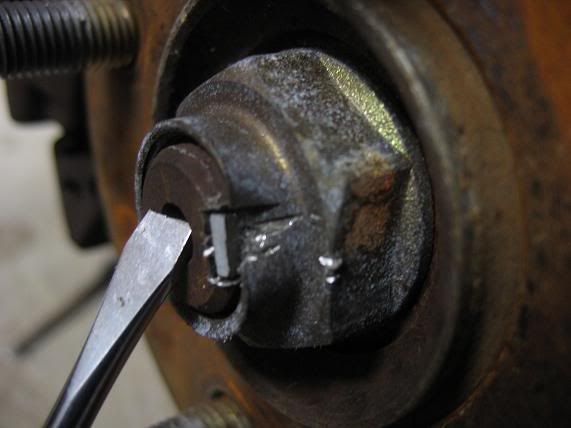
Spent 30+ minutes working on the 2 axle nuts that were dented in from a mad man (other nut was worst)
Damn:
I also read that the metal on the axle nuts is so soft that a strong impact can remove the nuts with the indention intact. So, I'll give it a try next round....
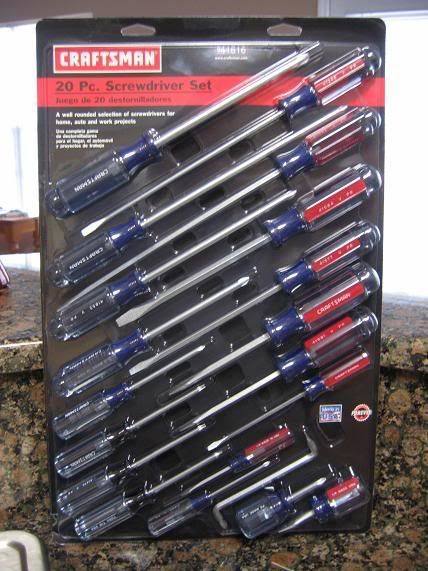
Picked these up today for $20 (going to need them; broke one above is an el cheapo):
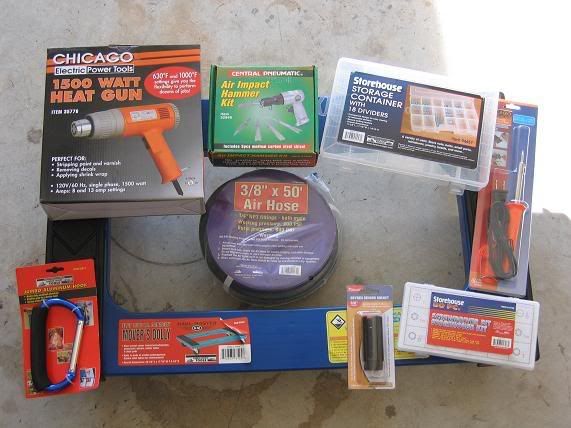
Went by Harbor Freight for a few things:
Here we go with Session 9:
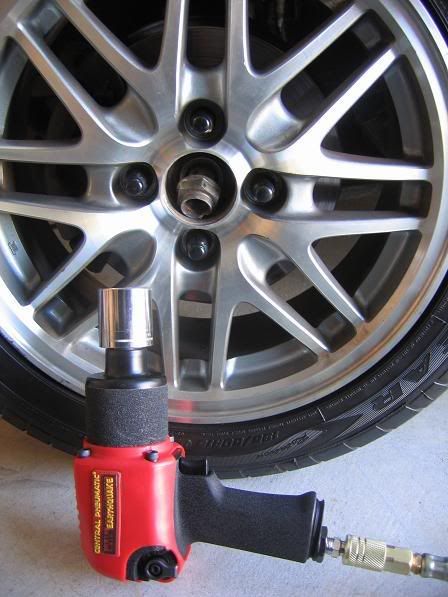
Fooled around with these axle nuts for about an hour the other day and still they did not come off. Fired up the air compressor and after 15 seconds had the following results:
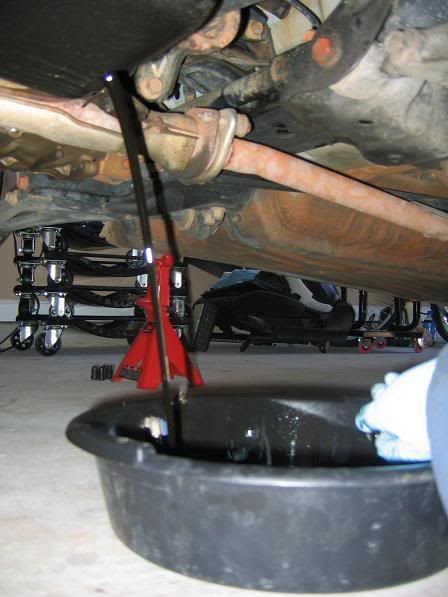
Last fluid to be removed:
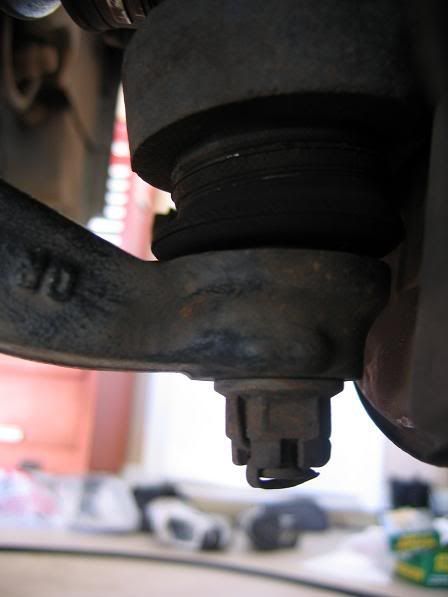
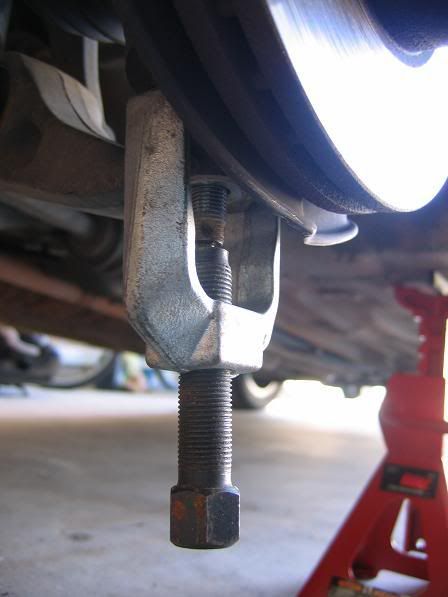
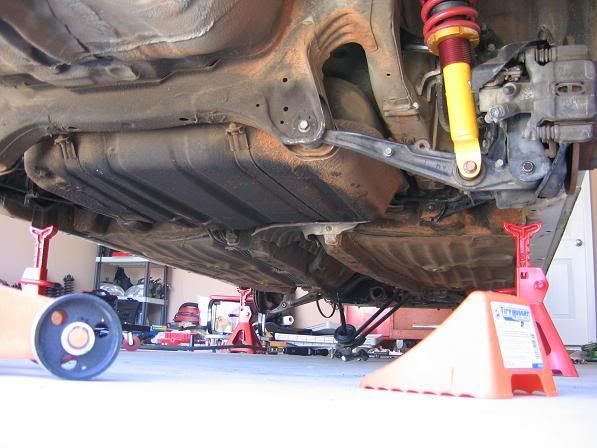
Time to remove the axles. Castle nut:
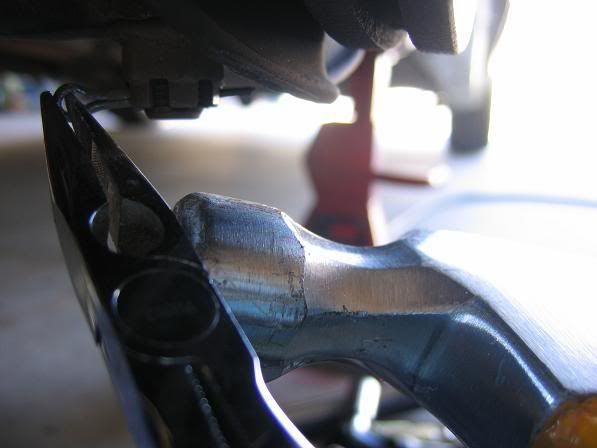
Cotter pin on the way out:
Beat on the drivers side but for about 3 minutes with a rubber mallet. Then it clicked in my head that this tool was in my tool box from years back with the old EG. (Still miss you)
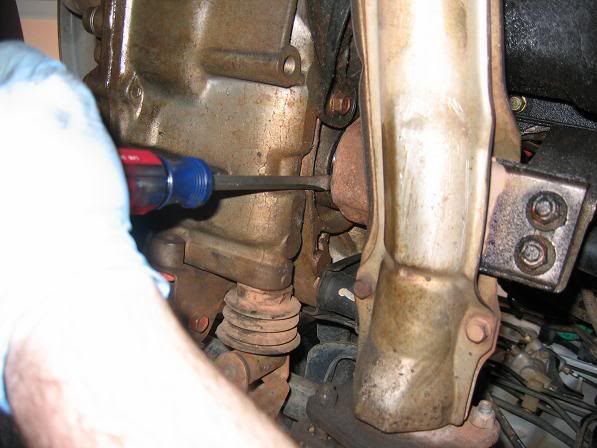
Prying the axle out from the tranny:
Time to remove the exhaust:
But, first I took a break:
Back to work and exhaust is out of there:
Removed (2) 12mm bolts and dropped the shift linkage:
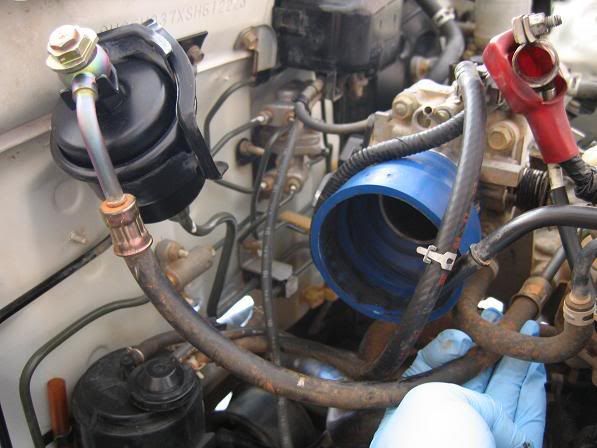
Only line left to disconnect:
Disconnected:
Sitting on the Harbor Freight dolly
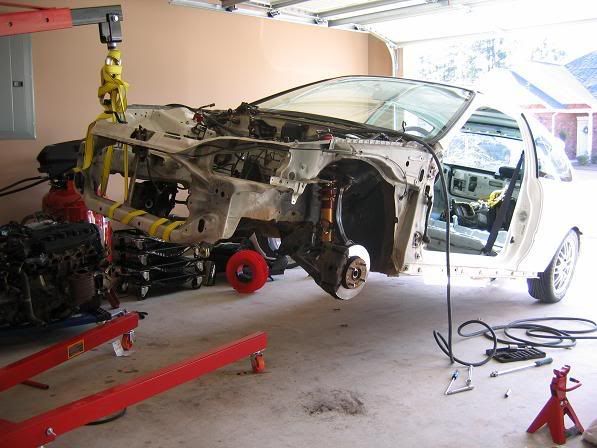
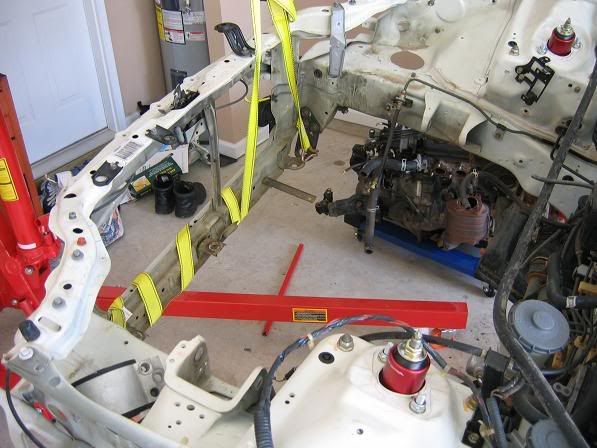
Farewell to the D series:
Had to make a trip to Wal-Mart when I realized the Harbor Freight engine hoist did not come with chains:
On one wheel
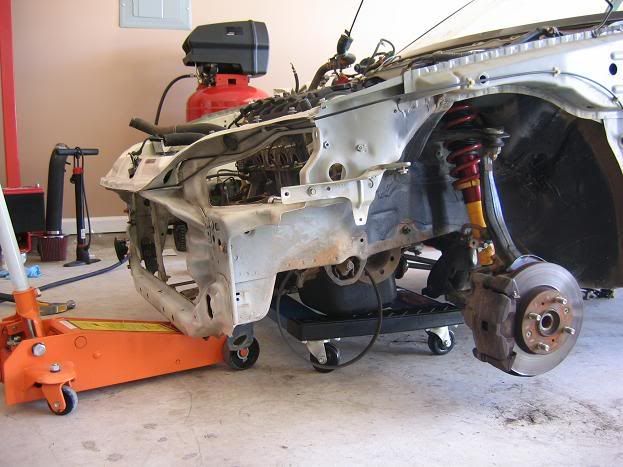
Bent my radiator bracket, but I straightened it out after wards. Got to remove them anyhow to relocate:
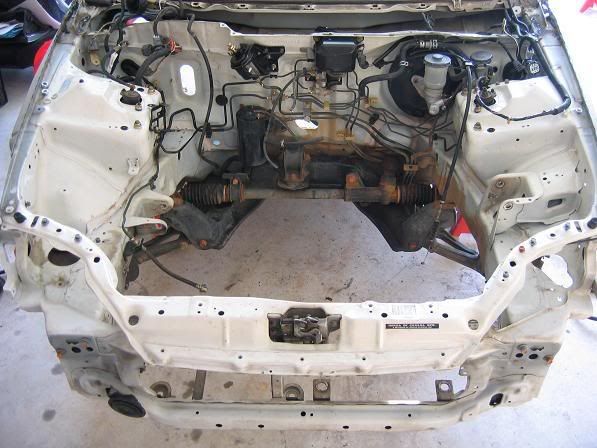
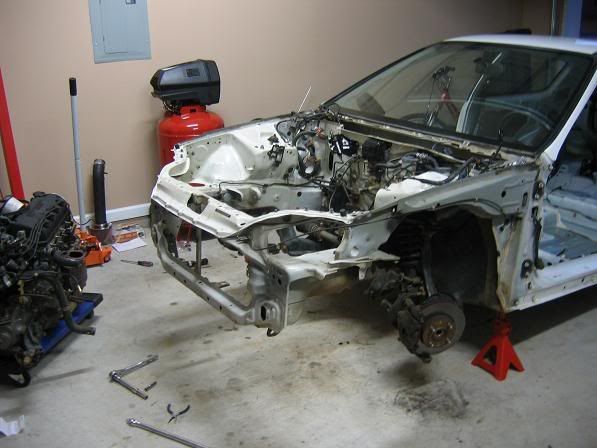
Here she is with no heart:
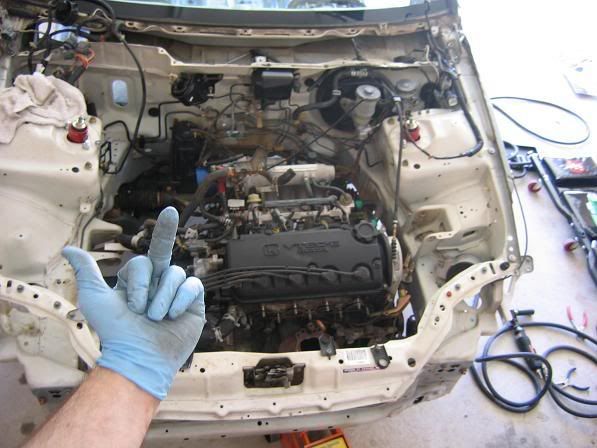
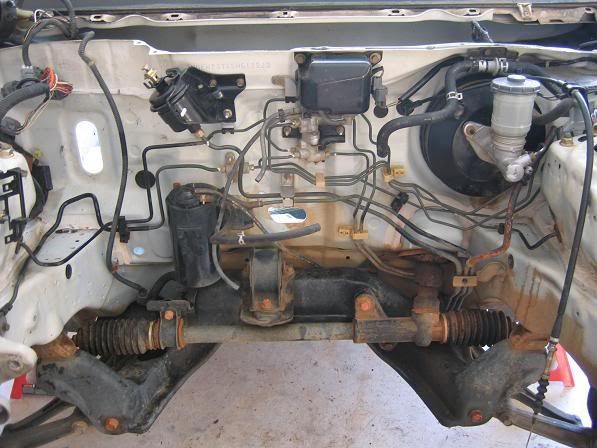
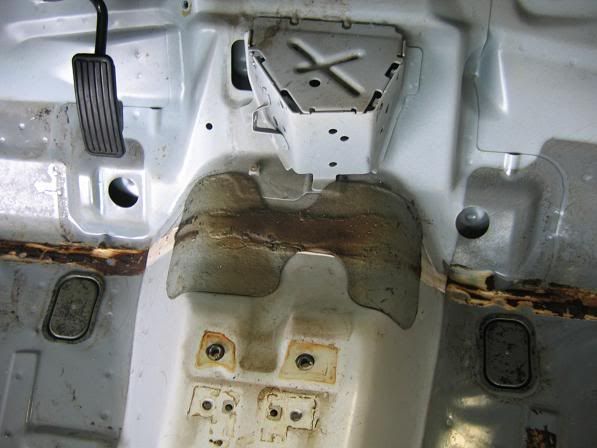
Can someone tell me what I will not need for the K20a2. Want to get the unnecessary things out:
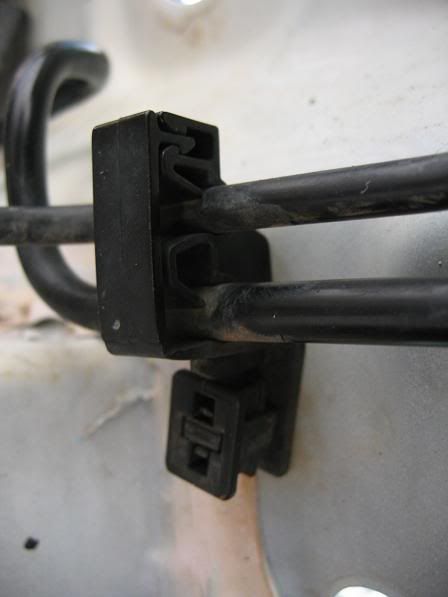
How do I remove this clip? It's holding the clutch line on the firewall:
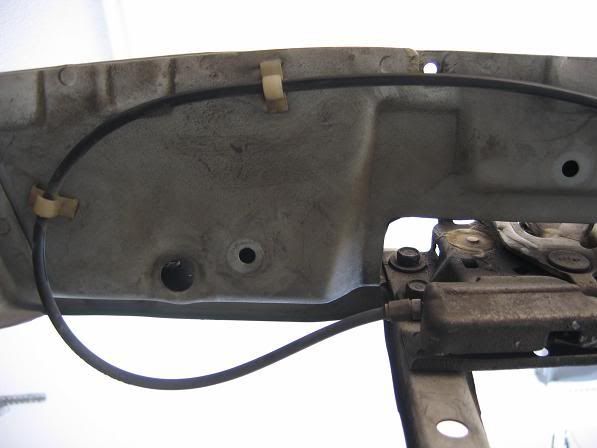
This is a picture of the hood release cable. How do you remove the clips without damaging them?
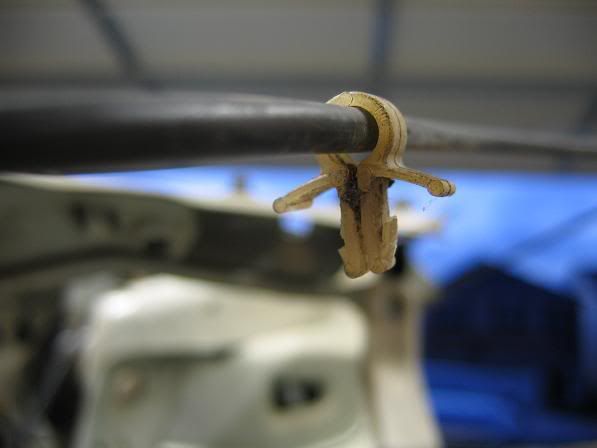
Here's what they look like. I was able to remove this one because there was access to rear side. The rest are covered on the backside with sheet metal:
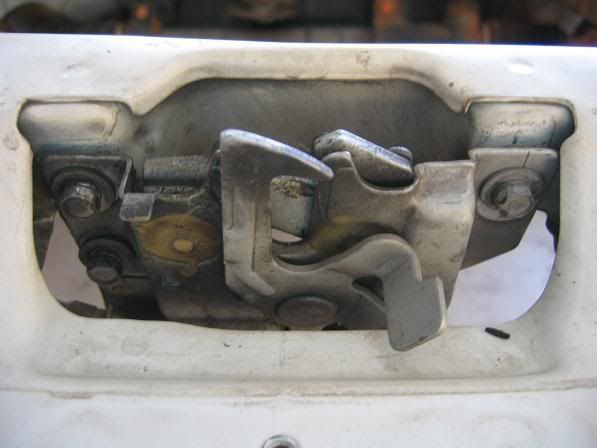
Hood latch removal. Remove (3) 10mm bolts:
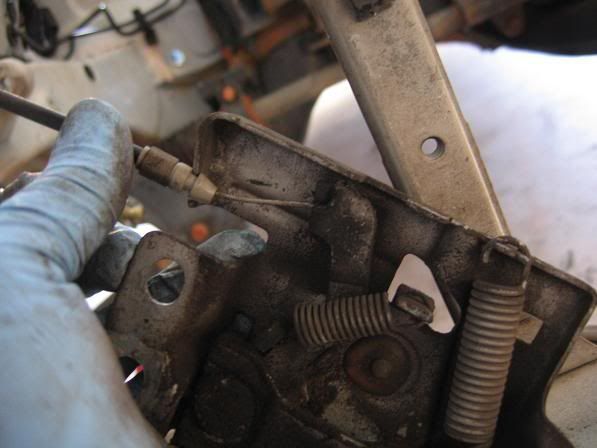
Pretty straight forward to remove the cable:
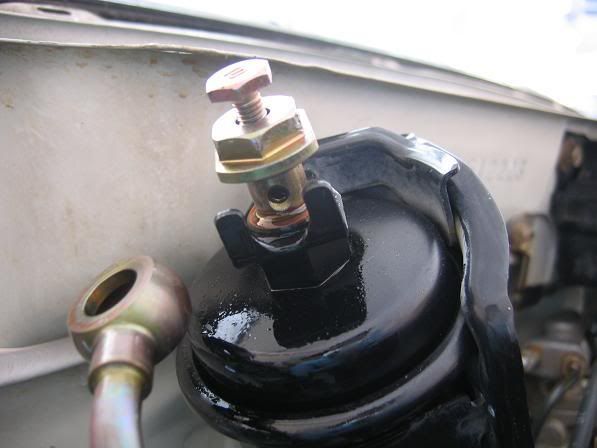
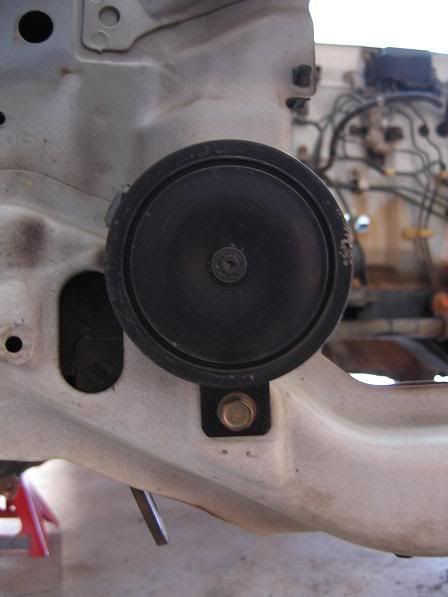
Horn is held on by a 12mm bolt:
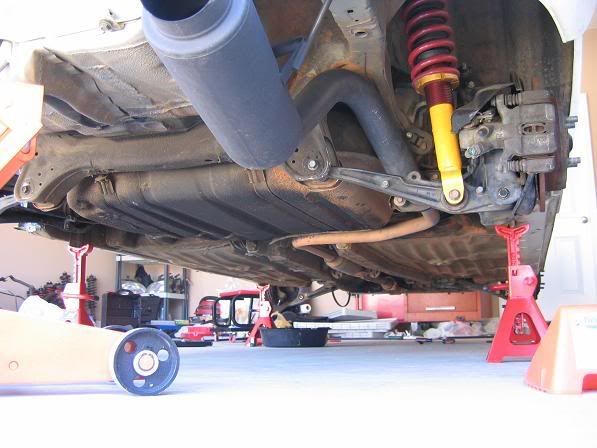
How she sits at the end of tonight:
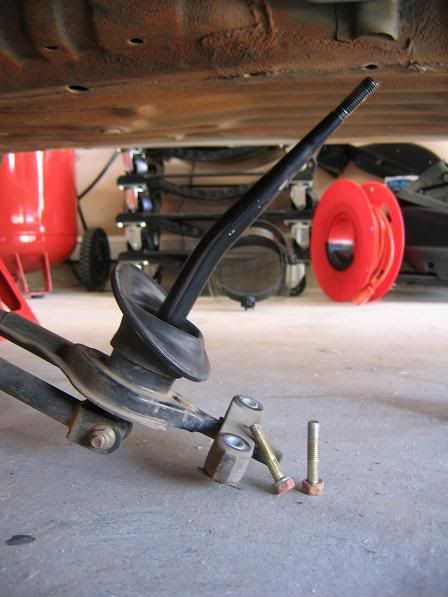
I am going to remove the LCA ball joints for a friend to fix the threads. I could not get either of the castle nuts to re thread on either ball joint. I won't be able to move the car tomorrow to clean her up. I'll just find something else to do instead and hopefully next week I will have the wheels on to roll her outside for a good bath!!!
Here we go with Session 10:
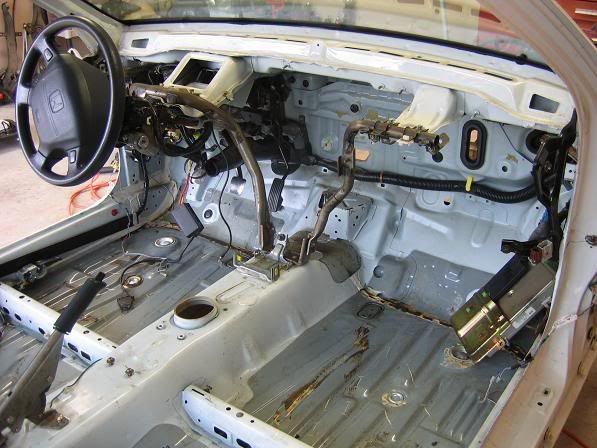
Since my balljoints are screwed I decided to get inside and work on the wiring. I want to start prepping for the interior paint.
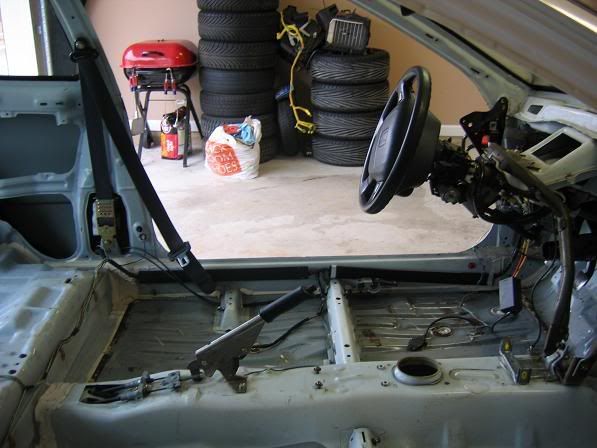
Started with this:
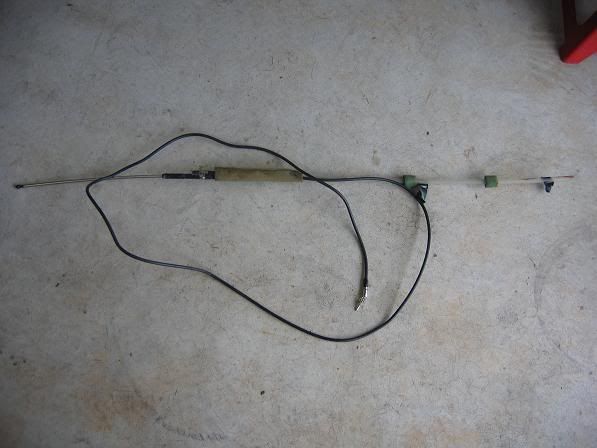
First I removed the radio antenna since my hatch has a giga mp3 player
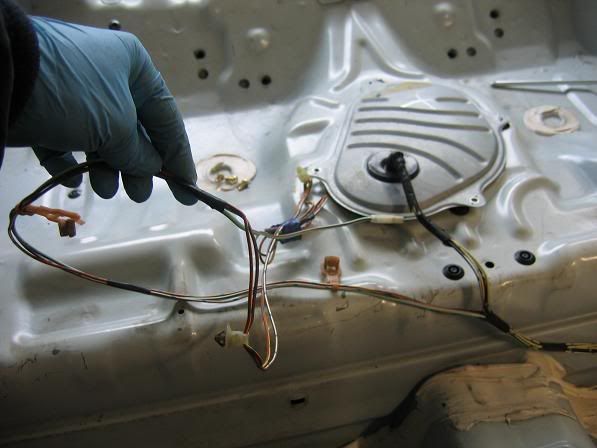
Then it was time to remove the clips that hold the fuel pump, optional rear speakers, and seat belt warning wires. Never did figure out how to properly remove them, but the panel tool got them out (some in pieces):
Is it ok if I remove the seatbelt wiring? I'm actually just going to hide it when I reloom the wiring inside. I put the seat belt on without thinking so I don't need the indicator on the cluster.
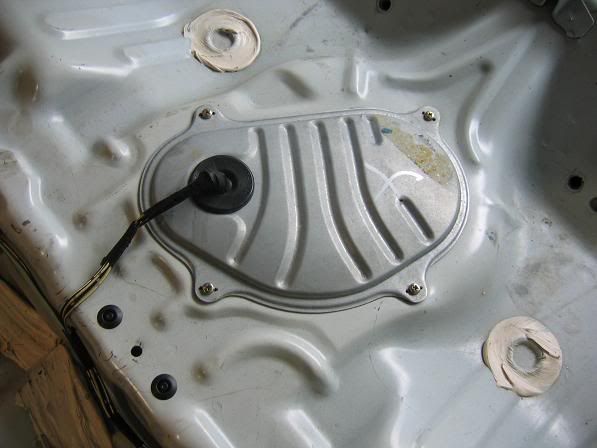
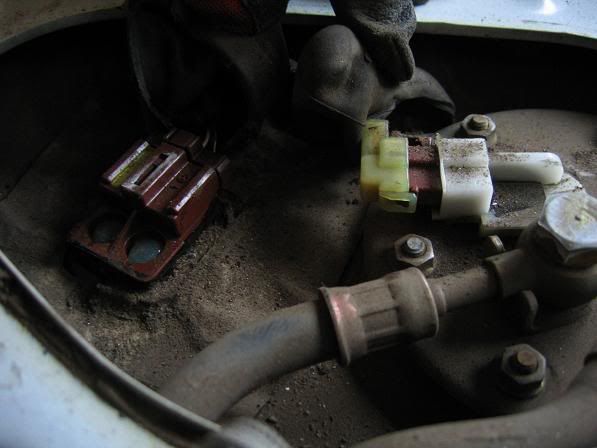
4 screws hold the fuel pump cover:
Once removed disconnect the 2 harnesses:
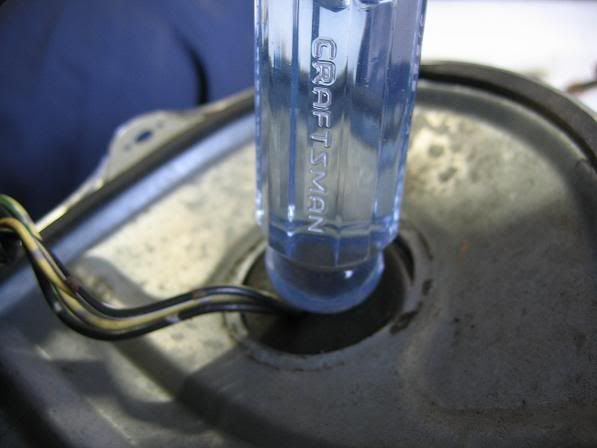
Using the butt end of a screwdriver push the grommet out:
It started raining so I put some dirty parts outside for a free wash:
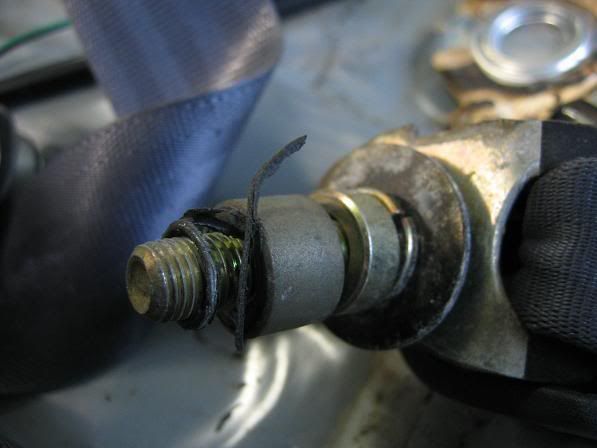
Washer screwed on the seat belt. Don't plan to use them again so it's all good:
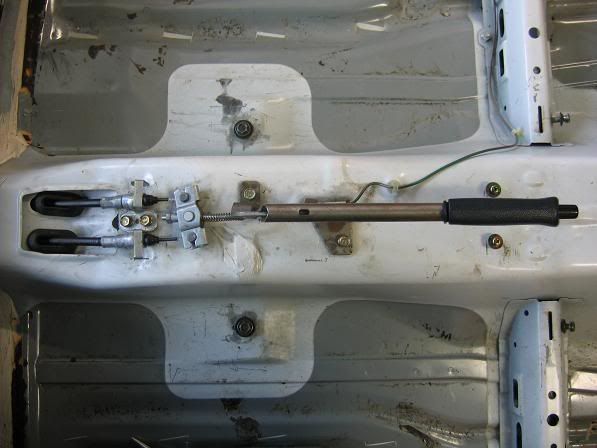
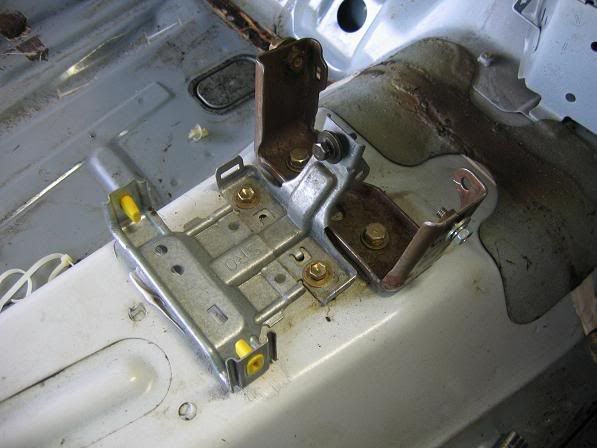
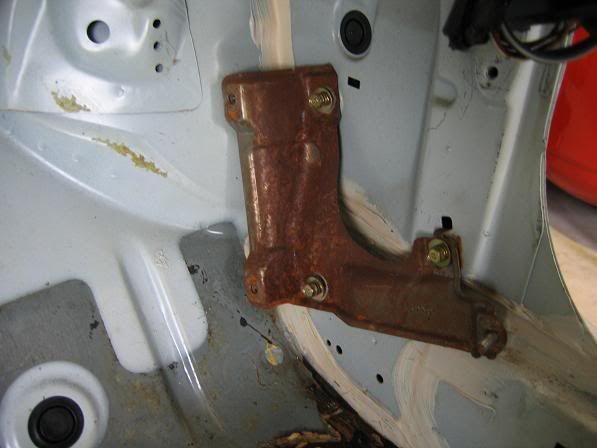
Onto the parking brake. Pretty straight forward to remove:
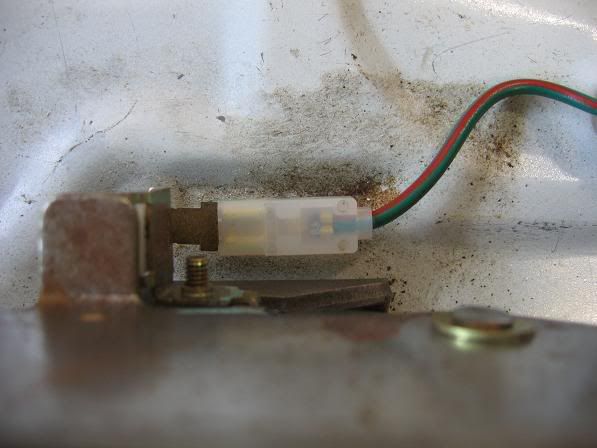
I'm a picture whoreso here is a close-up of the e-brake indicator wire:
At each end is tape that you can slit:
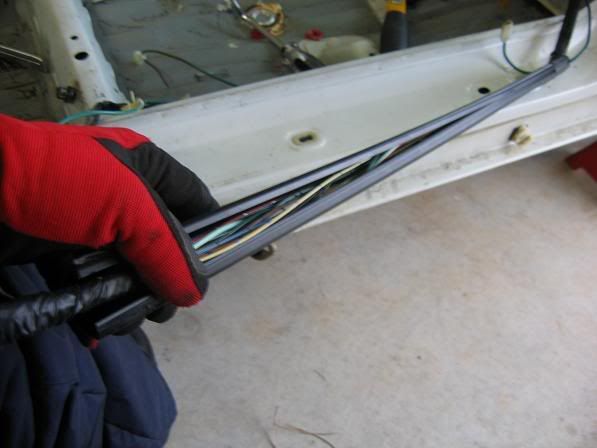
Then you split 'er open:
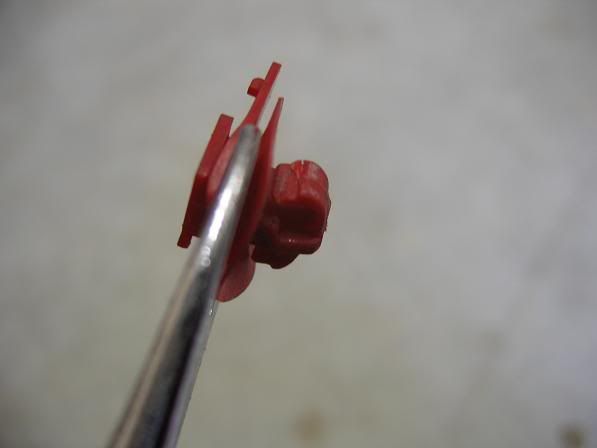
Once you remove both harness covers you'll have some red clips left behind. The panel tool pulled these out without damaging them (yeah the ones I won't need)
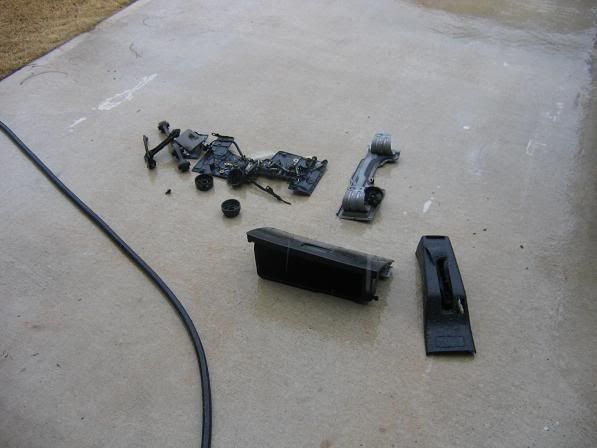
Got to remove the rest of the center console:
Disgusting ECU holder. I'll have to clean that up if I am to reuse it:
Reminder to get some more dry ice:
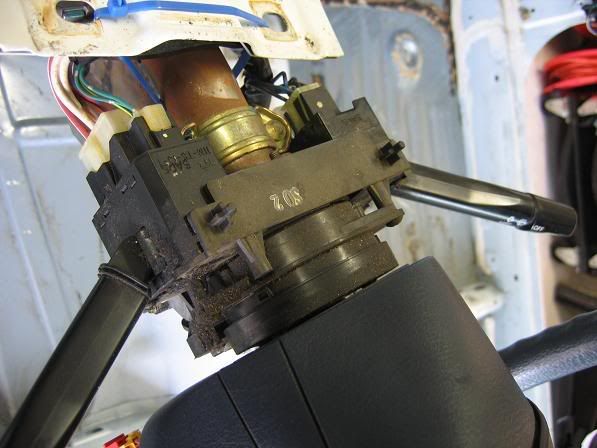
Got to see about removing the right stalk since I won't have a wiper system:
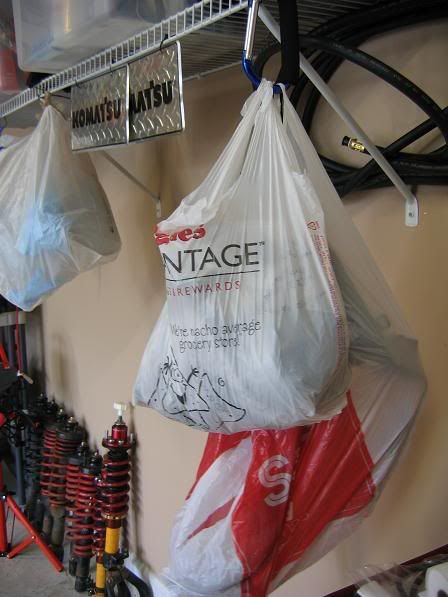
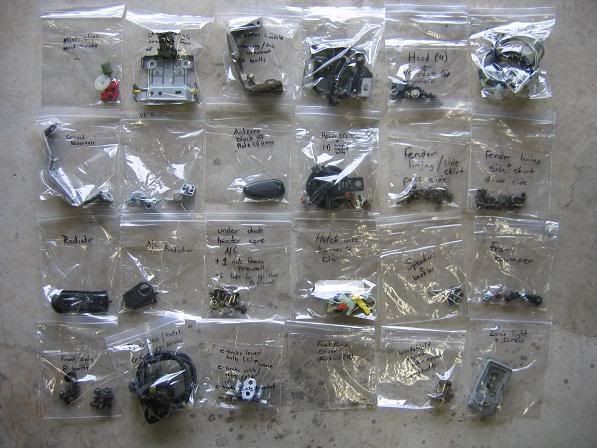
Bag of gold:
The gold:
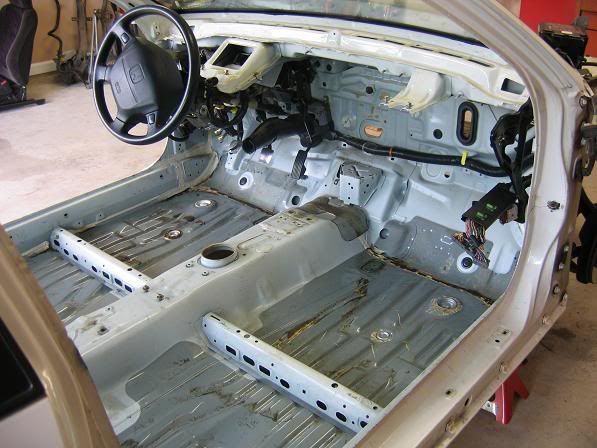
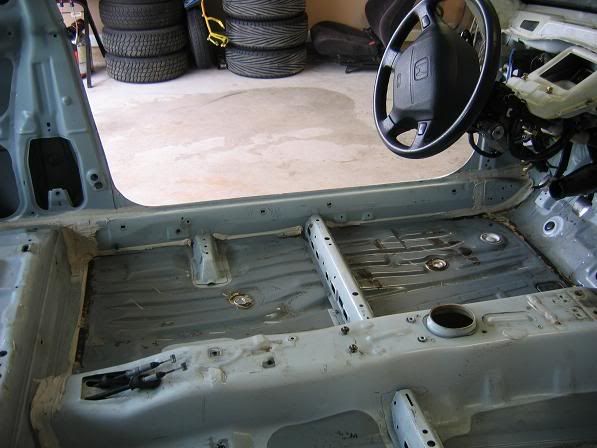
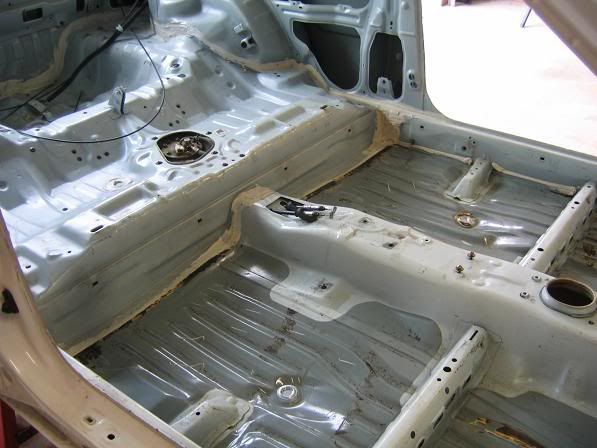
About ready to sand for paint. Still got to get the glue on the floorboard up:
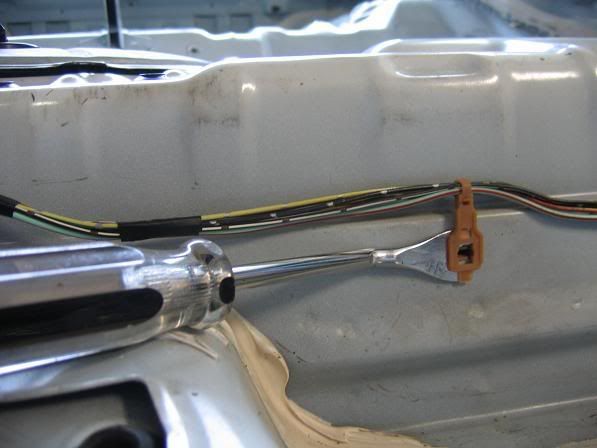
I couldn't work in the back area of the car because the rain was blowing into the garage. Shouldn't take too long to remove the rear hatch wiring:
Basically that is 6 weeks of work above for me. I work a lot of hours and take LOTS of pics so I'm not getting too much done. Plus I don't even have the K20 yet, weather is too cold to paint..... so it's all good
I have enjoyed the build so far and can't wait until I get to work on her again
 Posting Permissions


 Reply With Quote