oh dang i was hoping to see more...cant wait to see more...


oh dang i was hoping to see more...cant wait to see more...

Work DAMMITT WORK!! Great Job doing it right +1 for you and patience...I break clips and lil shit when I get frustrated...
Funny thing is right now my buddy has a 2nd gen Neon he is doing the EXACT same work too for a SRT4 twin turbo swap..(he's alittle further ahead but has help..sometimes) and the dry ice and removing windows (intact to make templates for lexan) is a bitch. TIP use to people one inside car one out with each holding onto a piece of welding wire and go back and forth the hole way around the windows to remove in one piece to make templates for the light weight lexan

Thanks so much for the props and all the +1's..... and I have not even got into the good stuff yet (motor) haha..... I should be getting a motor within a few weeks. Waiting on the tax return.
Is that TT SRT4 local as well?? I'd like to see it
On to some work from Nov 2006.....
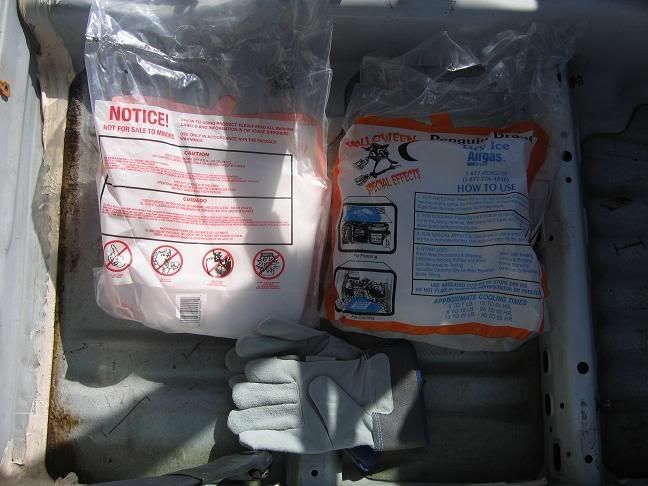
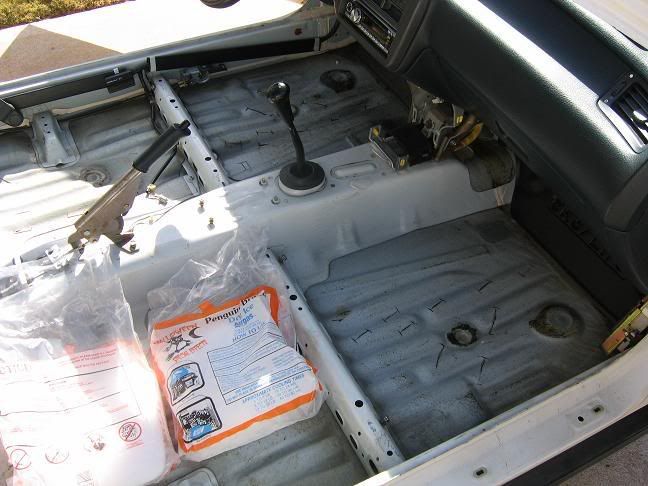
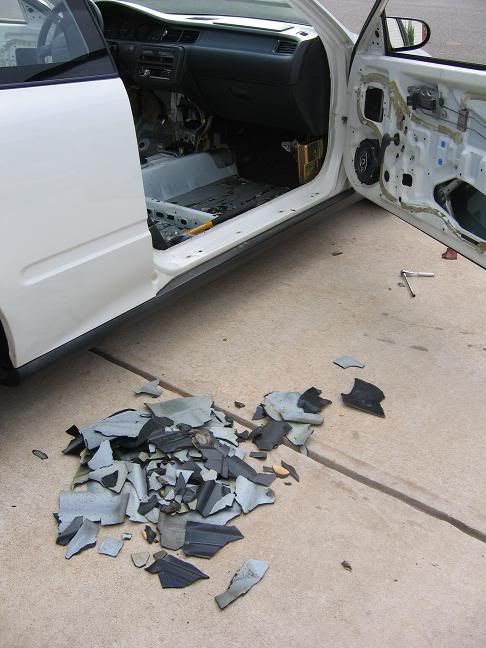
Here is some pics when I removed the sound deadning material back in November 2006:
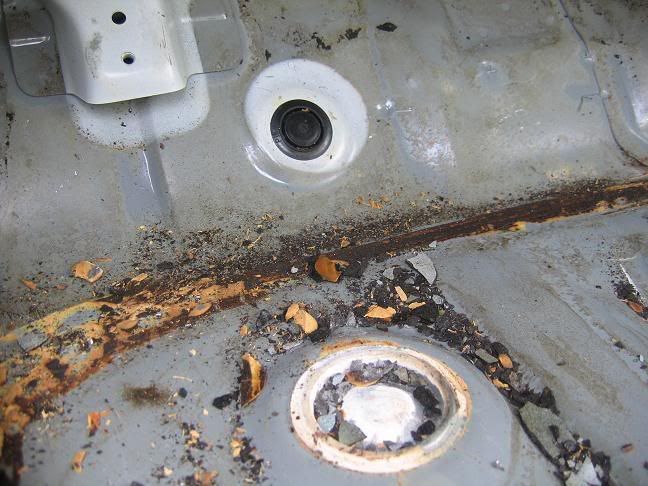
Is it ok to remove the brown glue or is that a sealer? Should I just clean it up really well, hit it with some sand paper lightly, and paint over it?? (Pic below)
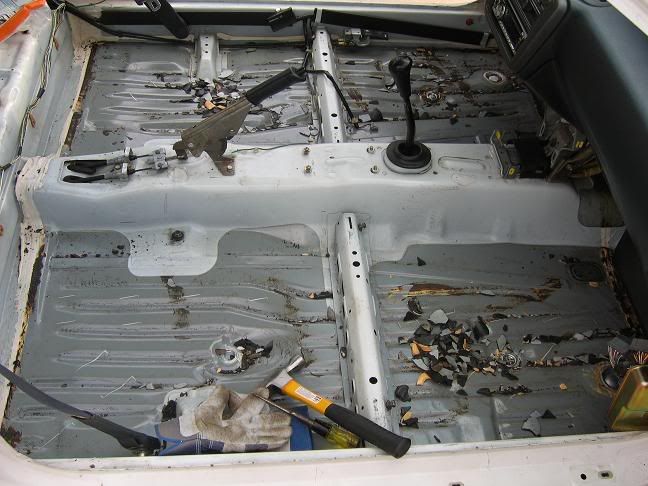
Pass side removed:
Turned out to be like 9-11 pounds.
Nopi Drag Racing NHRA Atlanta Dragway March 29/30! > HERE!
Ok, spent a lot of time in the garage today, snapped a lot of pics, and feel like I accomplished a good bit.
How do you remove the hood lever clip without damaging it?
I may go with hood dampners, but not 100% yet.
Reminder that I need to really clean this car up:
4 bolts / 1 cotter pin to remove the brake booster:
Then I remembered I should start draining the gas from the tank while it's early. So I just loosened the drain plug just enough to get a stream going:
Removing the clutch slave cylinder.
2 bolts / 1 cotter pin to remove the assembly:
Brake booster / clutch cylinder removed:
Paint is blingin' underneath
Undercarriage is reall nasty. Goal is to clean it up really well and apply some type of overcoat.
Dropping the gas tank:
Remove the banjo bolt and disconnect the hose:
After I drained the tank I placed a jack in the center and dropped the 2 straps that secure the tank:
Then I removed the 3 plastic covers that protect the fuel system / fill up neck:
(one of the 3)
I loosened this bolt to disconnect the filler neck from the tank:
Panels removed and filler neck exposed:
Further up the filler neck:
Remove the (4) 10mm bolts to release the filler neck. Pull the grommet out and the neck drops down with the tank:
Bottom of the tank:
Really nasty, but that will change:
Steering rack removal:
Remove tie rod ends:
(mine are screwed and will be replaced w/ new ones)
4 bolts secure the rack to the crossmember:
Here are the bolts removed:
Remove the cotter pin and slide the bolt out and remove steering rack:
Crossmember removal:
5 bolts on each side to remove:
(All 5 are shown in the pic below)
Big a$$ bolts that hold the crossmember:
Remove the (2) 14mm suspension bolts as well as the (2) 17mm upper control arm bolts and the crossmember is ready to be removed:

There are quite a few 10mm bolts that hold the brake/fuel line assembly that runs to the rear of the vehicle:
Just pulled the plastic clip off the stud to release the lines:
Rear brake/fuel lines removed:
Charcoal canister exit release:
Underview:
Then I removed all the grommets from the bay. Must of been 12:
And it's time for a good cleaning / prepping for paint in the bay:
Cleaned the fenderwells a while back. I am going to put some overcoat all in there:
Thanks for looking
Nopi Drag Racing NHRA Atlanta Dragway March 29/30! > HERE!

I love this picture:::Originally Posted by Hybrid93Hatch
nice work man...

I know its off topic, but do I see retros in thats accord?
Haha....
Exactly why I took the pic from that angle :boobies:
Yeah, TSX retrofitted
Nopi Drag Racing NHRA Atlanta Dragway March 29/30! > HERE!
NICE!!! I have the same retro on my accord!

TSX RETROS ARE LAME.... hey Nittanys wanna do mine?
this is what the PM button is for
Thanks for the comments again guys!!
Session 016.
Worked mostly with the rear of the vehicle. Pretty much finished removing the rear wiring, hatch glass, hatch door, tail lights, bumper, etc.....
First thing I did was removed my JDMSh!t duckbill.
To remove the hatch glass just remove the (4) 10mm nuts:
Up close of one side:
Then it was time to remove the tail lights:
(4) 8mm bolts per light:
Underneath still clean from April 2006 detailing. Damn right:
Inner tail(s) has 4 bolts as well:
Did not remove the hatch gasket/seal because I was not sure exactly how it was held in place. I have learned that it's just held by glue and should pull right off without any problems:
Close up of the rubber:
It's on there really well
These clips are for the panels that will never make it back to my car. They were a major PITA to remove. I never did figure out how to remove them with ease. I just squeezed and pulled with 2 sets of pliers:
Then I removed the hatch release:
Removed the latch and release lever:
I pulled and pulled on the damn tail gate harness and then realized why it would not come out. Damn license plate lights:
Remove the bolts shown to remove the tail gate from the car:
Disconnecting the fuel door release wire:
Pop the little ring off:
Took me a while to figure out how to remove the black lever. It's really simple once you know what to do. Simply go inside the hatch area to the lever, grab ahold and twist to the left and it will come right out like so:
Might as well remove the door:
Removing the last line:
Entire rear wiring harness wrapped up and ready for install one day in the future:
What the hell is the plastic cup thing for?? Hatch leakage??
My Lowes rear bumper hardware:
Screw that holds the Vx drivers side wind difuser in place:
Hatch removed, and then I removed the 2 bolts to remove the latches:
Removed the 4 grommets that are around the rear bumper:
Side skirt clip:
Rotate to remove:
I need some advice on how to remove this piece. It's the metal piece that sits in the middle of the car which allows the back seat to fold up and down. I will not ever have a back seat again, so I would like to remove this piece:
spot welds?:
A better view of the piece:
Back to the front of the car I went. Got outside and this fool started messing with me. I walked away for a few and when I came back he was back. So, let this be a warning to all the haters..... don't be another statisitic for messing with me or my hatch
I can't go all out with new interior and engine bay paint and leave the crossmember as is. So I decided to go to work on it:
Remove the one bolt and basically it's dismantled:
Further back view of the bolt:
Dismantled for cleaning:
Left = Clean!
Right = Not!
Still not clean enough so I will be putting a nice coat of paint on the assembly!!
Neighbors got to love seeing this all the time, lol:
Then I was like how the hell am I going to move the hatch now without anything up front. Answer:
Interior ready to start prepping for paint (as soon as I remove the rubber hatch seal):
I'm not messing with the wiring under the dash. Since I am not doing a color change I am leaving them as is and will just tape everything off. However, I will be removing the pedal assemblies so I can get the paint up as high as possible:
Another view:
Thanks for looking and I hoped you enjoyed all the pics. I know a lot of the pics are useless, but I love using the camera.
Nopi Drag Racing NHRA Atlanta Dragway March 29/30! > HERE!

amazing build thread.. probably the most in-depth, inspiring thread i've ever read.


nice write up....keep us posted

Damn thats all I can say!

wow.. this is better then a mag write up.. ... subscribing!
that update was fun

this thread makes me wanna buy a car just to strip it down like he is... lol
why are u not doing a color change?...very good write up btw
Why Li white is the shit man you know! LOL
Thanks guys for the feedback!! Makes me want to post more
This is post 100, so I've got to make it a good one
Here we go:
Session 019:
Figured I'd go ahead and get some practice with spot welds before trying to remove the tranny mount :P
Did I ever tell you guys how I love Harbor Freight??This pry bar pop's got me for X-mas was a life saver today:
Removed:
Practice session #2:
2 spot welds. This one is cake:
Then I figured it was time to work on the Karcepts shifter kit.
I put the shift plate back in place to make sure the markings to slot the holes were accurate. Then I found my stash of rotary files. This one would be perfect:
Slotted:
Template in place to mark cutout:
Cutout marked:
Here's what I'll be using:
(Got to love HF :thumbup: :thumbup
Then after condensation coming out of my drill gun I figured it was time to install the water / oil filter on the compressor:
The local auto store would not take my gasoline I drained from the gas tank so I have been burning it in a barrel which I use to burn my spam papers from snail mail. I had the bottle to close to the barrel and the damn thing caught on fire (this jug is gas and oil). I thought for sure the house was going to burn down because the oil spilled onto the ground and there was a big fire. When I came back with the water hose which I had to get out of the garage, take to the faucet, hook up, and drag across the yard, the fire was out

Seem like it was going to take forever with the 3" cutter:
But once you get through the metal just slice it down the seam:
Remember kids, safety first :P :
And after about 30 minutes (fumes would get bad after a minute so I would have to get out) on the same blade:
Out:
Next! ...and this thing was a b!tch!!
Got to get that last piece of sound deadening material. No problem, HF pry bar FTW:
After drilling and drilling:
About a pound out:
2nd one I've found at the house. Not good :thumbdown: :hammer:
Removed the rubber hatch seal. Just pulls right up as I was told:
Glue holds the corners in:
12 years of dirt:
What came out of my compressor when I drained it :crook: =(
Going to sand the engine bay next session :thumbup: :thumbup:
Thanks for looking =)
BTW: I picked up a $10 1/2" Black and Decker drill bit this evening for the tranny mount.
Here's some back in the day pics for you guys
March 29, 2006
It was nasty:
Put the water and soap to work:
....the outcome:
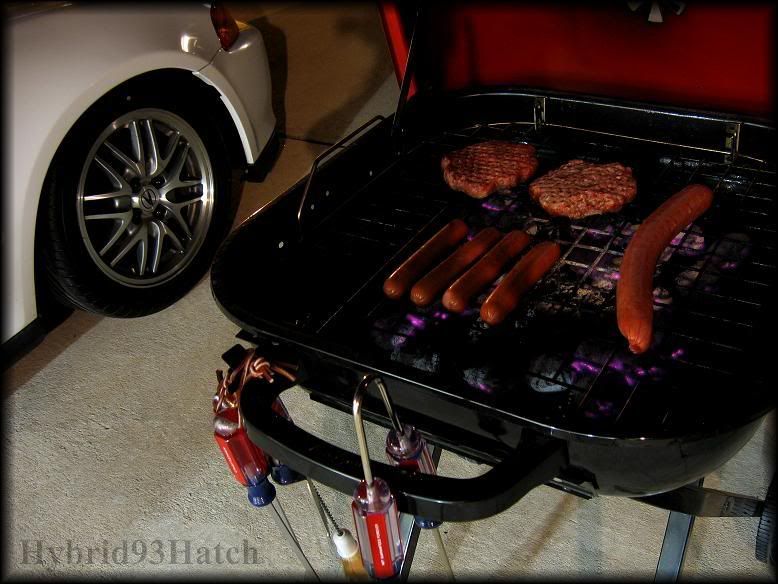
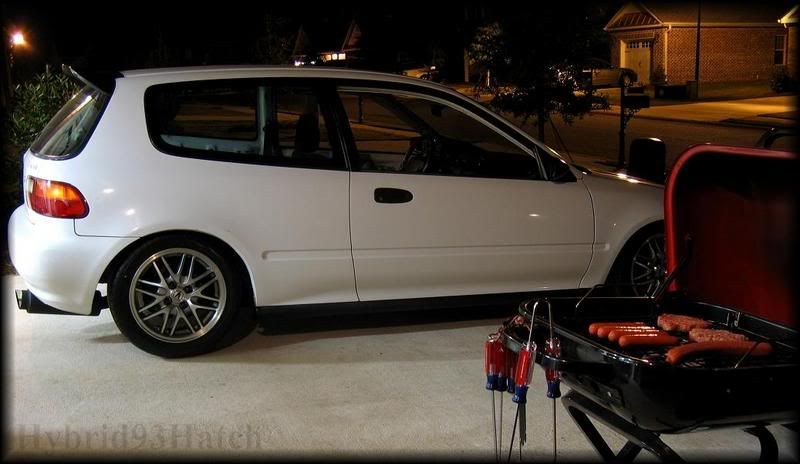
....and 2 of my favorite things:
Hatch & food :thumbup: :thumbup:
October 10, 2006
Nopi Drag Racing NHRA Atlanta Dragway March 29/30! > HERE!

very good write up im stoked to see it when your through, keep us posted!
you freakin' rock, dude:::

+1 for you man!
This thread ends all the other threads ever posted on this site. Heck, it even ends all the best threads ever in our beloved "NSFW" section....
I love this thread...
Black widows at my house
Thanks for the props guys!!
Oh, and they are Craftsman bar-b-q tools
Nopi Drag Racing NHRA Atlanta Dragway March 29/30! > HERE!

damn son.. Much props to you for being so detailed @ every step you take in this great project..
this car is gonna be so kickass. +1 again if i can.
Are those screwdriver tongs on the grill. If so, those are badass. Oh...and your car is nice too...lol
simply amazing. can't wait to see it finished
Thanks guys for the props
Anyone have any tips on how to get all the dirt grime out. I will be running the wire harness and hood cable through there. Want to have it dirt free:
This is what came out after a few minutes of water pressure:
Nopi Drag Racing NHRA Atlanta Dragway March 29/30! > HERE!


This thread is SICK. Man o man reps for you.
Thanks for the reps guys
Session 018 Detailing:
Nasty:
Sittin' high:
This is what $40 gets you at Wal-Mart these days:
And this is what that stuff does
I still need to get the back area as well as some spots I missed. But, damn what a difference it has made
Nopi Drag Racing NHRA Atlanta Dragway March 29/30! > HERE!
yup, engine degreaser works wonders:::

+1 for the most thoroughly documented build I have ever seen. Great entertainment!
Good, Ole'Fasion bullshit!

Awesome again bro, ill rep if it will let me.
Wow, didnt now they had GUNK Gel now. I'm a big fan of the GUNK foaming engine degreaser. Good job, and keep it up!

I love the detail and the pictures of the clips after they are OUT in particular to show how they need to be removed. Look forward to seeing more progress.

+1'd you again... very impressed.
Thanks for all the props guys!!
Went by Harbor Freight for some supplies

Nopi Drag Racing NHRA Atlanta Dragway March 29/30! > HERE!
 Posting Permissions

 Reply With Quote