(moved to correct section)
The Disclaimer
Just to clarify, this isn't a build thread with shaved bays, crazy wet paint, $3000 wheels, etc.
This is just a regular swap. A couple of car guys finding a free weekend to help out a friend with his car. This is my first swap, so it was definitely a learning experience. This is just the engine swap, I'll update when all the random parts I've bought over the last year get installed.
The Story
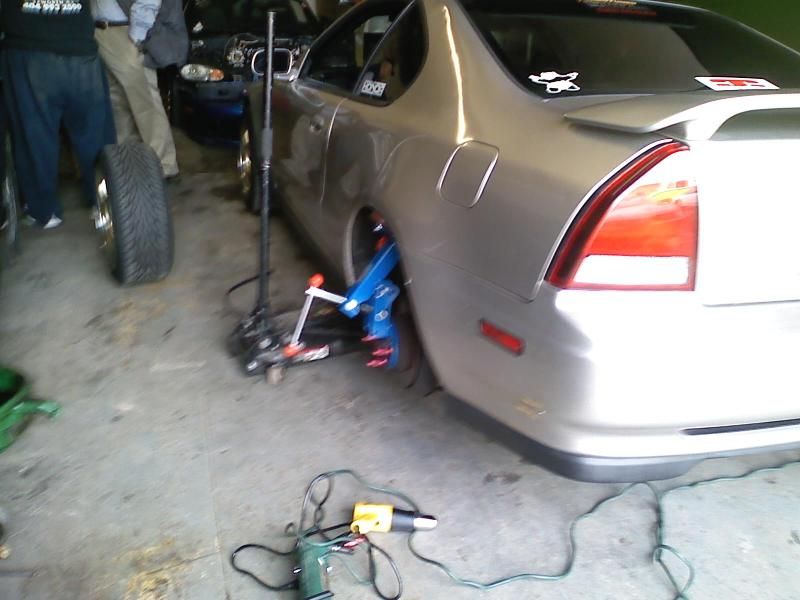
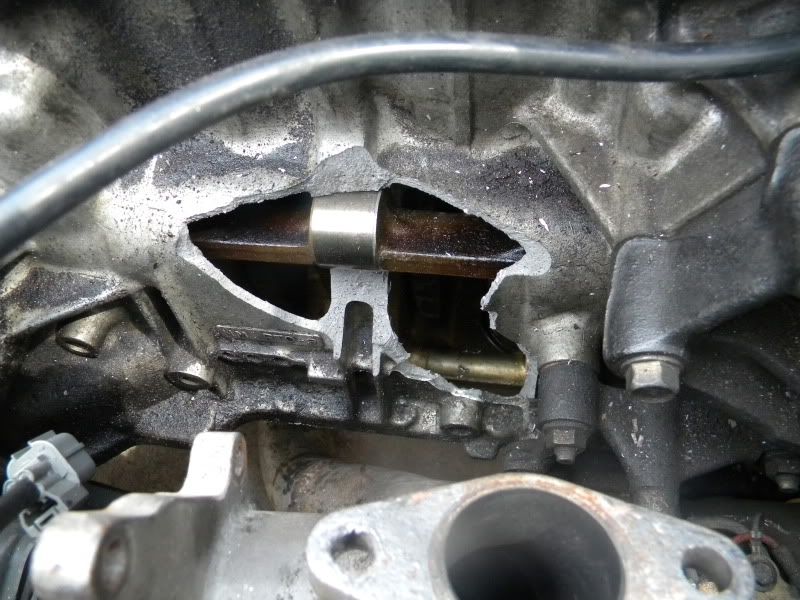
The motor threw rod #3 through the side of the block on 4/1/10 (April fools day. Ha..) After I installed my HKS EVC5 EBC and didn't know the conversion between Kpa and psi. I ran close to 2 Bar through a stock motor. My own stupid mistake. The car has sat for over a year while I've tried to come up with parts and a new motor to get it running again.
The setup
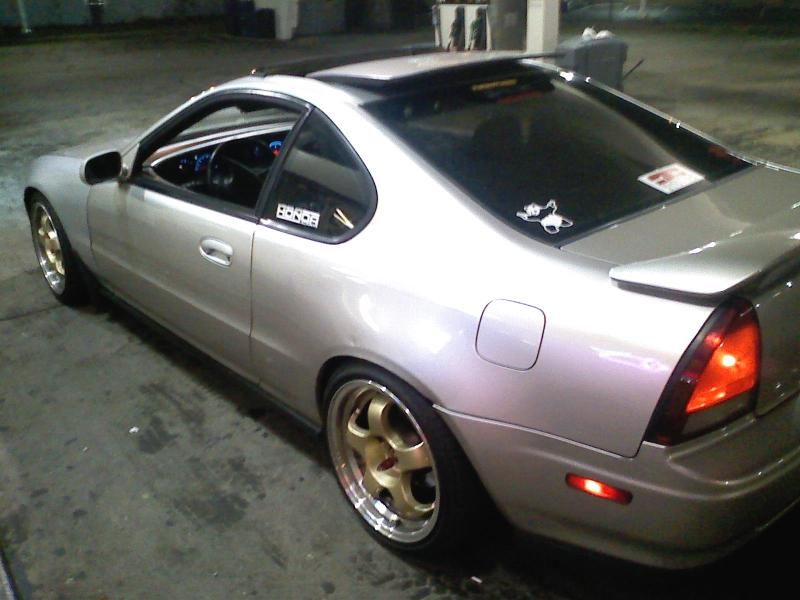
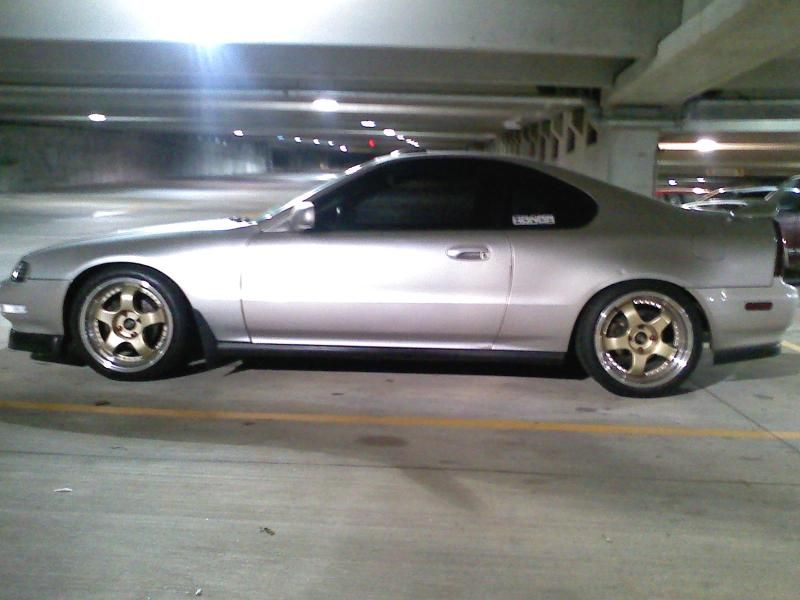
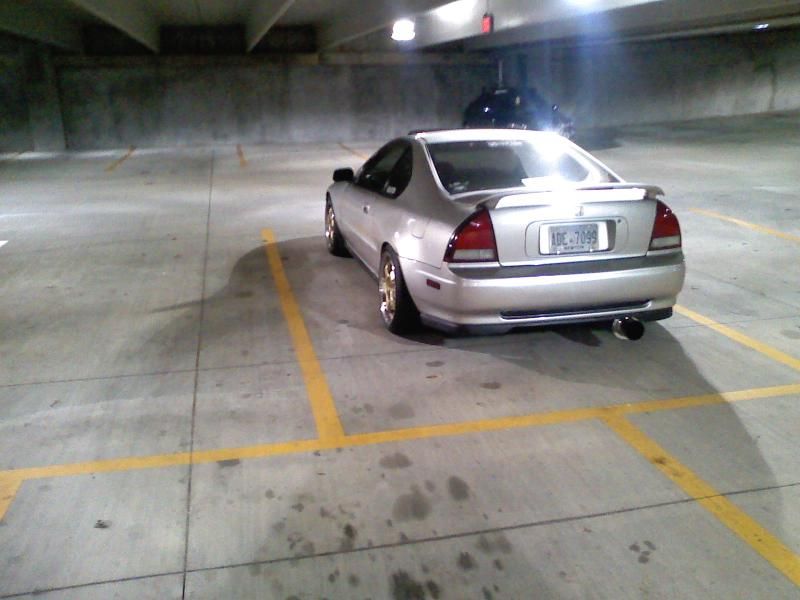
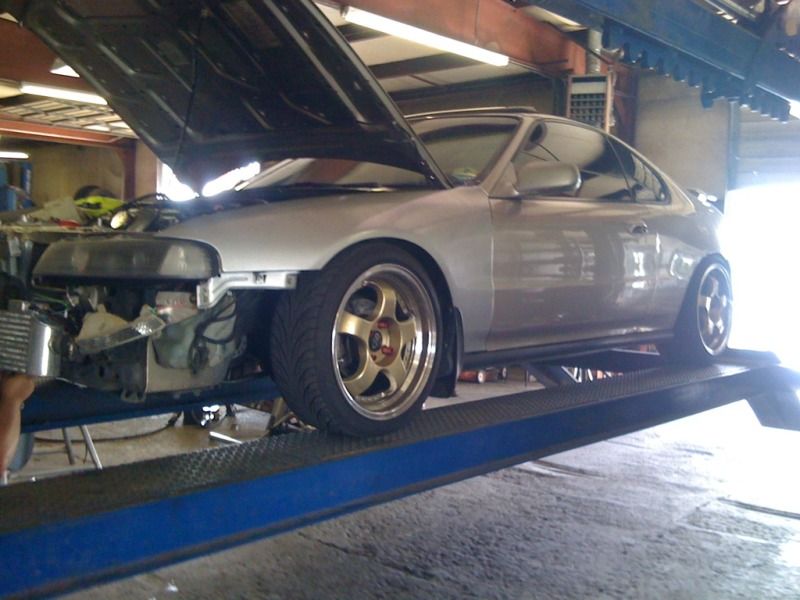
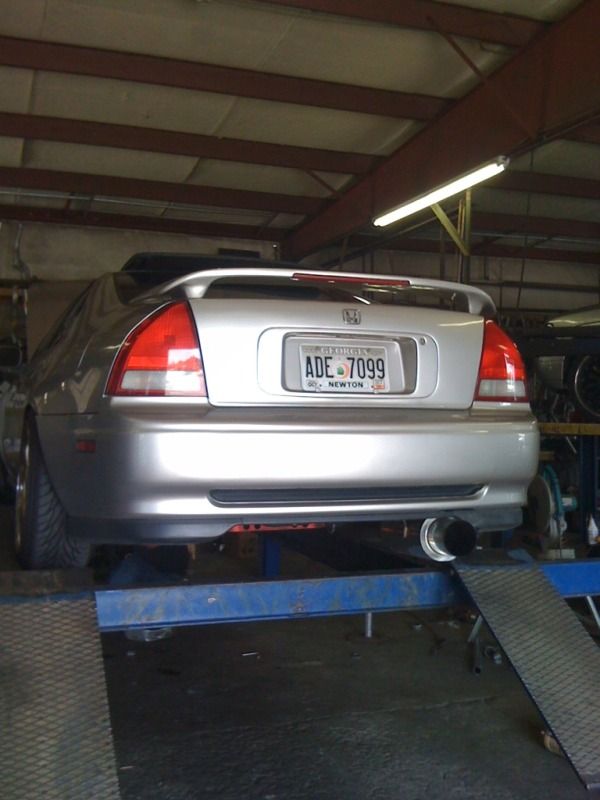
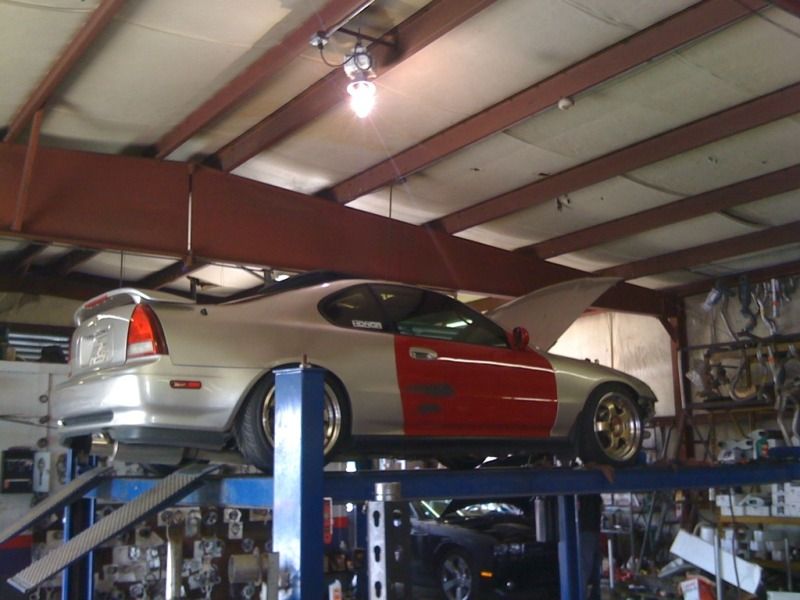
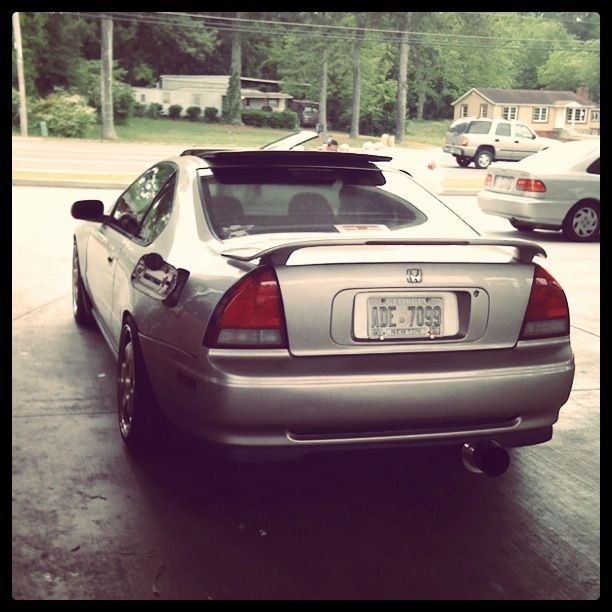
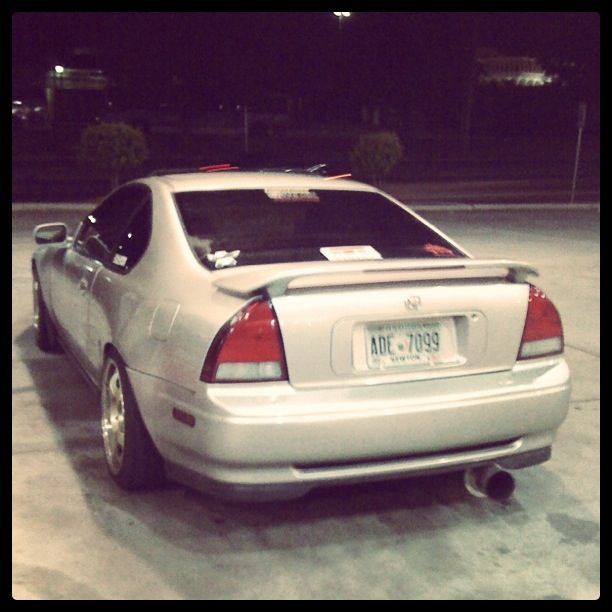
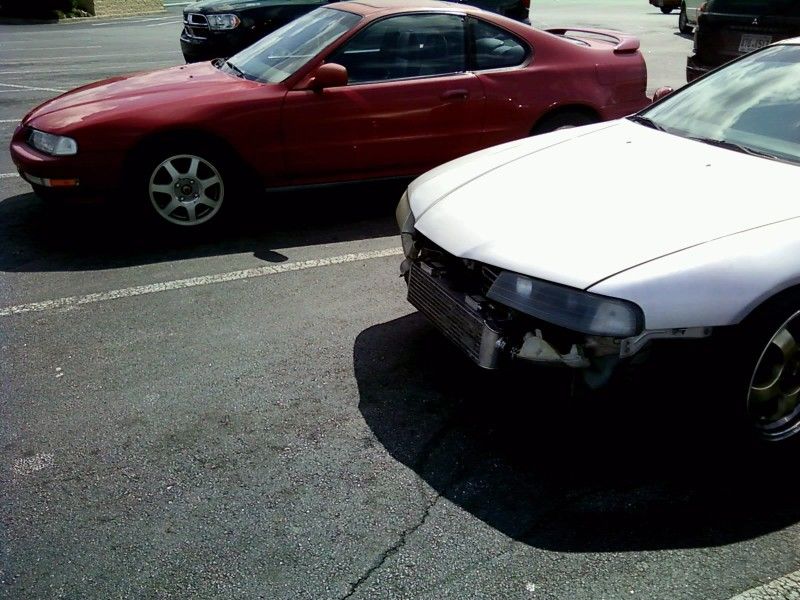
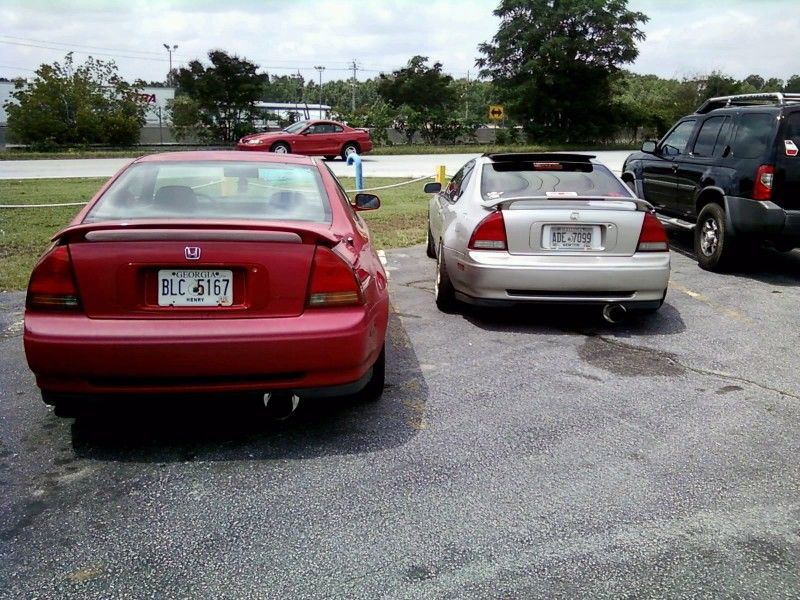
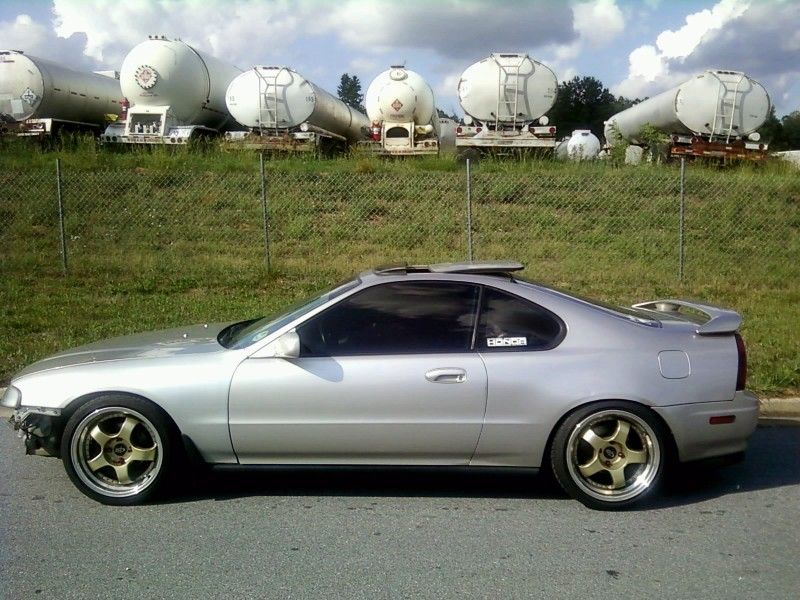
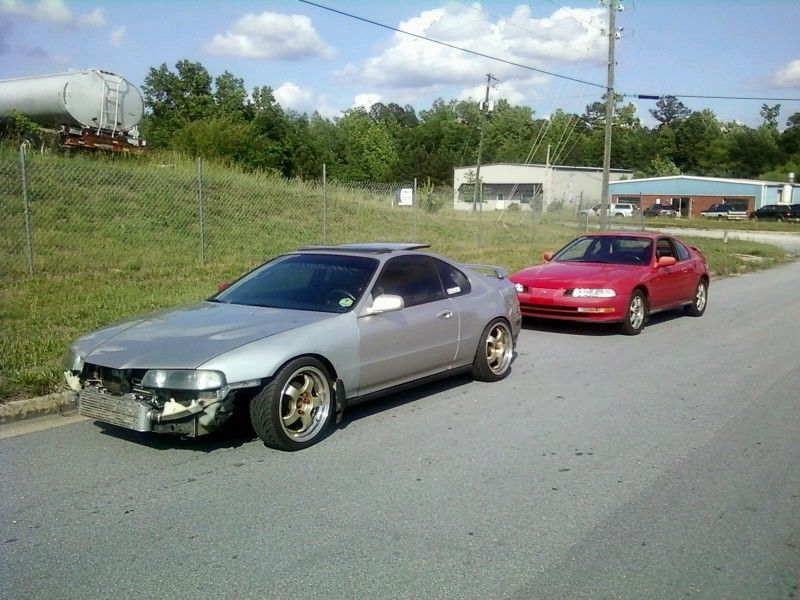
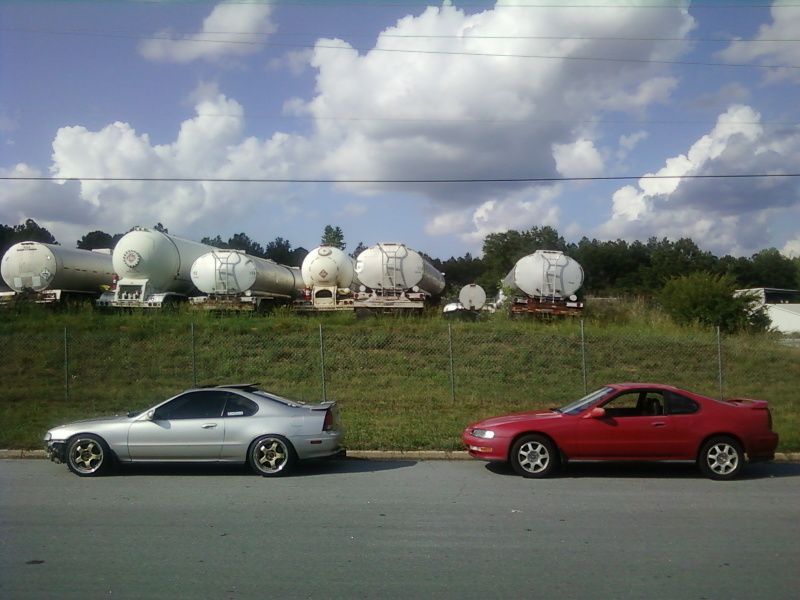
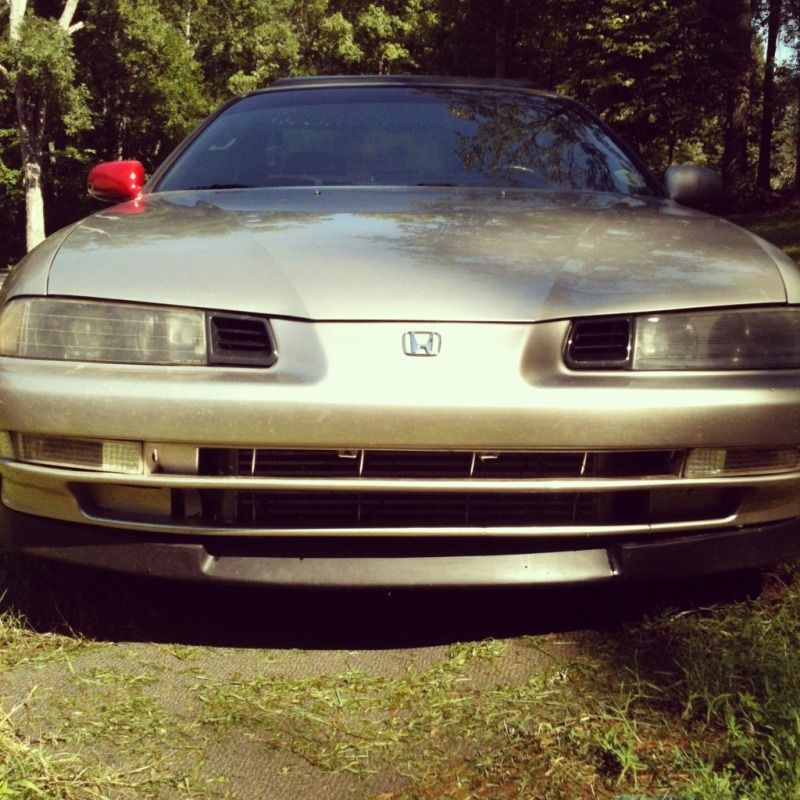
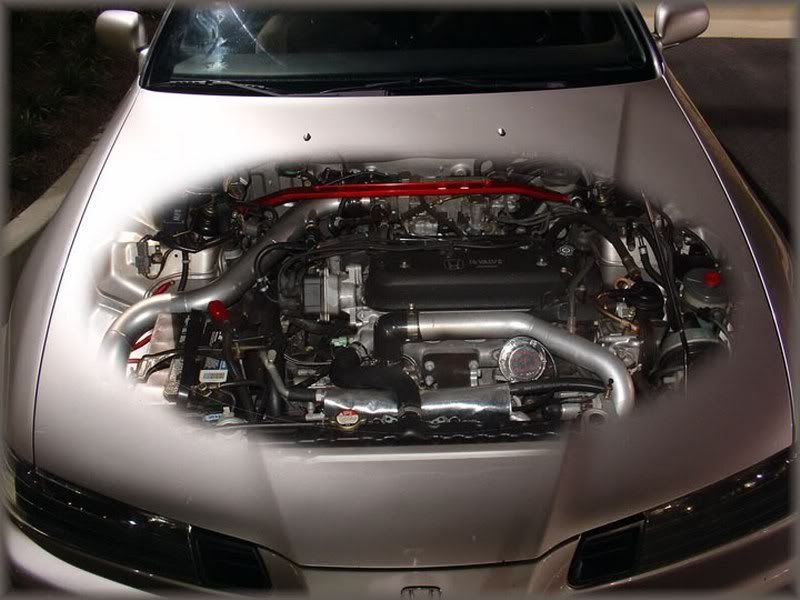
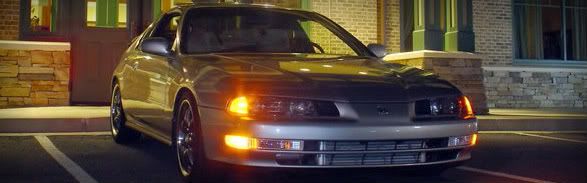
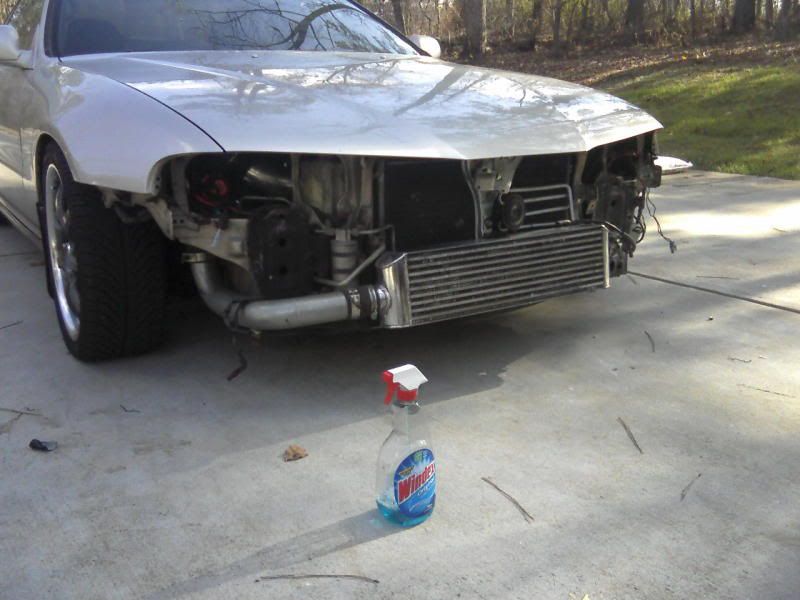
96 Honda Prelude S (silver)
F22A1 (8.8:1 compression)
5-Speed
Performance:
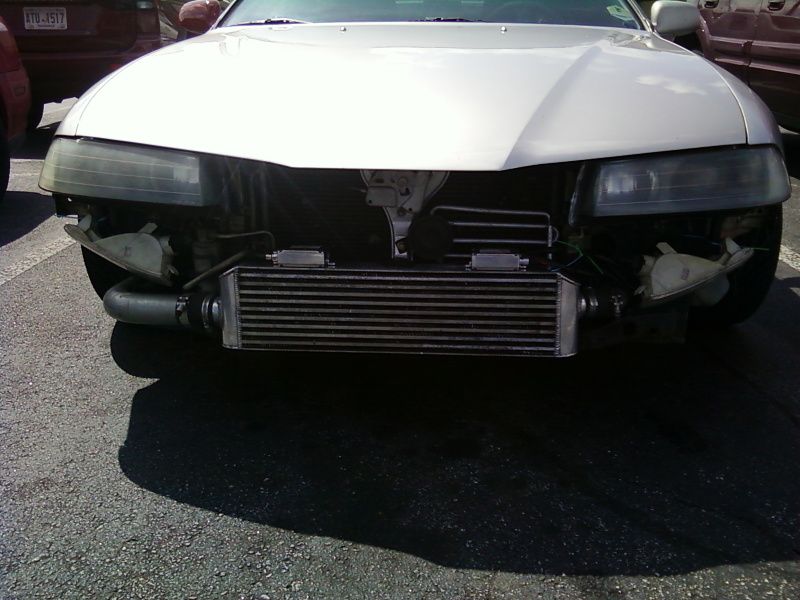
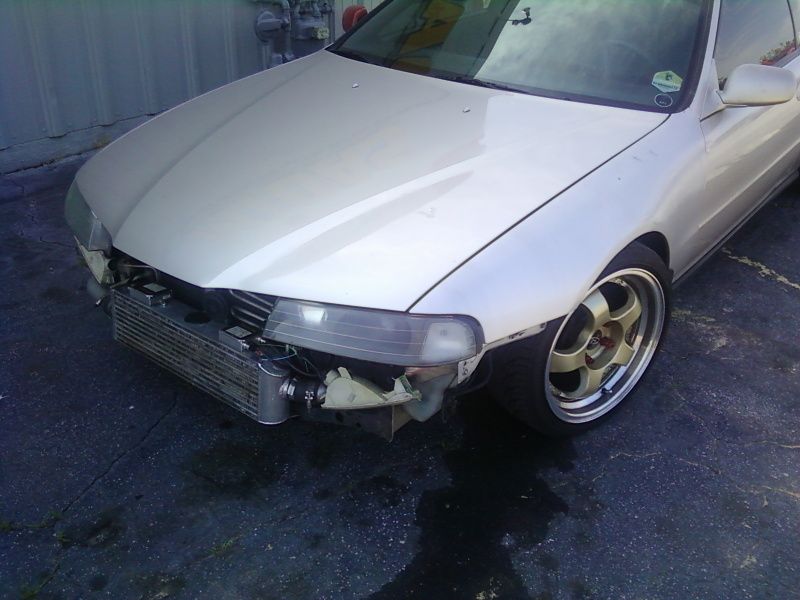
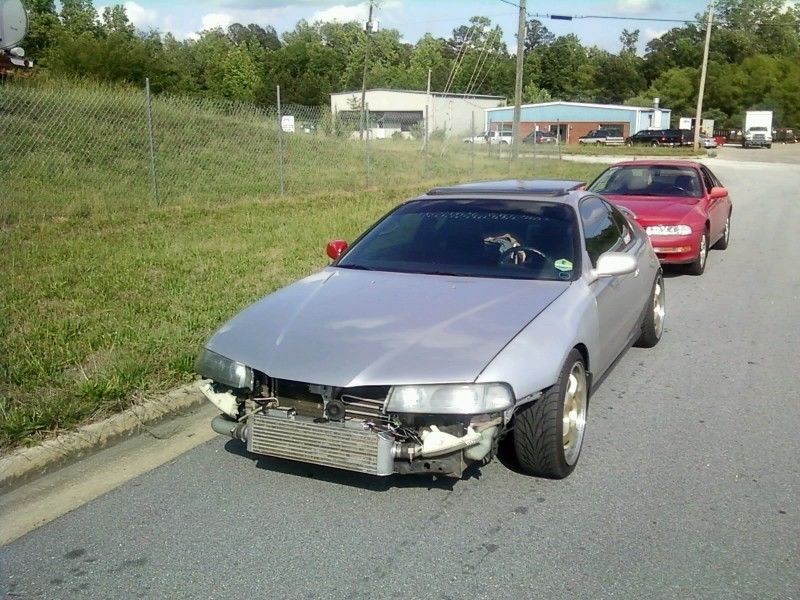
Turbonetics Turbo kit (t3/t4, powder coated piping, Turbonetic couplers and T bolt clamps, intercooler)
Turbonetics Evolution Wastegate
Greddy Replica BOV
Greddy Emanage Ultimate
Greddy Turbo Timer
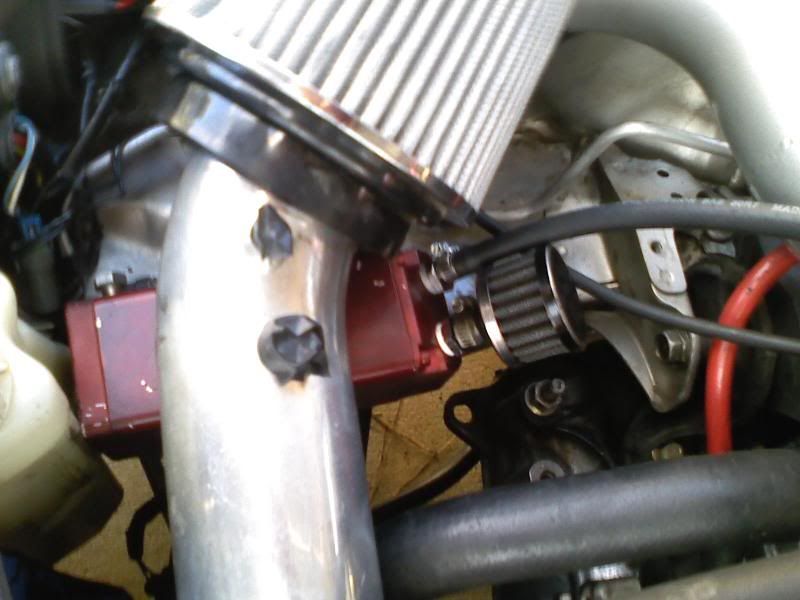
Greddy Oil Catch Can
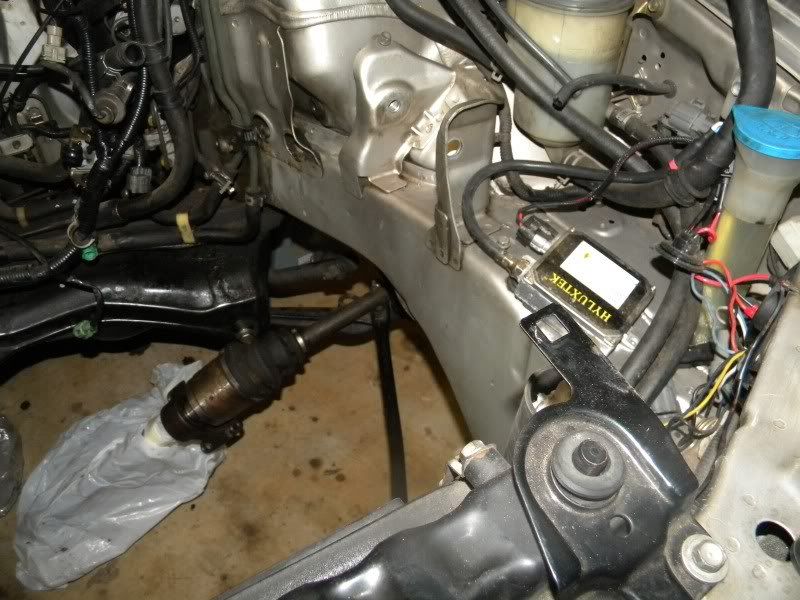
Greddy MAP sensor and MAP harness
Greddy A/F Harness
HKS EVC 5 Electronic Boost controller
Competition Clutch Stage 5, 6 puck
Competition Clutch Pressure Plate
Competition clutch 8lbs Flywheel
Compustar alarm system with receiver
Summit battery relocation kit
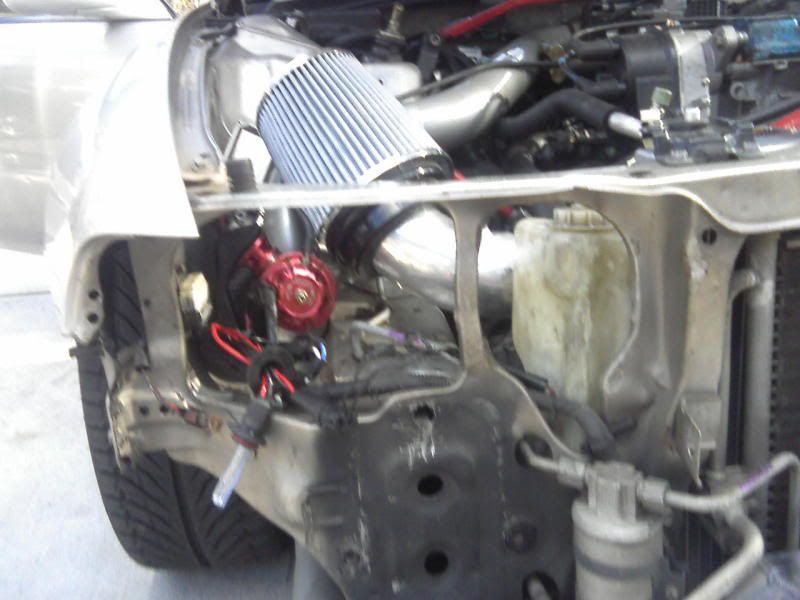
K&N Filter
Custom made intake heat shield
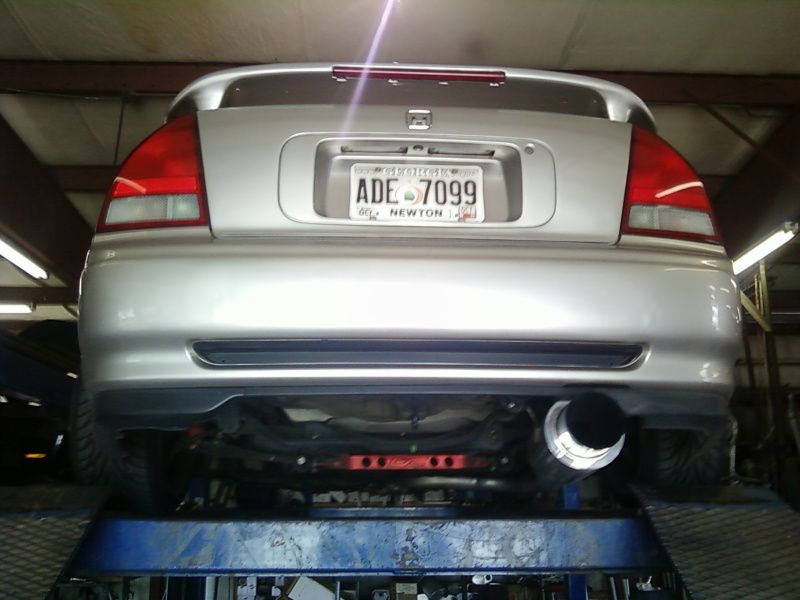
2.5 Downpipe
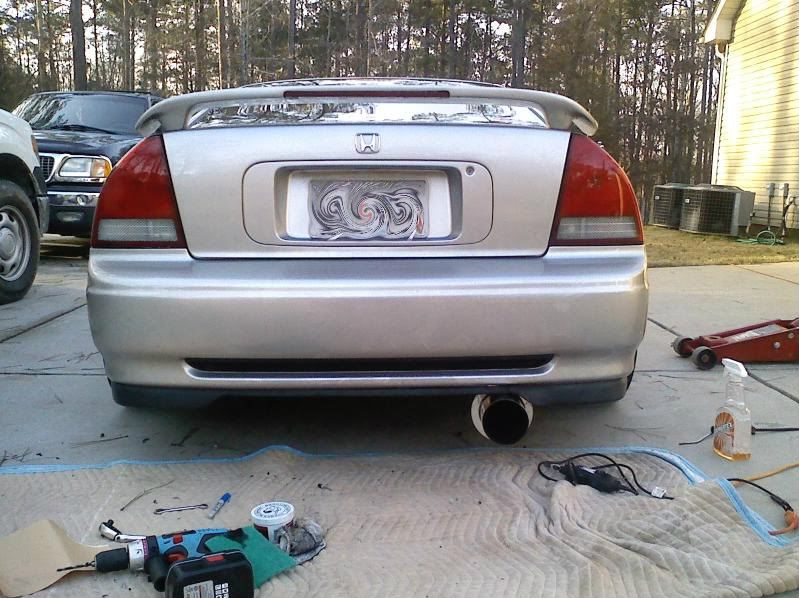
Custom 3 Stainless steel Exhaust
Silverline Resonator
Apexi N1 Muffler
Suspension:
DC Sport Front strut bar
DC Sport Rear tie bar
OBX Front tie bar
Skunk2 Adjustable Coilovers
KYB AGX struts
Camber kit
Exterior:
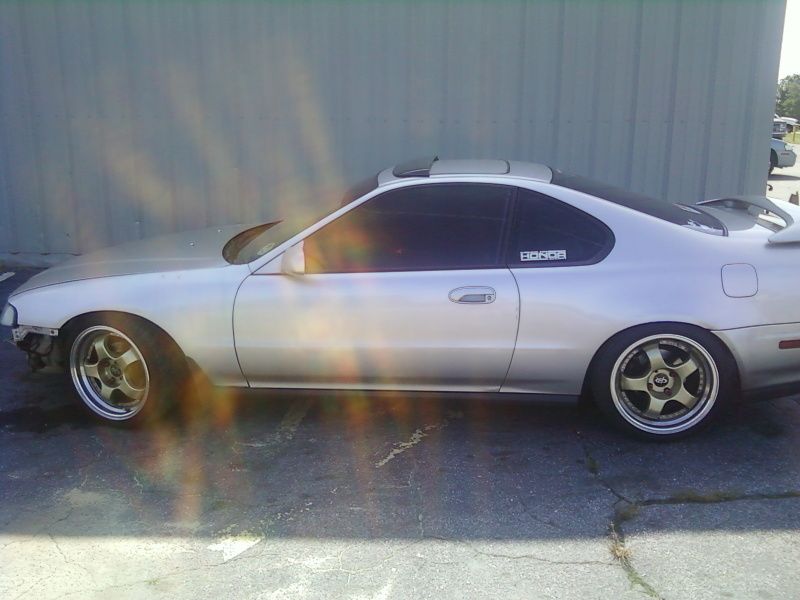
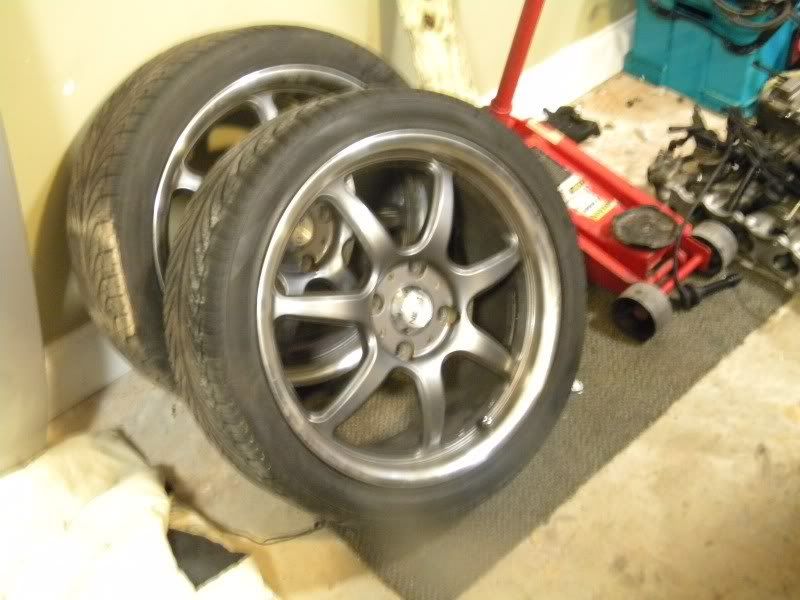
17x7 Nexo NX-7 wheels
OEM Honda sun roof visor
OEM Prelude Si front lip
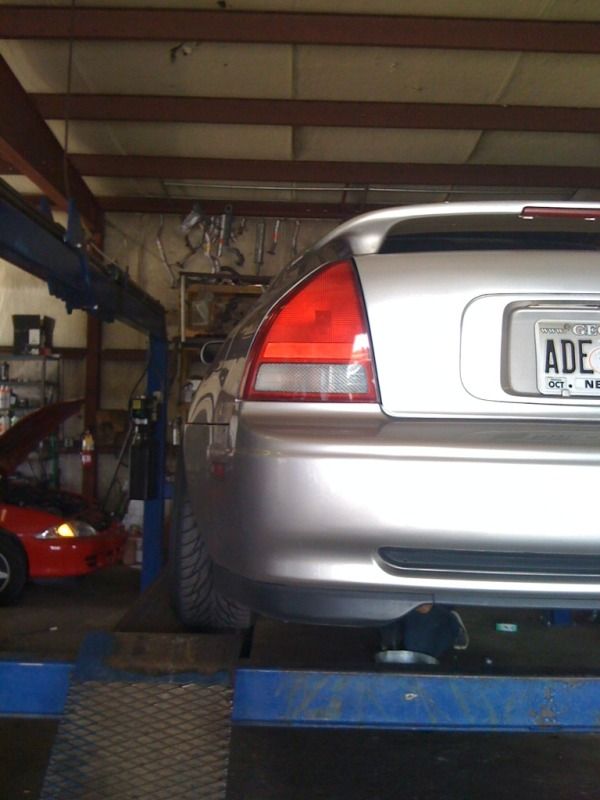
Amber section of taillights cleared
Prelude badge removed
Interior:
Razo white shift knob
Xenarc 7 touch screen
Glowshift Volt gauge
Glowshift 7 color oil pressure gauge
Glowshift 7 color oil temp gauge
Glowshift pillar gauge pod
AEM UEGO wideband A/F Ratio gauge
Black suede door panels, tweeter pods, arm rest, headliner and rear panels
New black carpet
Alpine headunit (CD/DVD/MP3)
Alpine 6.5 speakers
Ipod hookup (ran into middle console)
Capacitor mounted between rear seats
Mugen polished pedal set
Forbidden Motorsports Short Shifter
The Past
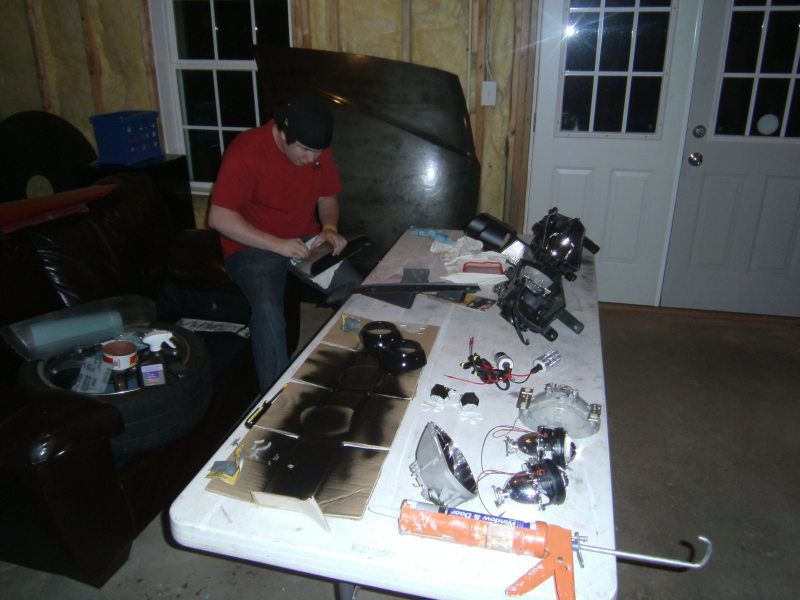
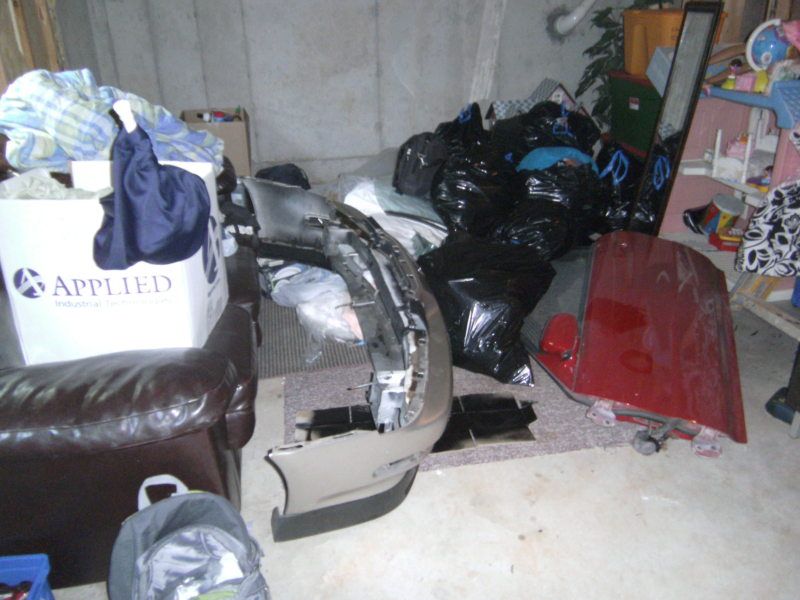
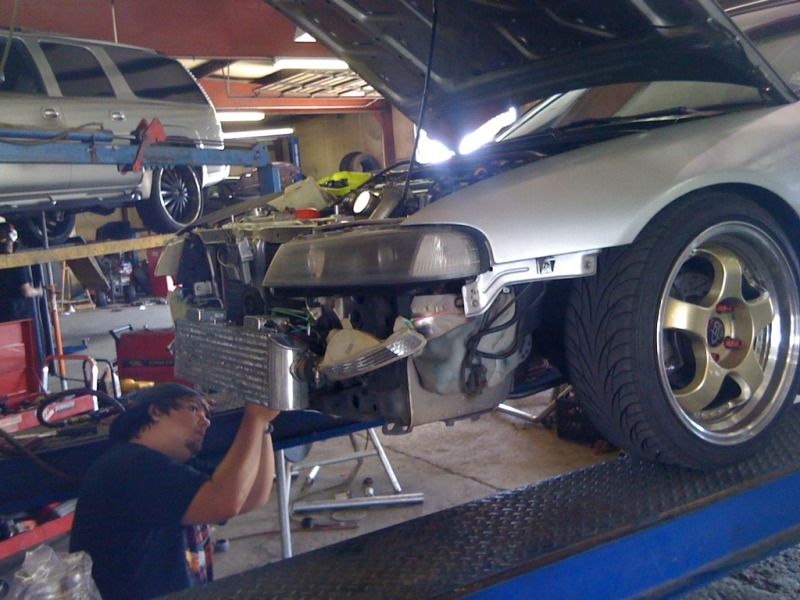
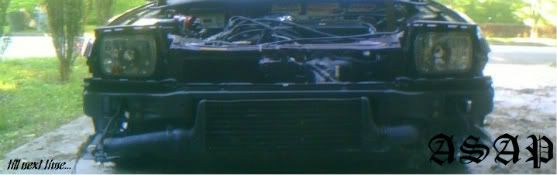
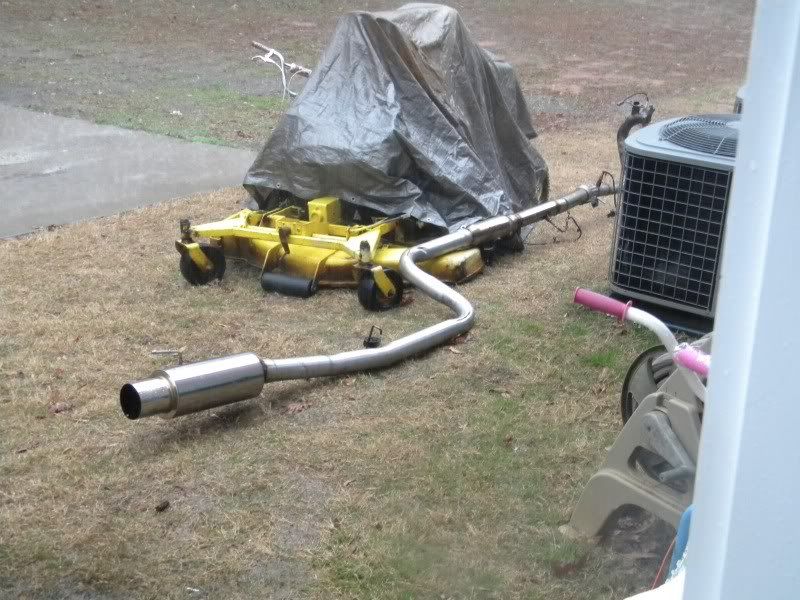
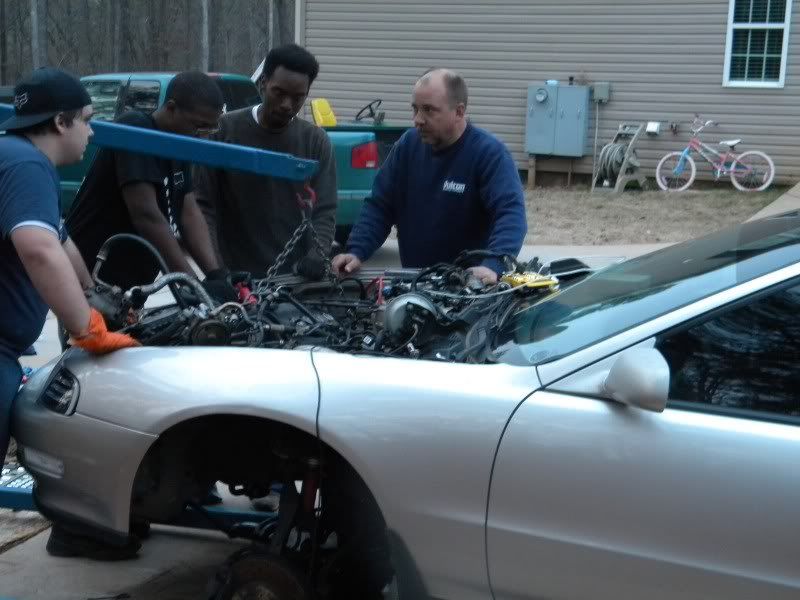
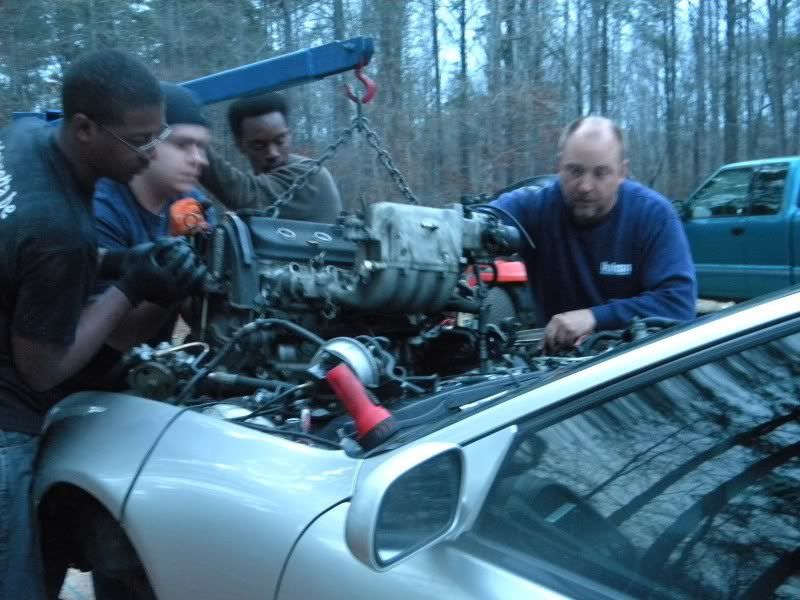
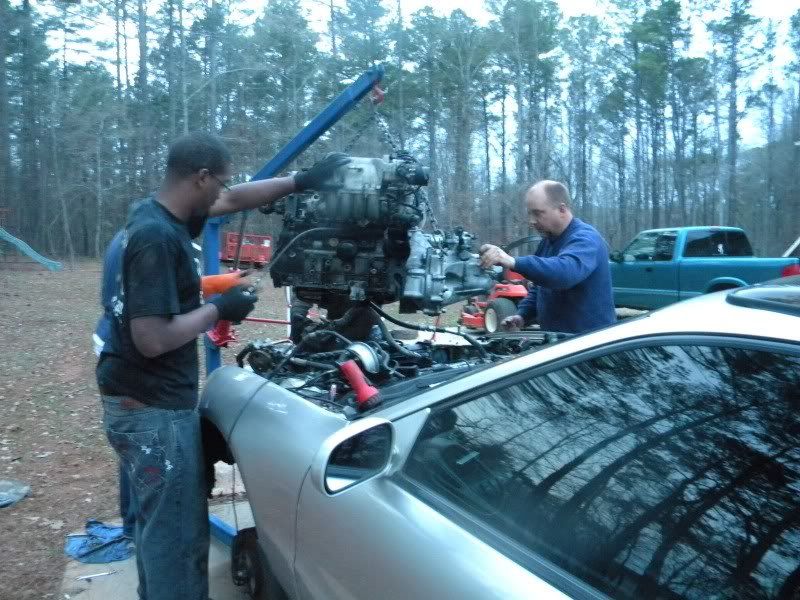
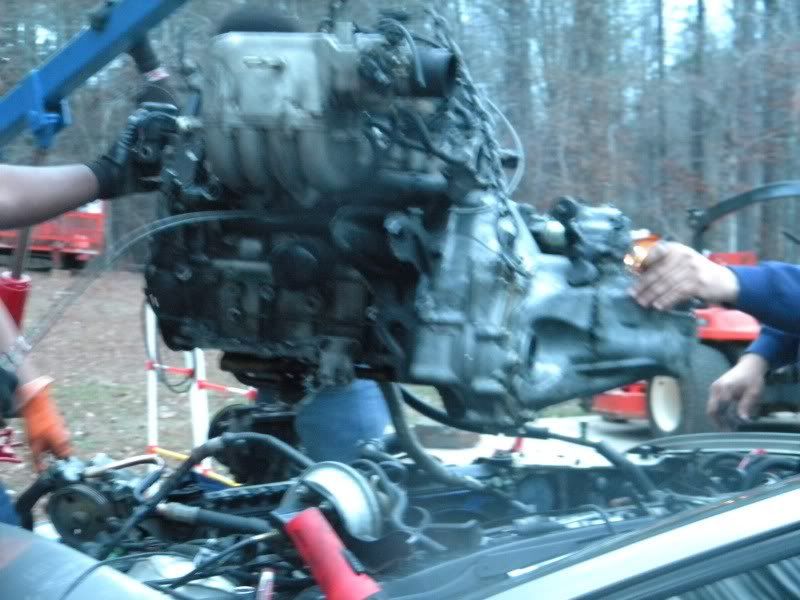
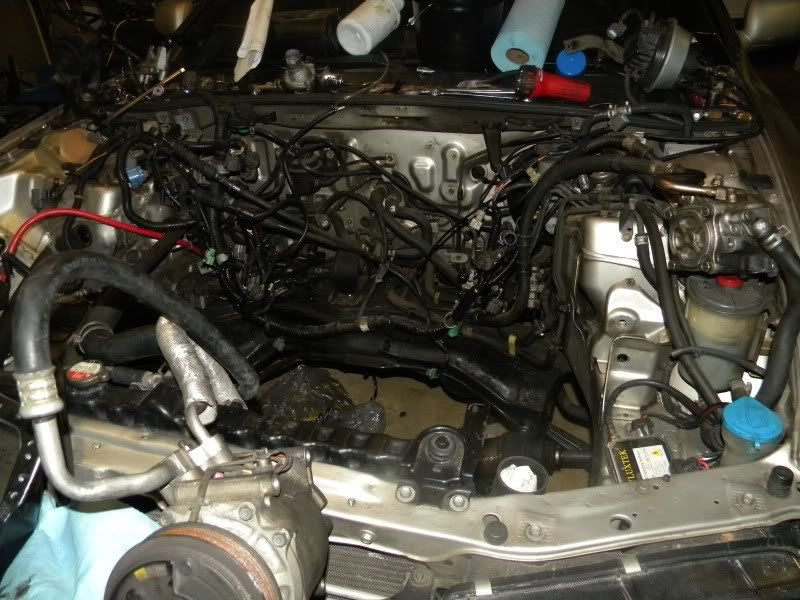
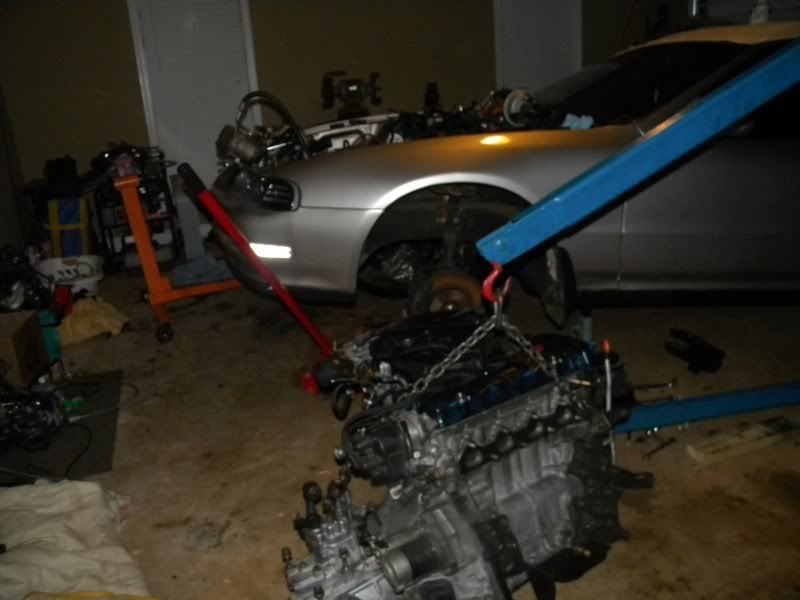
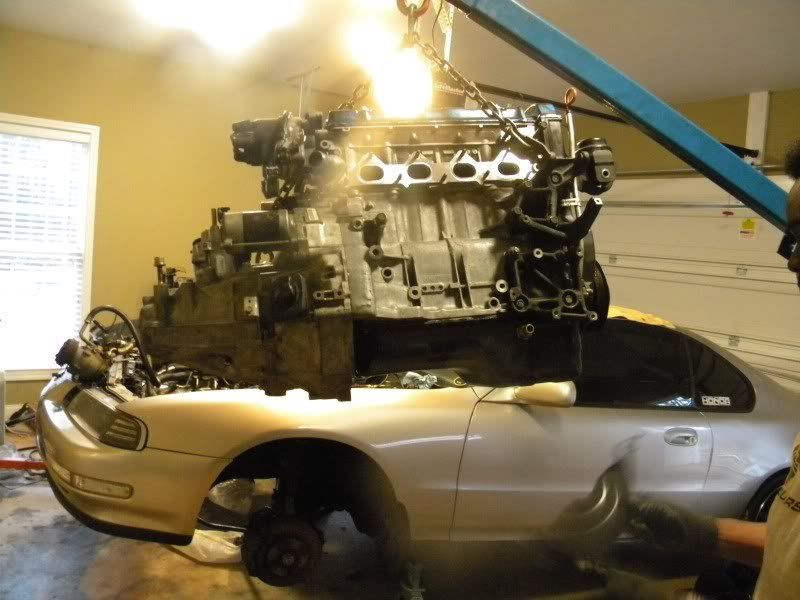
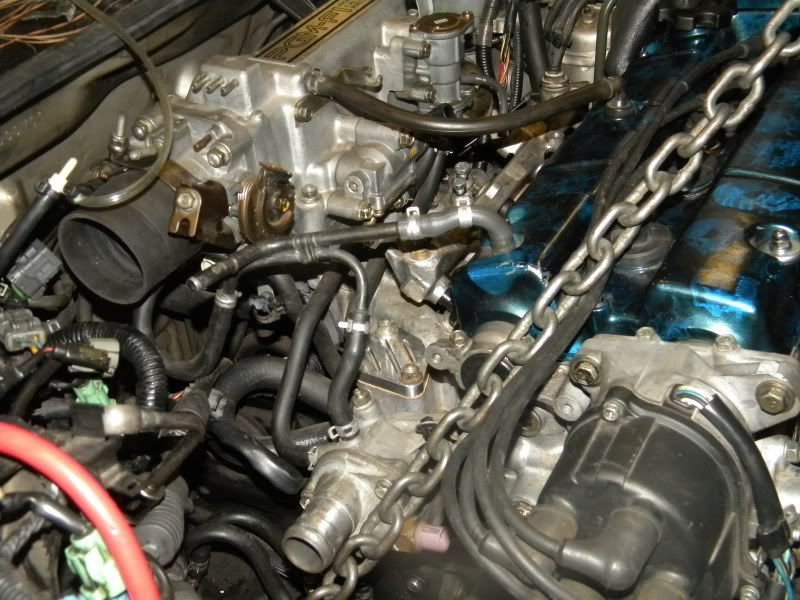
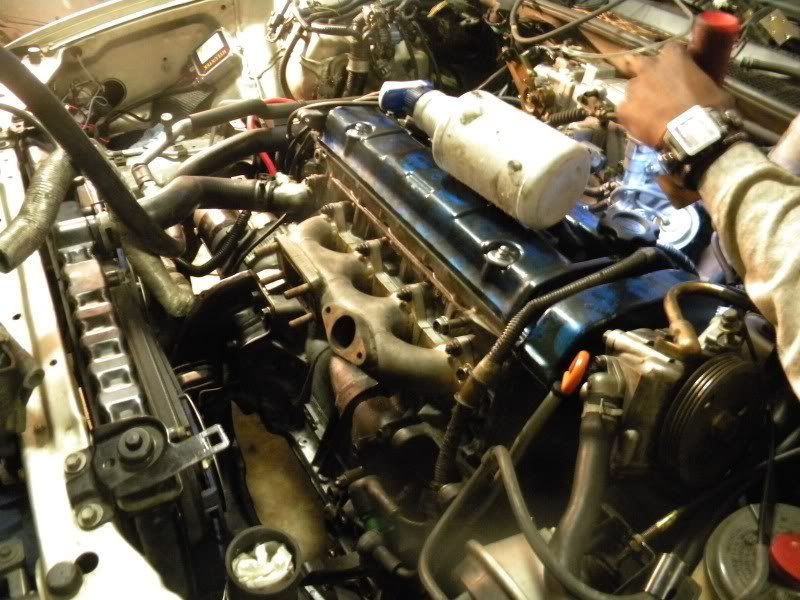
The Carnage
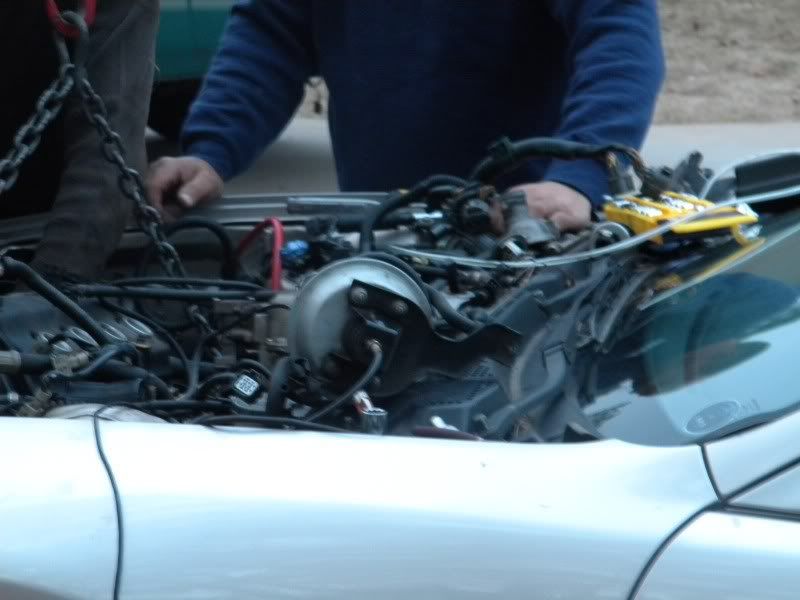
After getting some stuff out of the way
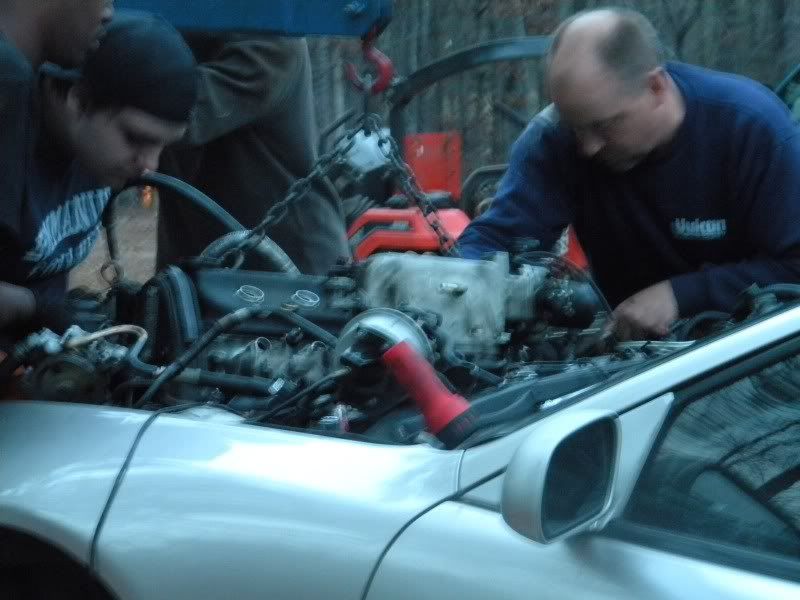
Getting to work
The Thanks
Thanks so much to Tim (Tdurr) and Jeremy (hseries). DEFINITELY couldn't have got this far without your help. I thought I knew a good bit about this stuff, but these guys taught me alot.
UPDATE: 6/9/11
Tdurr and I went last weekend and finished everything up, It cranks, but no spark. Throwing code 15. So I bought a new jdm dizzy (internal coil) and I'm just waiting on that to come in. I plan to swap to external eventually, but this was just a quick fix.
Also bought a few goodies, I figured I have enough go fast parts for now, so the Prelude gets some long over do "look at me" parts.
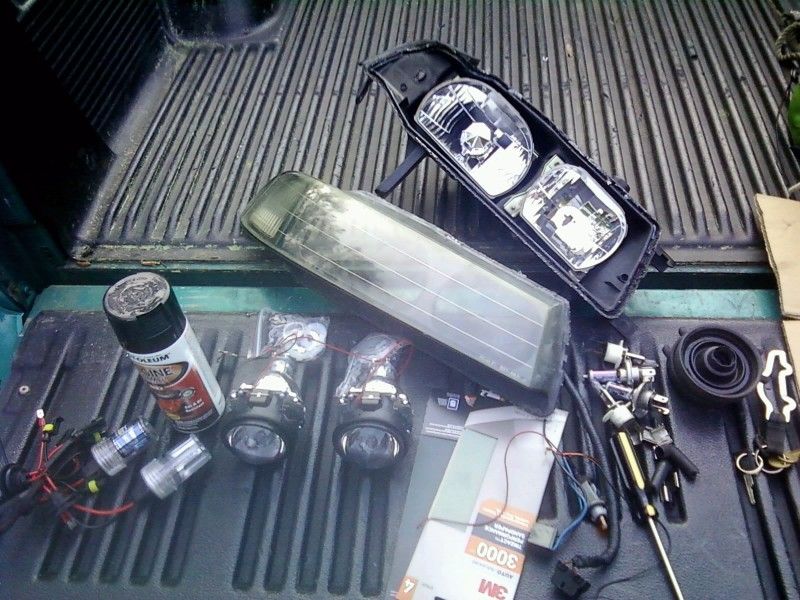
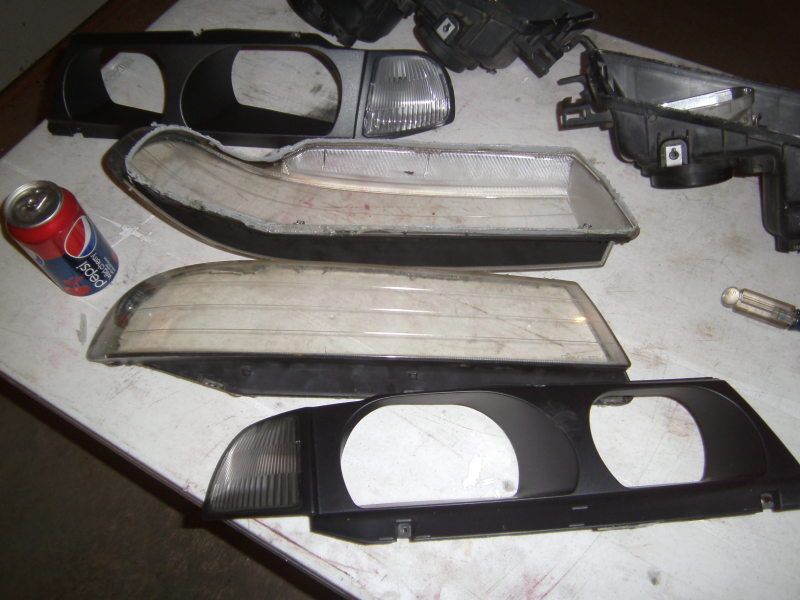
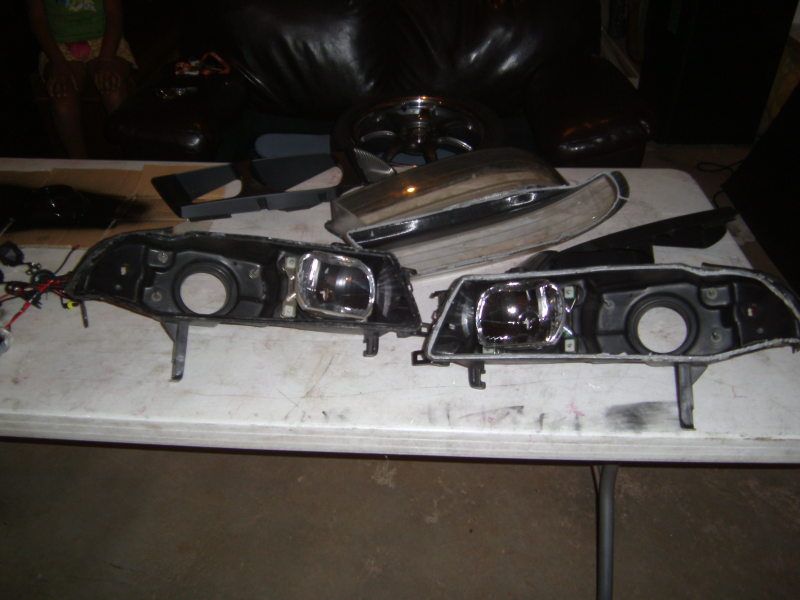
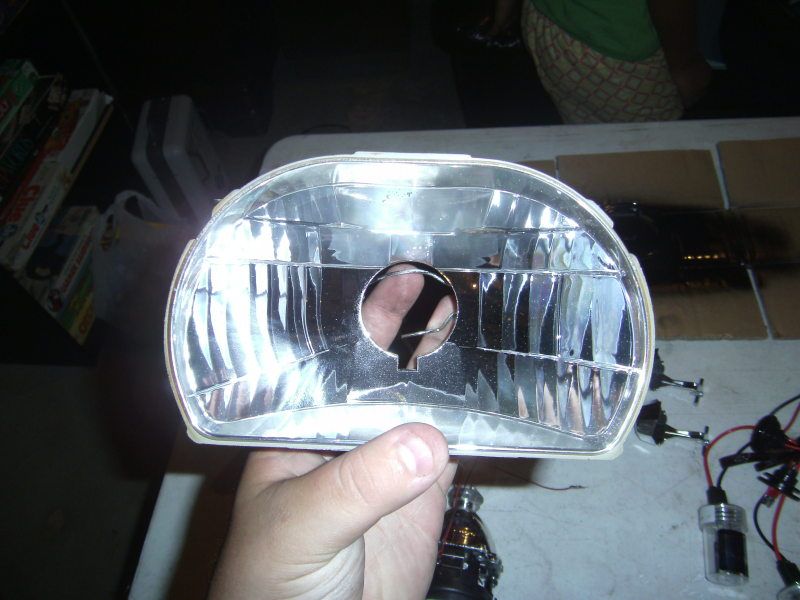
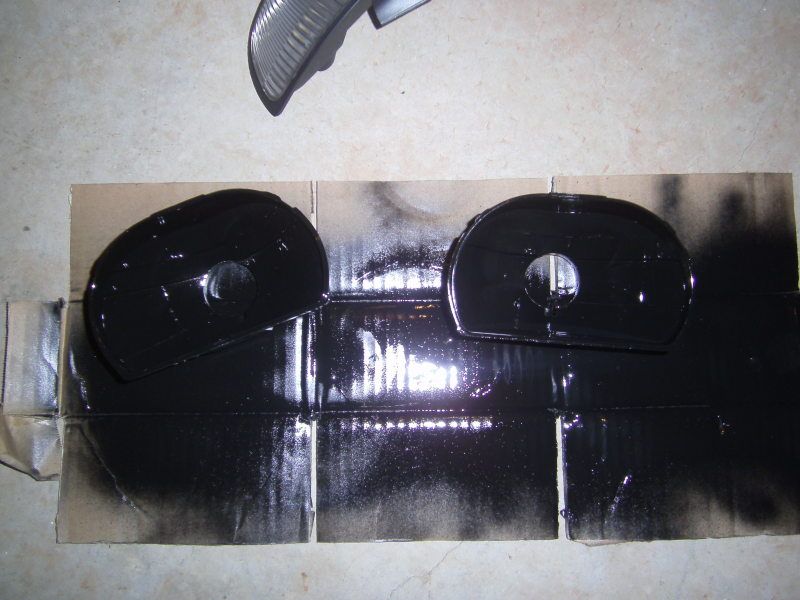
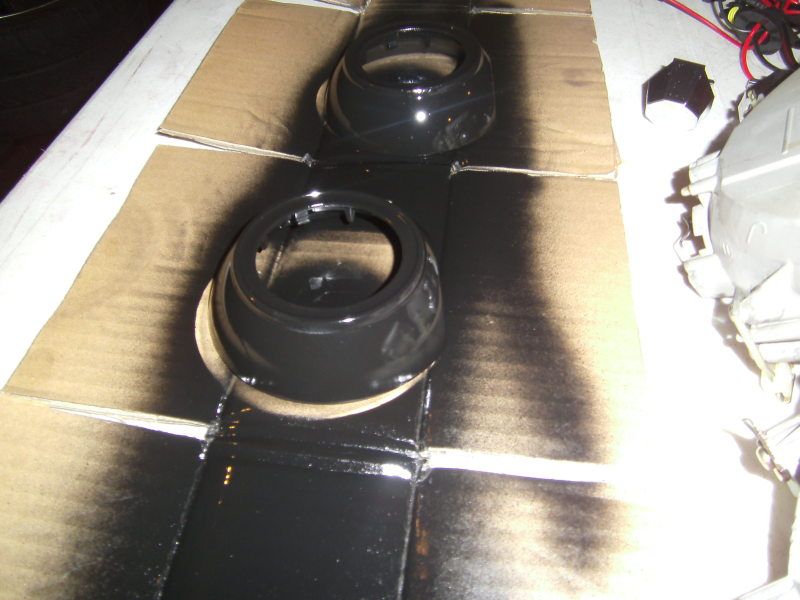
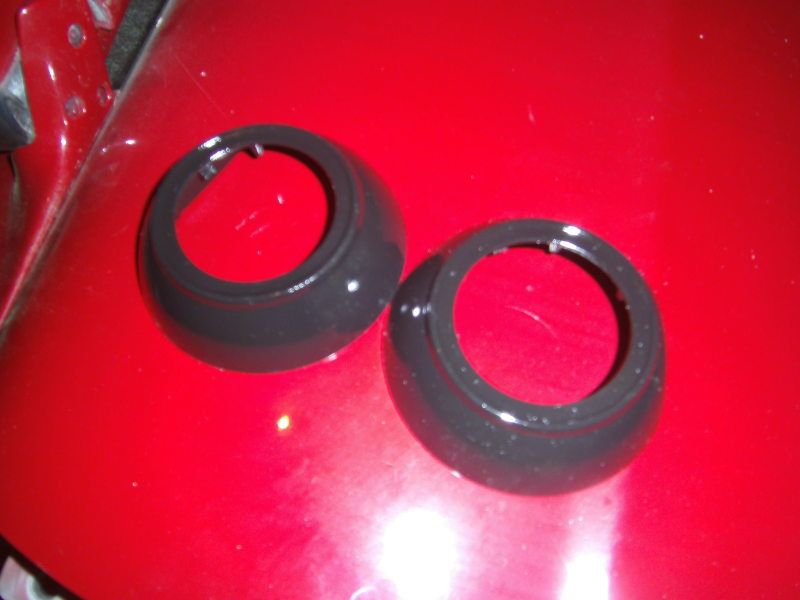
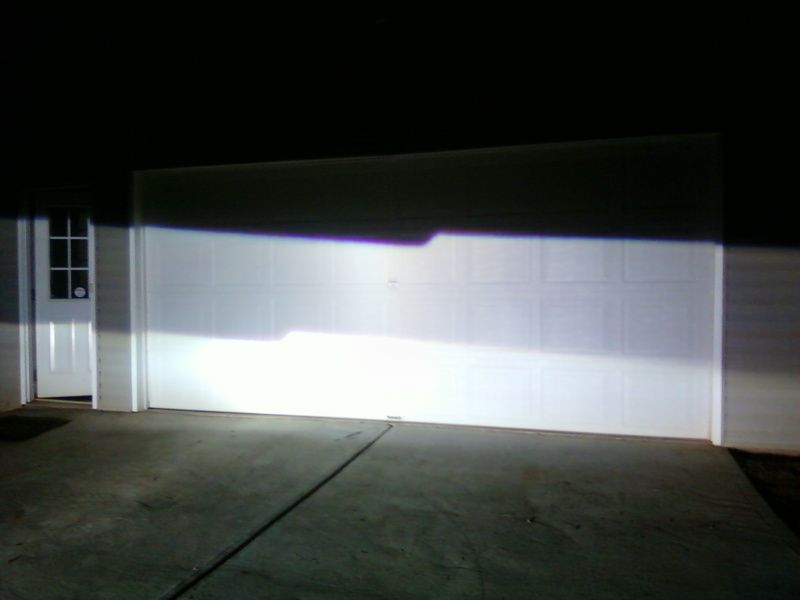
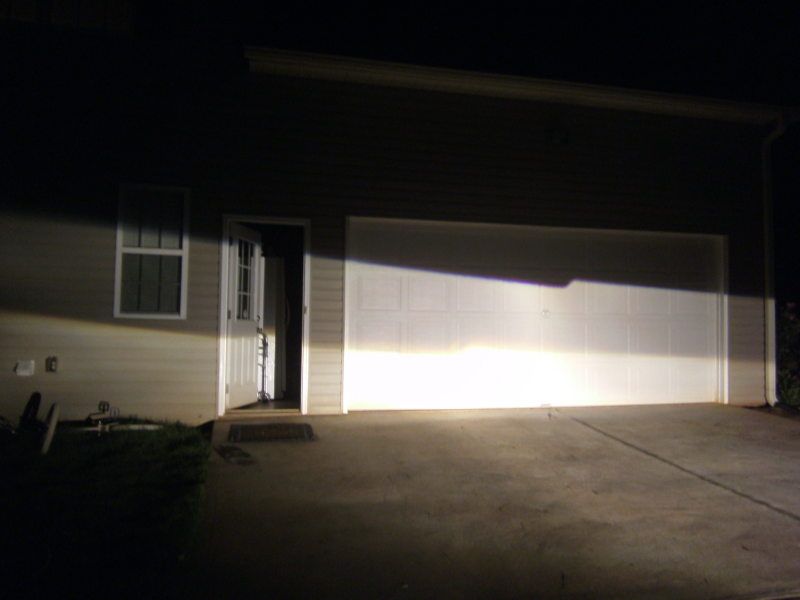
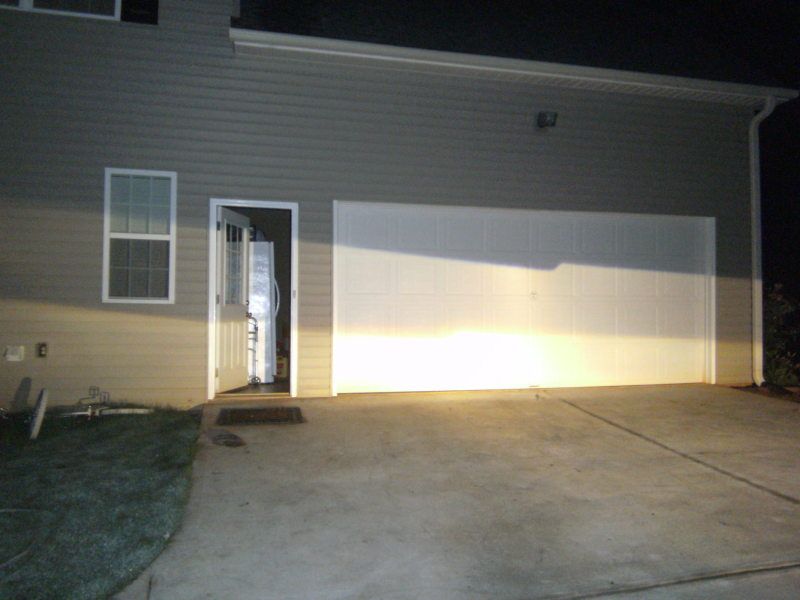
JDM one piece headlights
Aluminum full size radiator, (I already had a dual FAL fan set up with shroud)
5 panel wink mirror
Update 6/16/11
After 2 weeks of no spark, I finally figured out what it was, and I feel really stupid. When I went from external coil to internal, I didn't do anything with the coil plug on the harness! So a 20 amp blade fuse was used to jump off the plug and it started right up. After some idle issues and figuring out the firing order, here it is!
The Revival
Update 6/22/2011
So the prelude is scheduled to be dropped off at Batlground Motorsports (batlground.com) to start wiring up the emanage ultimate. Tuning will take place either the next day or the following tuesday (july 5th). I'll be sure to have Uho (jim) and possibly Tdurr (tim) there to take videos.
Update 6/30/2011
So this morning I woke up 10 minutes before I was suppose to be in court, somehow got my suit on, shaved, made my hair somewhat presentable, and made it on time. I am officially done with all court related issues! It's been a long 5 months...
After court, my dad called and said he picked up the Uhaul auto transport trailer and was on the way to load up the Prelude (I dont live at home). He got up here about an hour later and we were off to Batlground. Hunter, one of the employees there did a great job filling me in on what would take place over the next few days and promised to keep me informed. Wiring started today and will hopefully be done by tomorrow. Then the tune will most likely take place on the 5th. I'm excited about being able to drive the car again, and seeing what numbers it makes, but I'm already in the process of piecing together my next big upgrade. Only a couple people know what the plan is, and It'll stay that way until it's tuned....again.
I forgot to take pictures today because I was so excited, but I'll be sure to have some pics/vids up as soon as I get them. Thanks guys!
Update 7/7/2011
So, change of plans... I sold the prelude and bought a mustang. lol, jk. Batlground called me about a week ago and asked me what I thought about tuning with Chrome. After a little while of talking it over, I decided they knew best. So I ordered a P72 from Dirka Dirka (Eric). It arrived at Batlground today and should be getting chipped/tuned early next week.
Hopefully I can get the car back and get some of the parts laying in my room installed before I leave for import Alliance on the 15th!
Update 7/15/2011
I CANT CATCH A BREAK! AAAAAHHH!!!
Ok, so I got my car back from batlground 2 hours before I had to leave for Import Alliance. I drove it around town and noticed a slight knocking sound. I pulled over, checked tire pressure, checked the brakes, listened to the motor idle and rev a bit. Nothing. So the only thing I could think of was the exhaust knocking against the exhaust tunnel. I didn't have all the hangers on, so it made sense. I drove from Marietta to Mcdonough (an hour drive) to pick up a friend for IA, made it back to I-75 and was in stop and go traffic. At 30mph, in the far left lane, I "hit a pot hole"... Or so I thought. Big bump, scrubbing sound, and then I look out my window and see my wheel rolling next to my car, headed across the median and towards on coming traffic. Apparently somewhere between trailering my car to the shop and coming back up 75, all my lugs loosened and fell off. I'm in no way placing blame on anyone or anything, until I can figure out exactly what happened. The tire caught the fender and folded it under, and it shred the sidewall. Thank god the cross member caught most of the slide, so the oil pan isn't leaking from what I can tell. Radiator is leaking, but I have a new one waiting to go on. Had to get a new tire, and I think my wheel is bent a bit. Also need a new fender. Oh, and 1 stud is stripped and 1 is bent. So I have to address that.
After the whole ordeal, We took a vote (of 2 people) and decided we were still going to make it. We stopped every few exits and checked the lugs. 12 hours after leaving for Import Alliance, we made it.
The Prelude is FAR from finished, or even presentable, but it runs, and it's a trooper.
UPDATE 12/31/11
HAPPY NEW YEARS EVE EVERYBODY!!!
It's been a while since I updated my build thread, so I wanted to catch everybody up to speed. I'll try to list everything in the order it happened.
Bought/ sticker'd my wink mirror
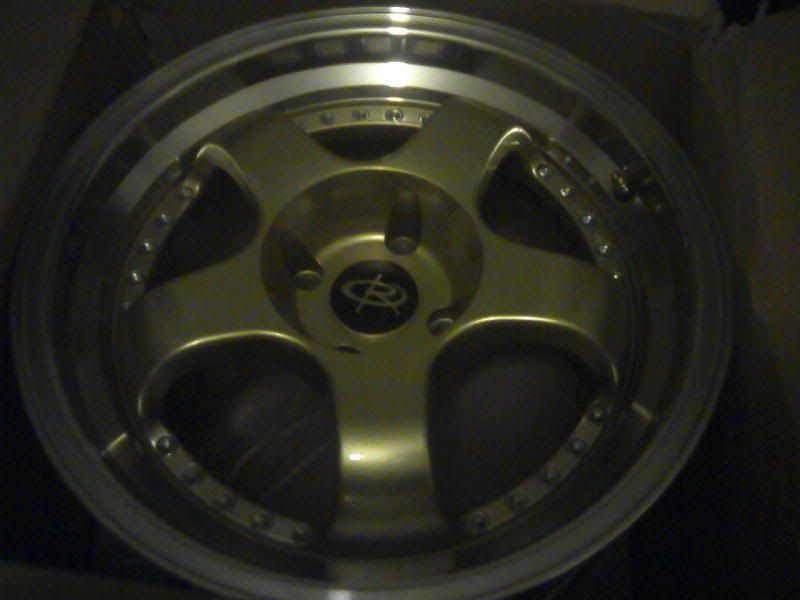
Bought my new wheels!
Rota D2's 17x7.5 +20, 17x8.5 +25
Because the SSR SP-1's I bought turned out to be a scam and a huge lose of money, I bought these, which are replicas. Sad thing is, I already bought ssr center caps and spoke decals (caps were around $86 a piece!). So I'm kind of throwing around the idea of "rebadging" these wheels with the ssr caps and decals. If anyone asked, I'd tell them they're rotas, but it would just make me happy to at least LOOK like I got what I already paid for.
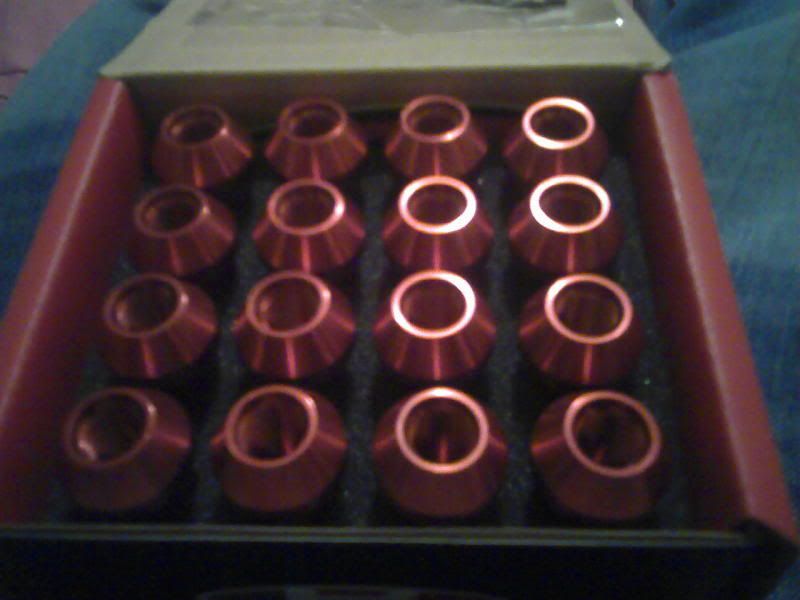
They will be paired with these:
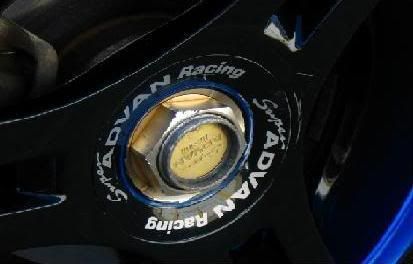
Blox open ended lug nuts, red chrome (to follow the theme of the engine bay)
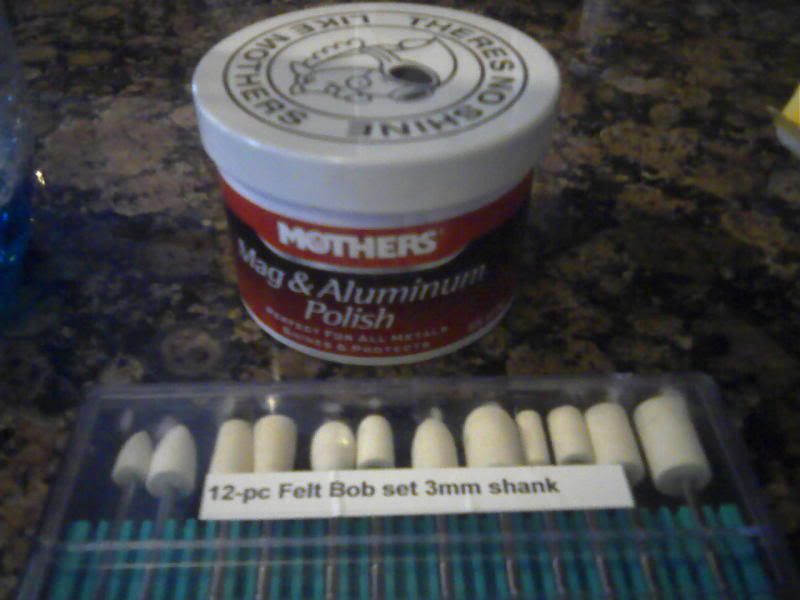
Then came some much needed cleaning. The prelude sat for a year while I did the swap, so everything was neglected. It still needs a full detail, but I did a couple touch ups for now.
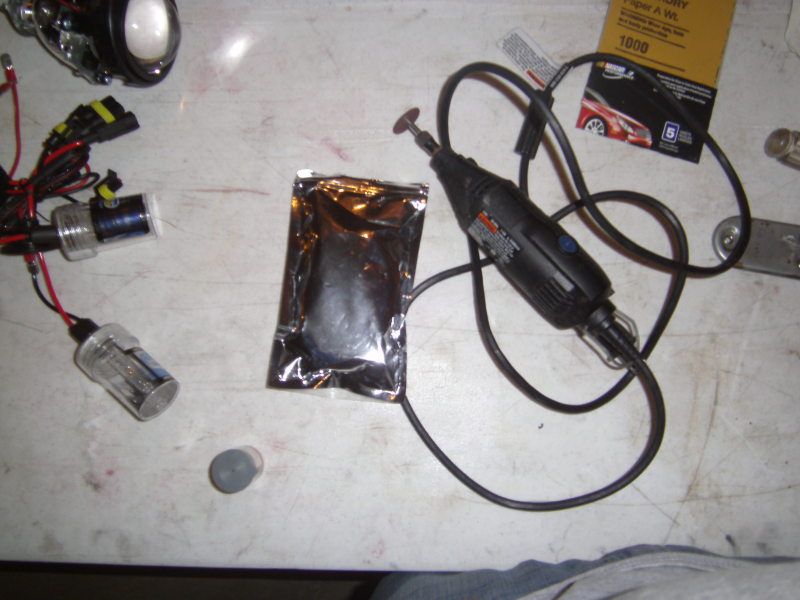
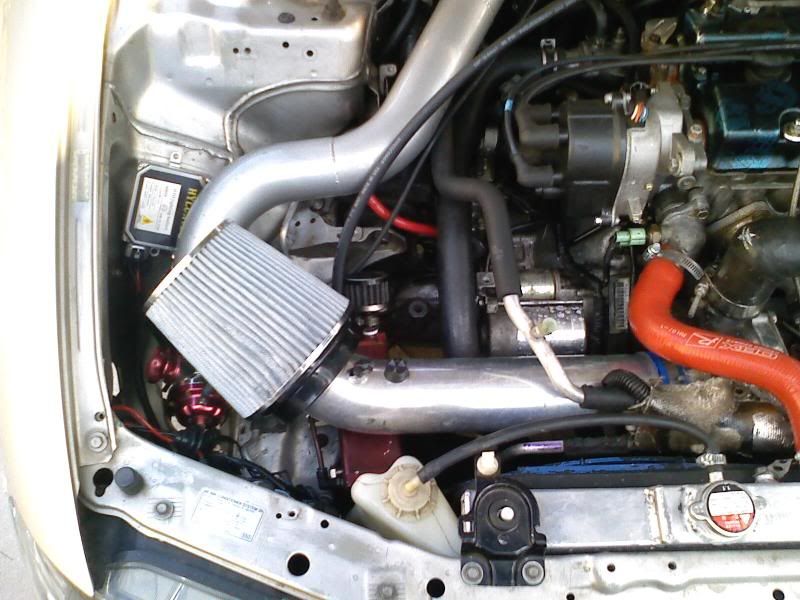
First, I broke out the Mother's Aluminum polish and dremel.
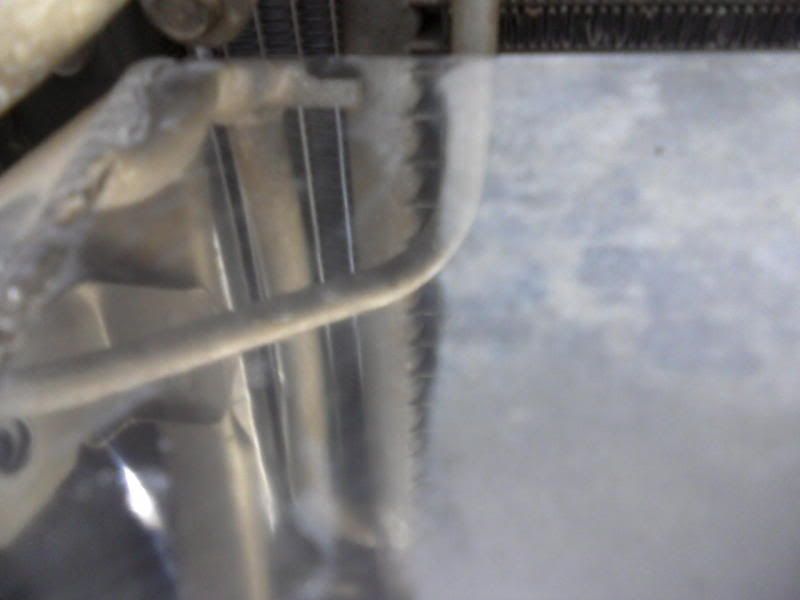
Here is my the before/after effects on my intercooler. This is the top of the intercooler. The left has been polished to a mirror finish (you can see the ac hard lines in the reflection). The right side has been wiped down with a damp cloth, but is still like looking at a baking sheet. I was really pleased with this polish and this technique. I'd recommend it for any aluminum that isn't clear coated.
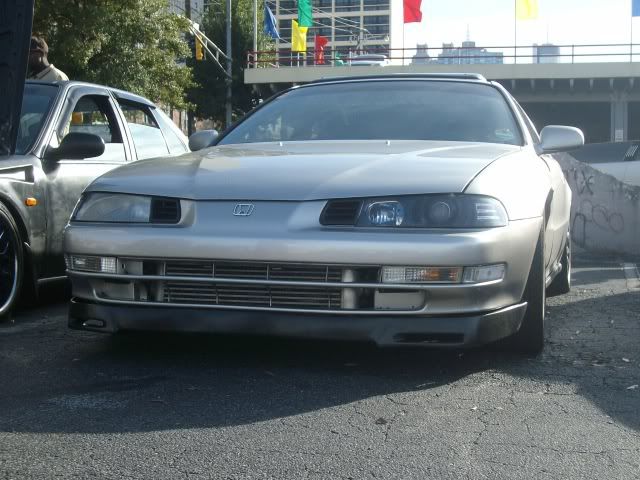
Here's a full view of the car after removing the bumper to polish the FMIC.
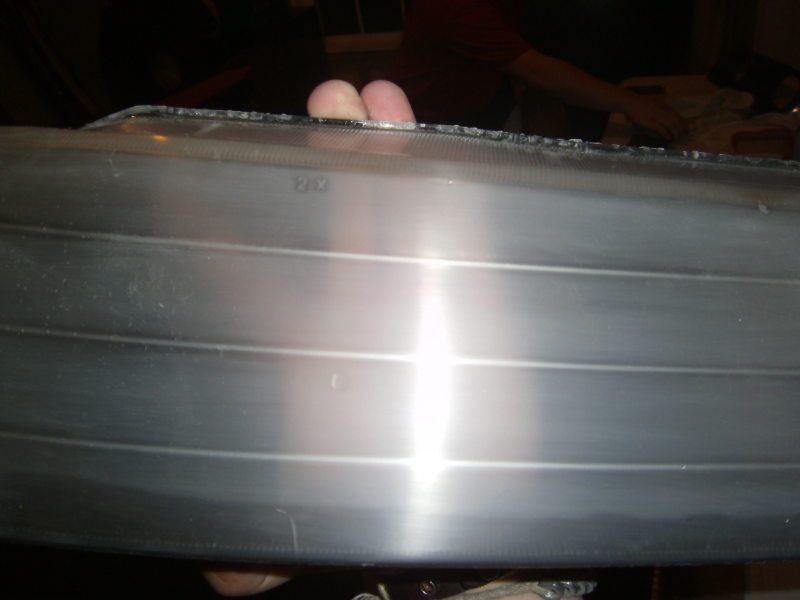
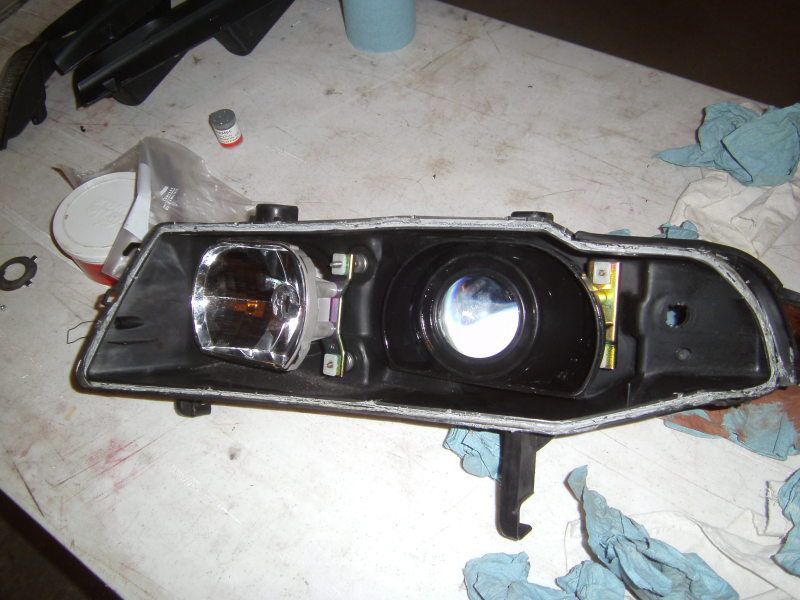
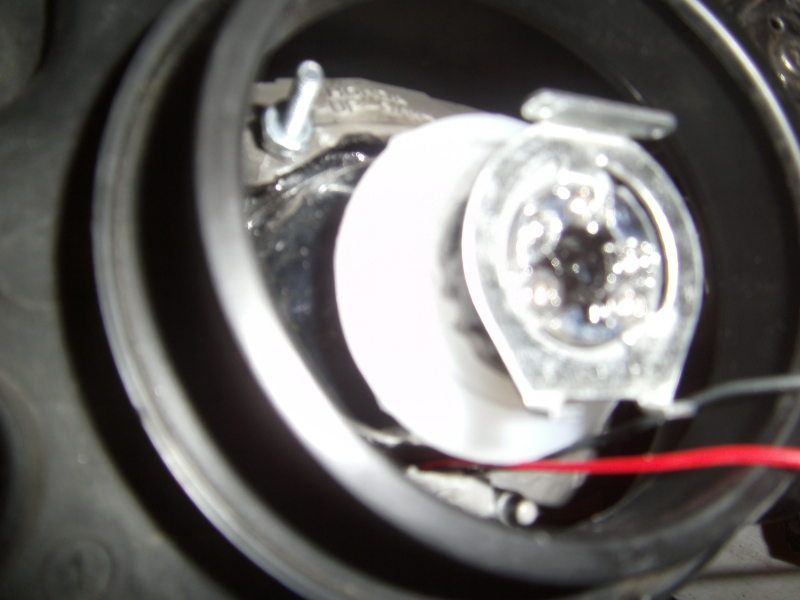
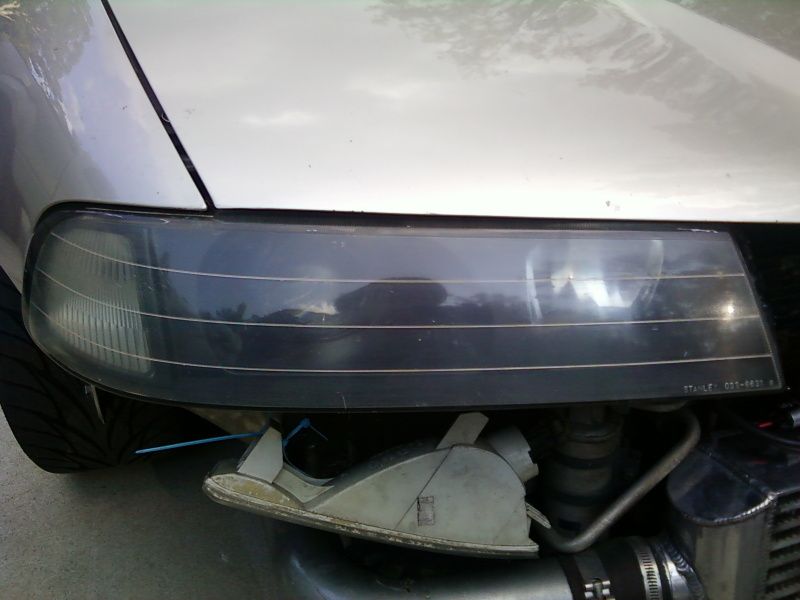
And a close up of the headlight harness that I desperately need to address. I've had 3 sets of headlights in this car, and am about to swap to the 4th. Every time the harness is different, so the previous one is cut/soldered. I'll be cleaning all that up when I install the jdm lights.
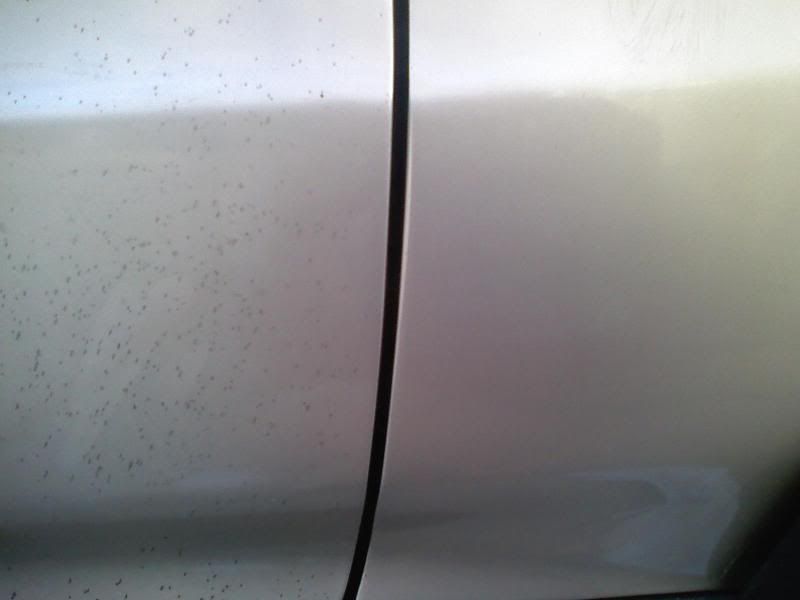
Also took some time to clean up some asphalt spots on the side of my fender/door. They wouldn't come off in a normal wash, so I used turtle wax rubbing compound. Also awesome stuff.
Next, I installed my Accord rear lip. This is a fairly common mod for 4th gen preludes and it really does a lot for the rear end, in my opinion. I plan to paint match it when I paint the rest of the car.
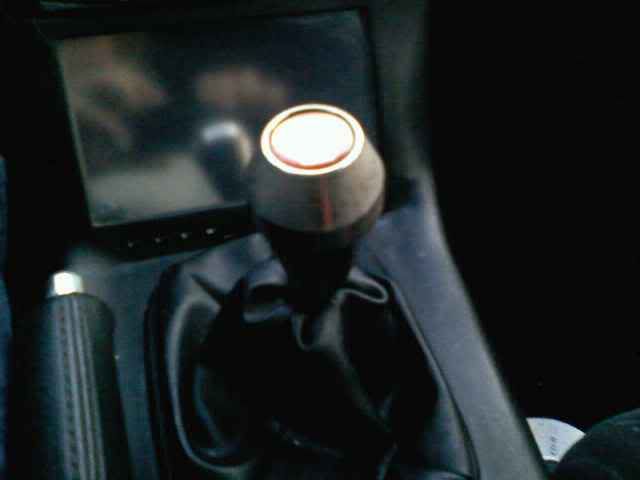
Also picked up a greddy shift knob (with the red insert, go figure!) from a guy on craigslist. $25 for a $70 knob isn't bad. I love the weight too. Sorry for the blurry picture, I was driving, lol. You can see my reflection in the indash touchscreen.
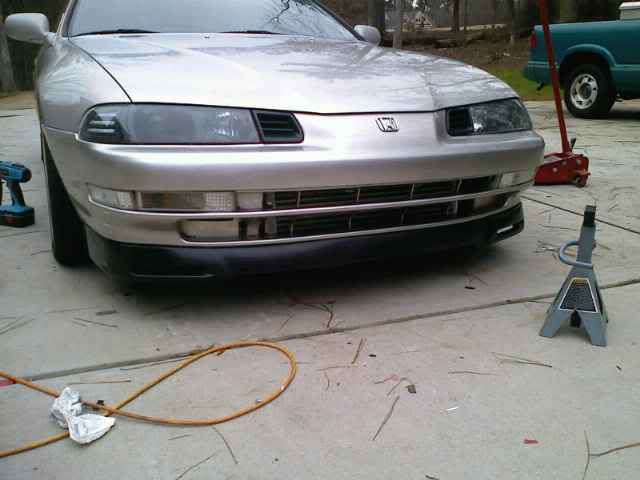
Lastly, I REALLY needed to address my front lip fitment. I showed up at the last prelude meet with it halfway hanging on and was really embarrassed. Here's a pic from that meet. (courtesy of Davis' girl)
It's an ebay lip to begin with, but I had no clue the fitment/mounting would be THIS bad. There was no flat edge to screw/bolt through to mount the lip around the curve of the bumper, so I had to use a cutting wheel on the dremel and make my own edge in several spots around the lip. Thankfully, it's on the inside so you can't see it. Here's the lip after being stretched/cut/bent/screwed/taped for about an hour.
Almost forgot, i mounted my catch can too. Not much to say, Greddy catch can, painted chrome red.


 Reply With Quote