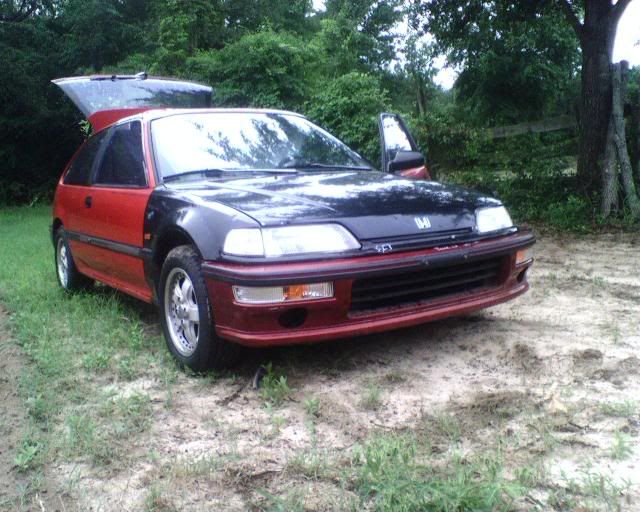
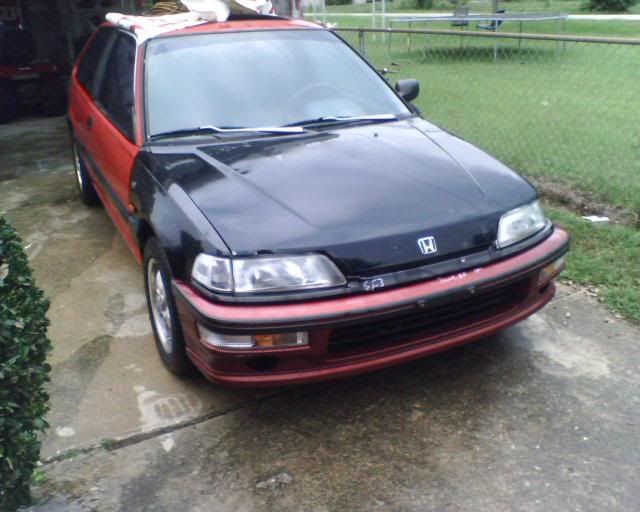
As a result of wreaking my last car and buying another, I decided to writeup how to install a Suspension Techniques rear bar on a 89-91. Please note that I am transferring the bar over, so some parts of this are from memory.
Tools Needed
14mm socket (2 or socket + wrench)
17mm socket
Cold chisel and Hammer (see below)
Paint (optional)
Safety
You will be working underneath the car. Always place jackstands under the jack points. Do NOT work under your car supported solely by the jack (this is a cliche, but important). Also, glasses of some sort can help to keep dirt out of your eyes under the car.
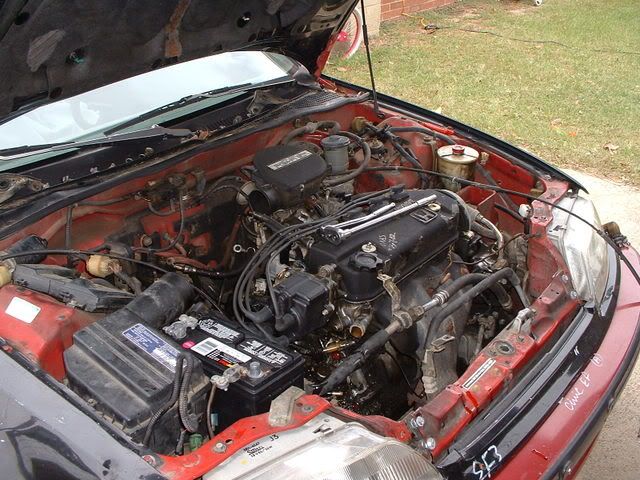
Prep Work
Jack up the car and support it with jackstands. If you own an Si, you will need to take off your stock bar. This is done by removing the 14mm bolts holding the bar onto the control arms (1 per side) and the four bolts holding on the brackets, located just in front of the rear tow hooks.
If you are using shocks that have a welded nut to them, you will need to remove this using a cold chisel and hammer. Place the chisel at the base of the nut and knock it off (if you want, you can clean up this area and repaint it). This can be done on or off the car.
Shock before (simulation):

Shock after:

Next, take off your rear tow hooks. Each is held on by three 14mm bolts.
Finally, you may or may not find it easier to remove the exhaust if you've got one.
Assemble the Bar
The bar can be assembled on or off the car. I already had it built, so I'll cover the assembly off the car.
All bolts/nuts in this section are 14mm.
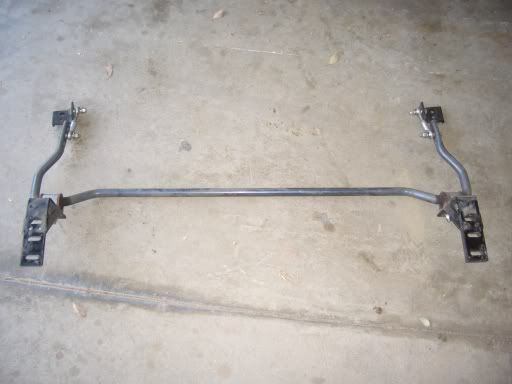
First, grease up the bushings. Slip each one over the bar where it flattens out on the sides. Place the holder over each, and attach it to the brackets (Bolt-washer-bracket-washer-nut).
Completed bar:
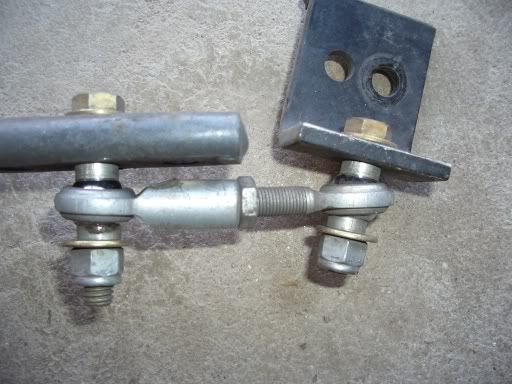
Next, assemble the end links. Attach onto the swar bar, inserting the bolt from the outside (bolt-washer-spacer-endlink-spacer-bar-washer-nut; keep in mind the pictures of the bar off the car have the link on the opposite side of the bar due to some fitament issues on my old car). A note here, I wouldn't place the bolt through the hole closest to the body of the bar (stiffest) if this is your first time with the swaybar. Start at either the far or middle whole, then stiffen it if you like.
Attach the other end of the link the the bracket, with the bolt head facing the inside of the bracket (bolt-washer-bracket-spacer-endlink-spacer-washer-nut).
Close-up (bolt attached to the bar is reversed):
 Install On Car
Slide the bar in above the lower control arms. Attach the brackets to the tow hook holes with the provided 17mm bolts like so:
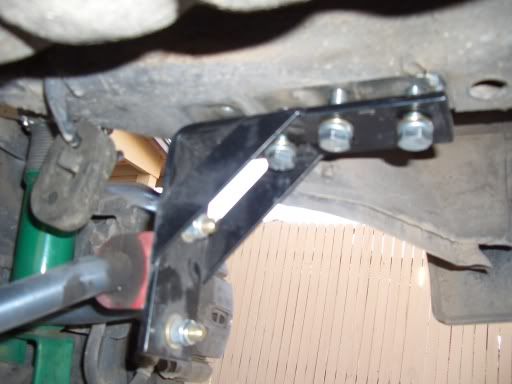
You can choose to place your two hooks back on underneath the bracket if you'd like.
Once the bar is tightly attached to the car, attach each side to the shock. Assuming you have removed the lower shock mount bolts, place the bracket over the shock so that the lip is flush around the side:
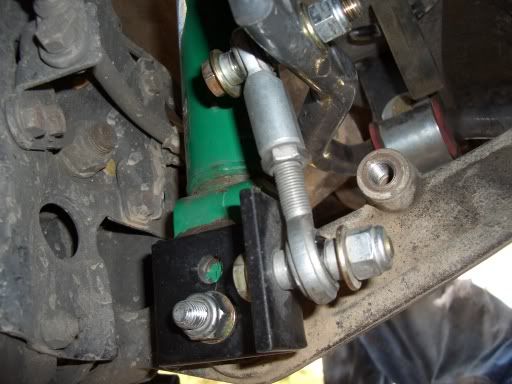
Attach this assembly with the 14mm bolt (bolt-washer-shock-LCA-shock-bracket-washer-nut).
Finish/Adjust
That's basically it. Make sure everything is tight, then lower the car back down and drive. From here you can fool around with adjusting the endlinks or changing the stiffness. I find the middle setting balances the car the best (with a stock DX or Si front sway at least), but it's all up to you.


Originally Posted by StraightSix


 Reply With Quote

 Also, I just picked up a rear disc conversion for the hatch also.
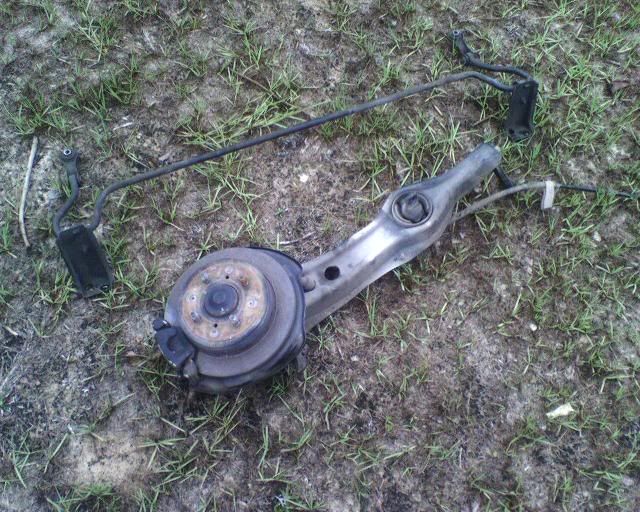
 ) and we did a little trade. I hooked him up with a b16 flywheel and Si Knuckles and he gave me a manual pedals and clutch cable. Now I have everything need to convert my car over to manual (if JDMJAYDC2 stop BS'n with the shift linkage!!!)


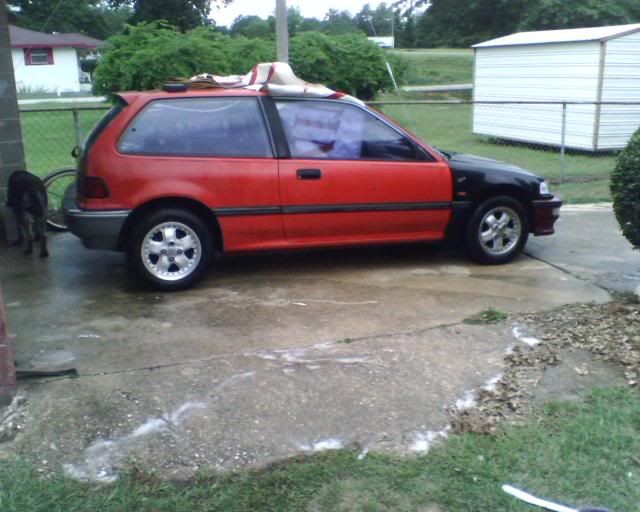


 Now time to fix the roof and the dd will be on the road.


 EvasiveEF9