Page 1 of 25 1234511 ... LastLast
Results 1 to 40 of 961

Thread: My K20a2 EG build up thread - TONS of pics!

  1. #1
    Senior Member
    Join Date
    May 2005
    Location
    Southside
    Age
    45
    Posts
    1,268
    Rep Power
    20

    Thumbs up My K20a2 EG build up thread - TONS of pics!

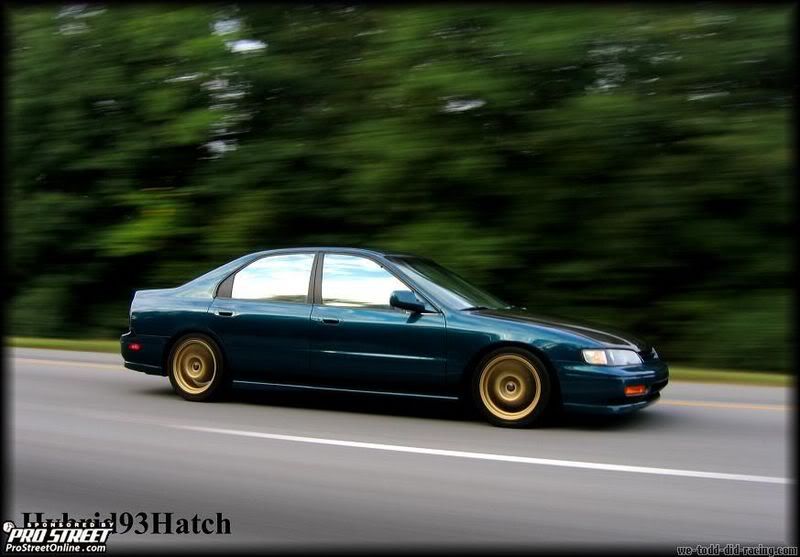
    Welcome to my 95 Vx / K20a2 build thread

    Started: January 02, 2007
    1st drive: September 15th, 2007.
    Completion: When she's at 375+whp

    Major props to these 2 guys (SneezinCD5 & pipfrost)
    Would of never made it to the 2007 ATL Nopi Nationals if it weren't for them

    pipfrost: My father who took 2weeks away from work and his life at home to help me build this hatchback in 11 days from the ground up. Yes, my dad is AWESOME!!

    SneezinCD5: Responsible for laying the midori green paint. Also, helped the few days before the Nationals. A lot of you know him, his work, and reputation behind it all If you don't know him (Jason) or his work....check it out > > HERE!!

    **Click the pics for larger view**

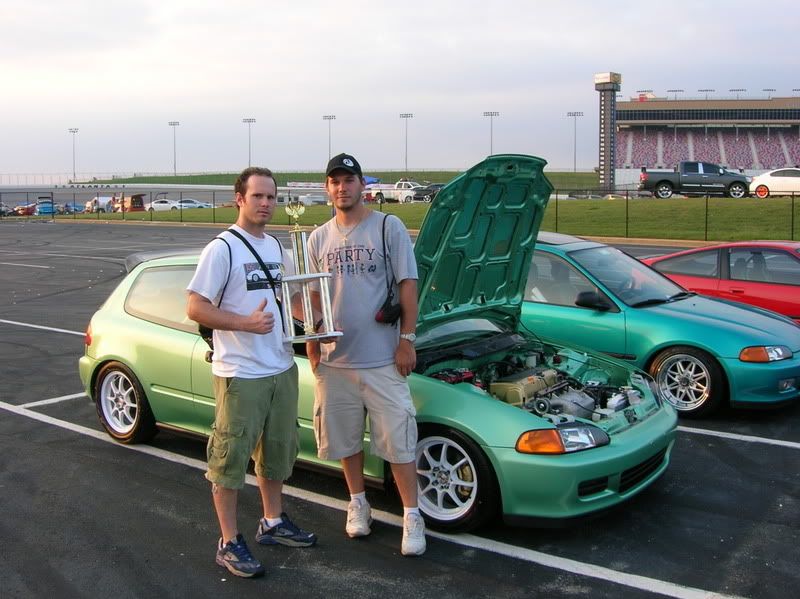
    March 30, 2008 - Commerce, GA; ATL dragway Nopi show

    Left to Right:
    Fuster_Cluck - Best of Show (Honda)
    1_fly_si - 2nd place (Honda)
    SneezinCD5 - 1st place (Honda)
    Brad - 1st place (JDM)


    [b]2007 Nopi Nationals ATLanta Motor Speedway

    Me & pops Sept. 15th, 2007 - - - - - Me & Jason Sept. 16th, 2007 - - - - - - - - - - - - - 2nd place

    :hugs: :hugs:

    **Table of contents**
    (Click on the page you would like to view)
    **Contents of each page coming soon**

    Page 1 (138 pics) -- All reps given
    Page 3 (15 pics = 153 pics)
    Page 4 (16 pics = 169 pics)
    Page 5 (73 pics = 242 pics)
    Page 6 (69 pics = 311 pics)
    Page 7 (34 pics = 345 pics)
    Page 8 (77 pics = 422 pics)
    Page 9 (42 pics = 464 pics)
    Page 10 (60 pics = 524 pics)
    Page 11 (12 pics = 536 pics)
    Page 12 (56 pics = 592 pics)
    Page 13 (14 pics = 606 pics)
    Page 14 (10 pics = 616 pics)
    Page 15 (5 pics = 621 pics)
    Page 16 (11 pics = 632 pics)
    Page 17 (14 pics = 646 pics)
    Page 18 (20 pics = 666 pics)
    Page 19 (31 pics = 697 pics)
    Page 20 (9 pics and counting.....)

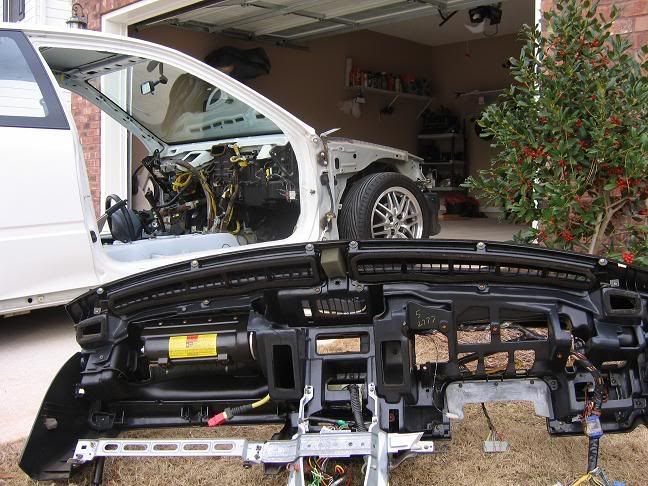
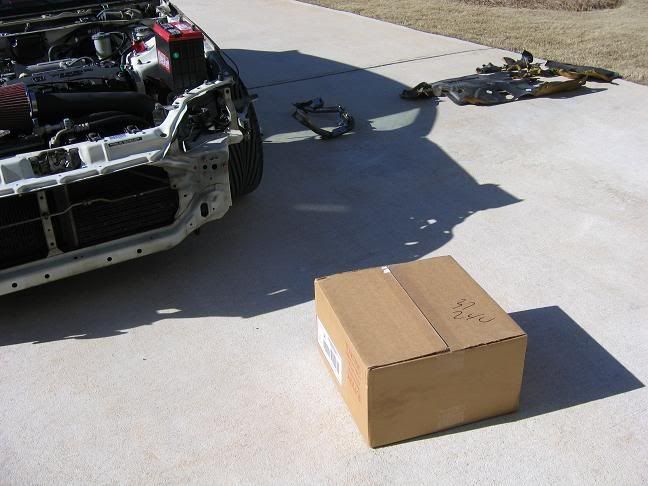
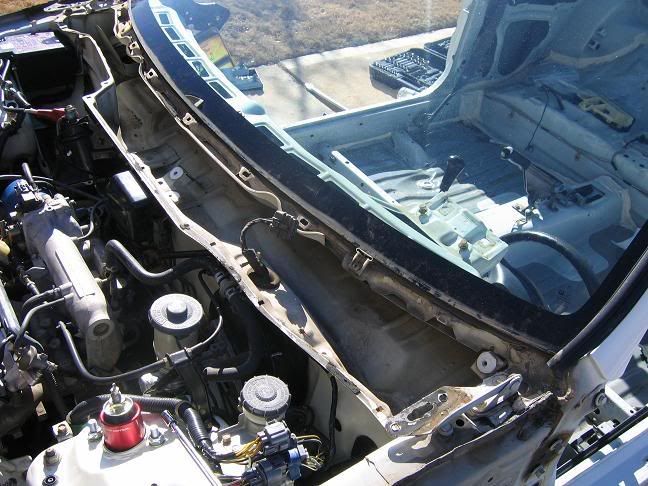
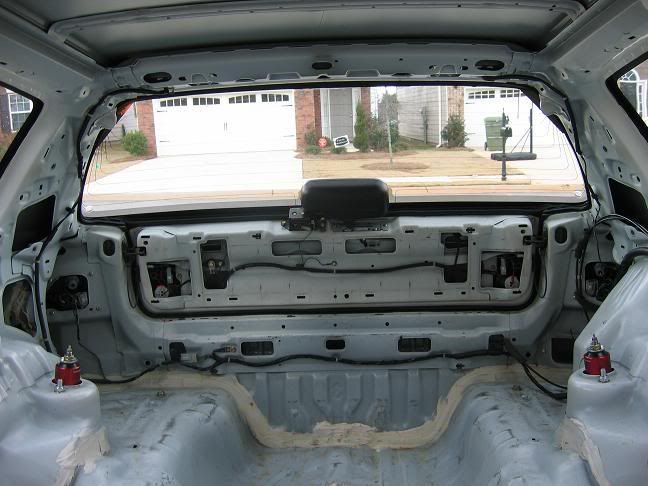
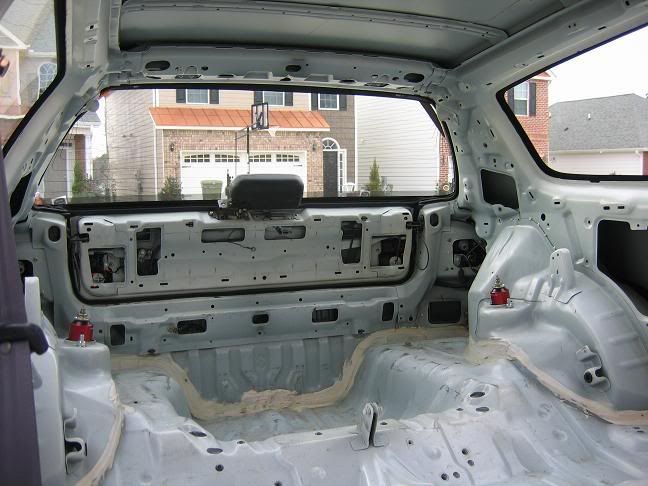
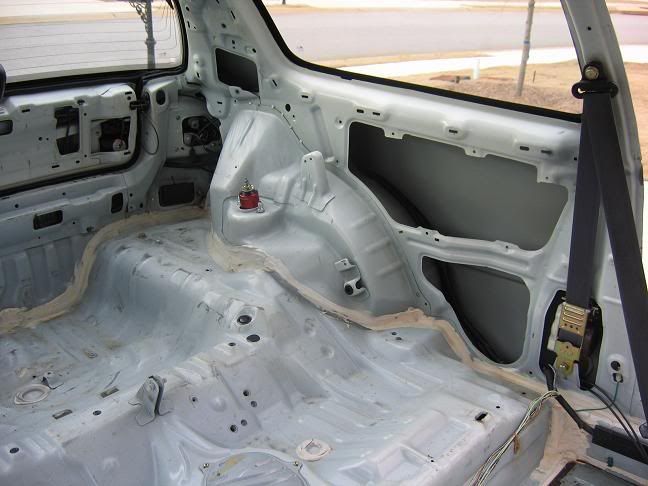
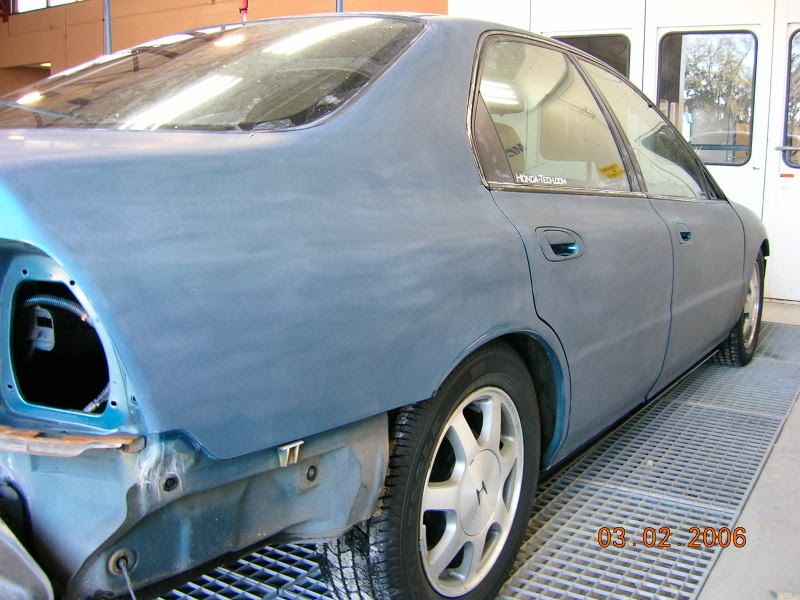
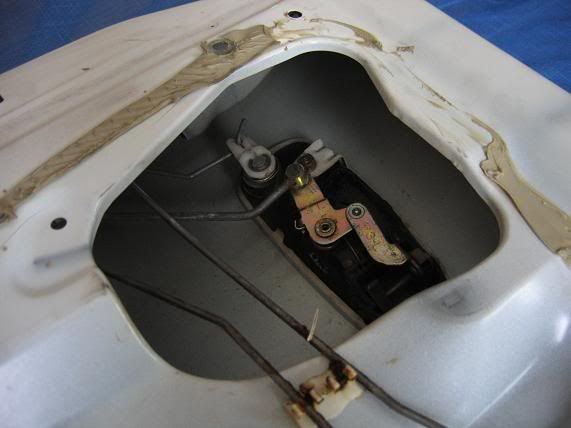
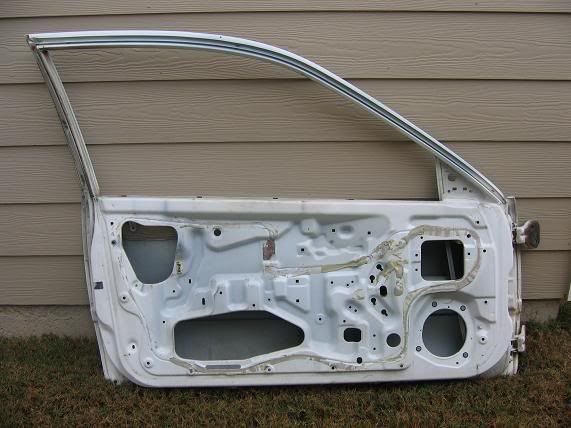
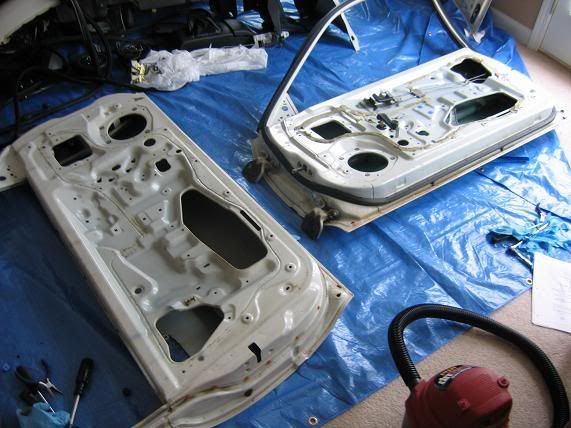
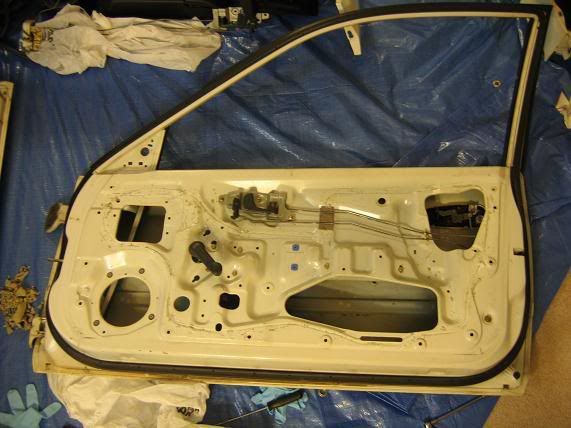
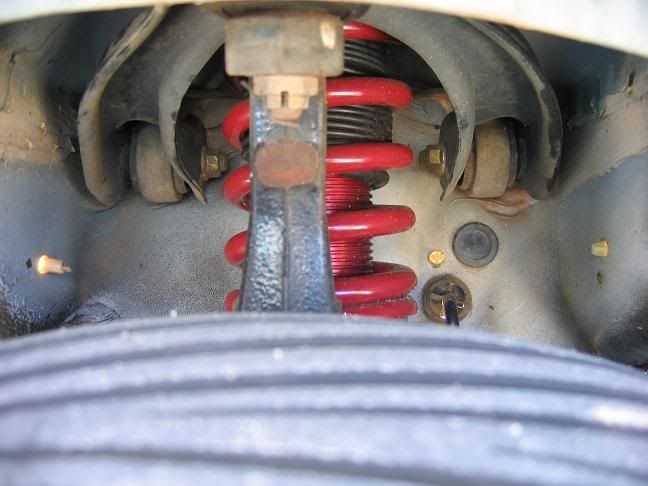
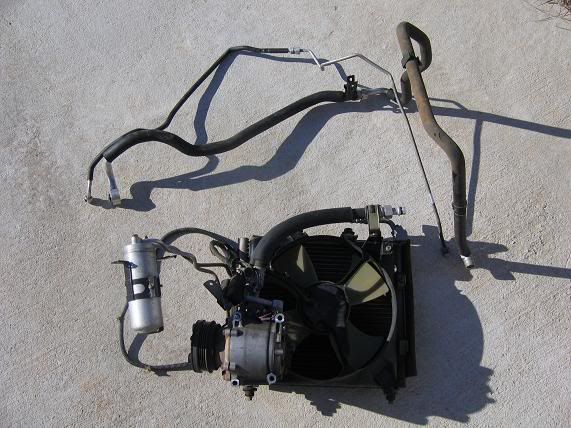
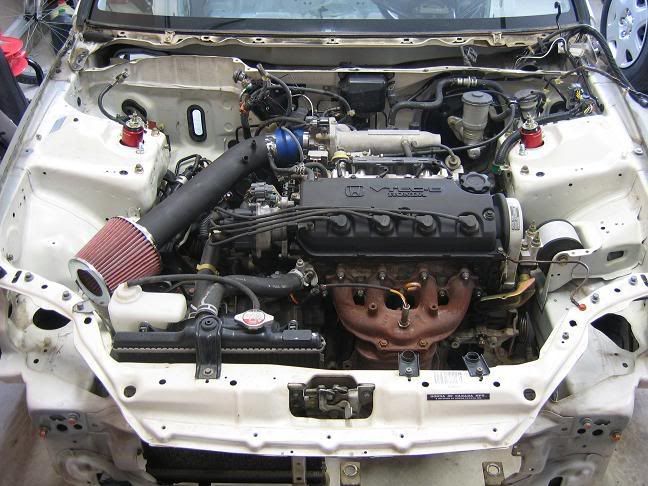
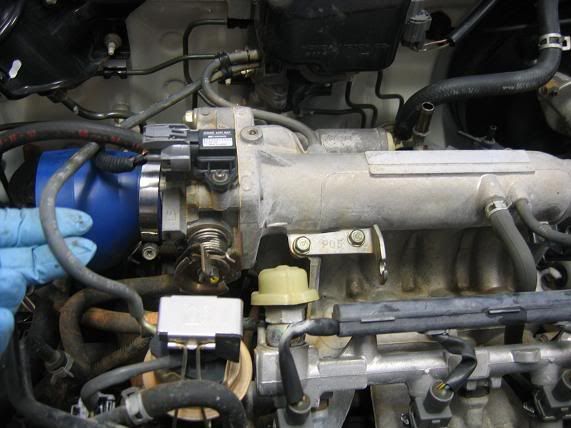
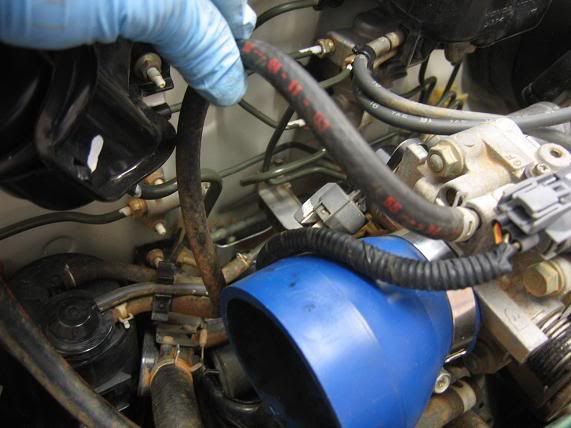
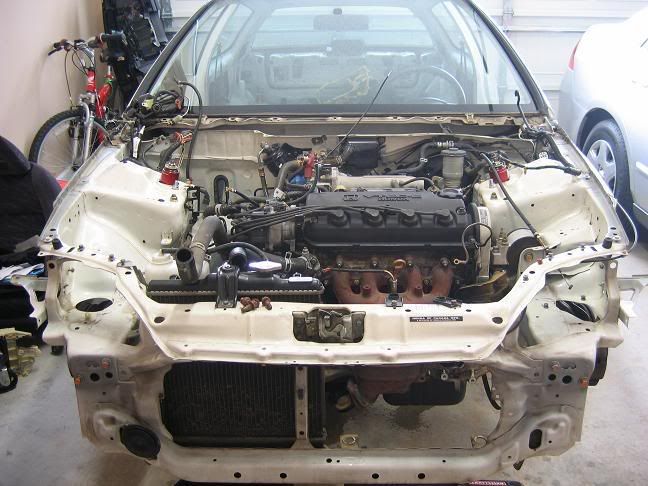
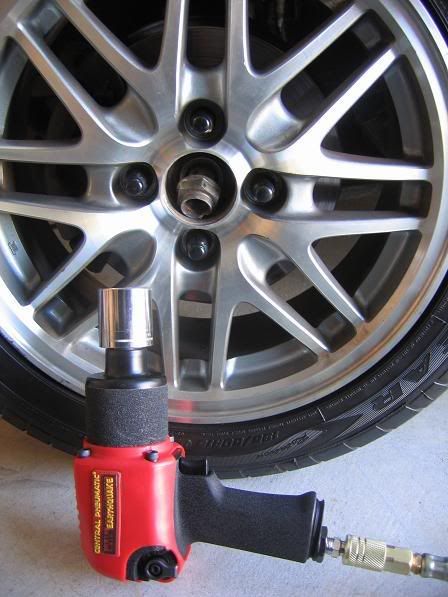
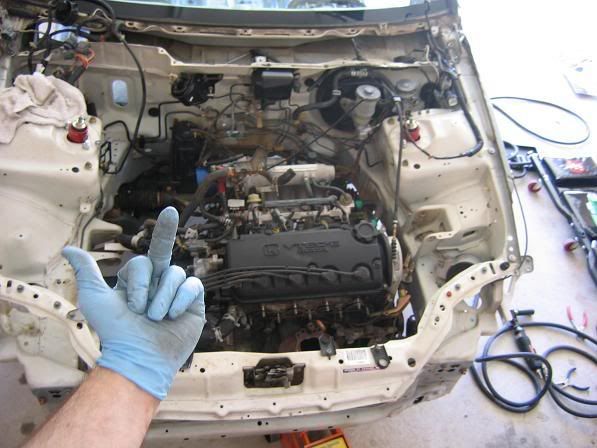
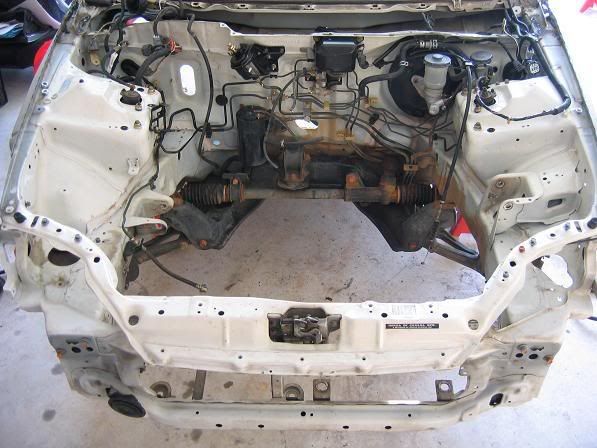
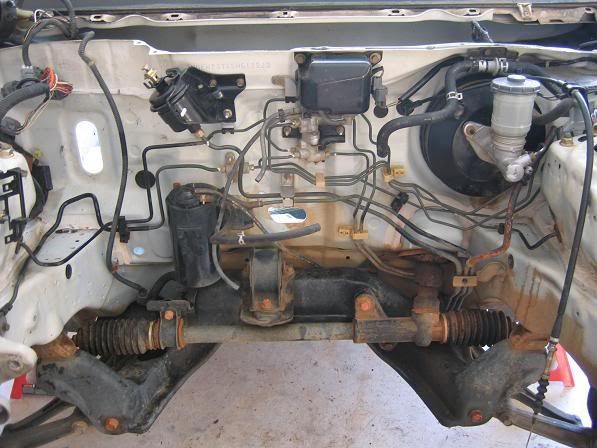
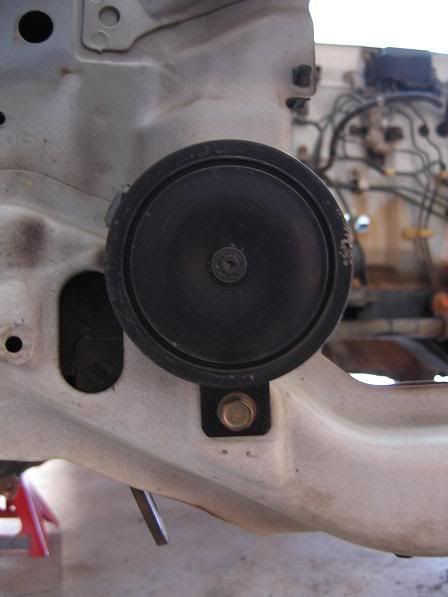
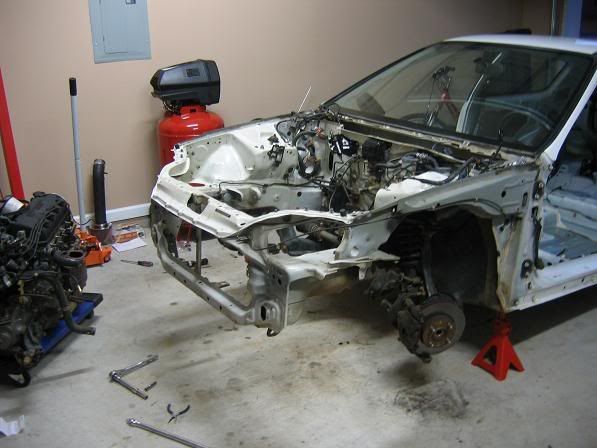
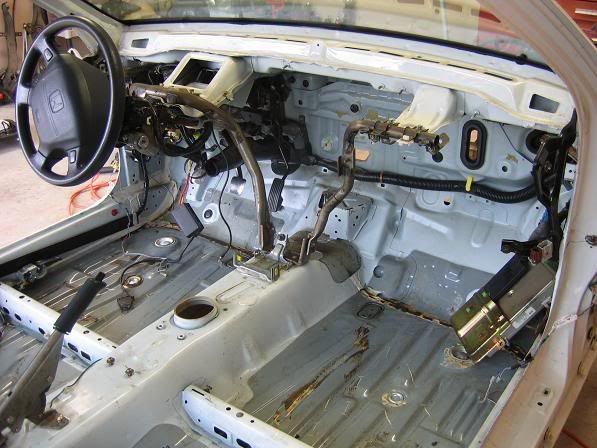
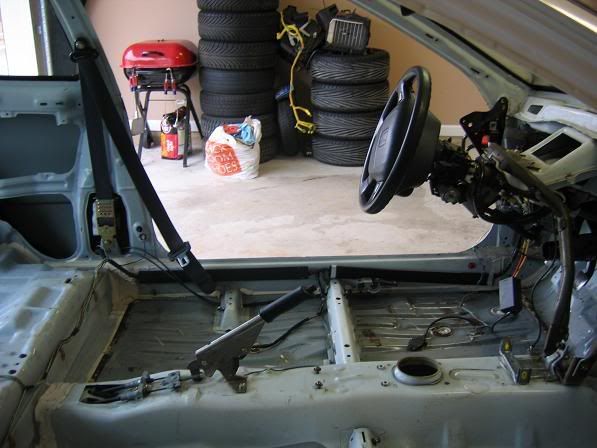
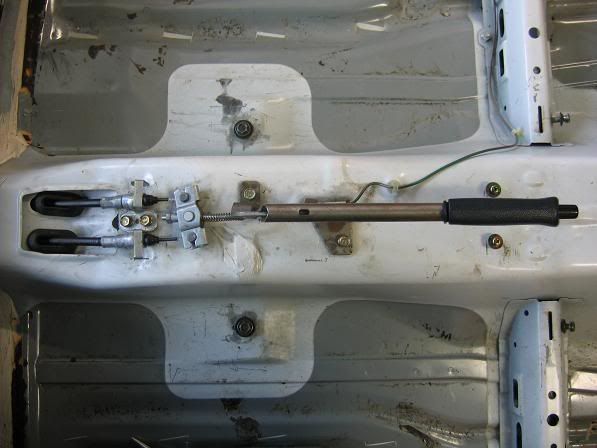
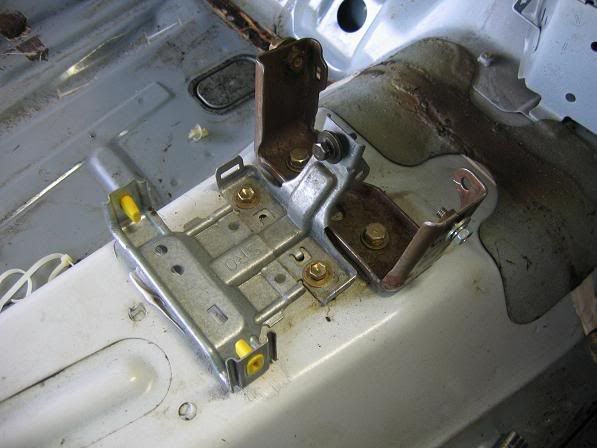
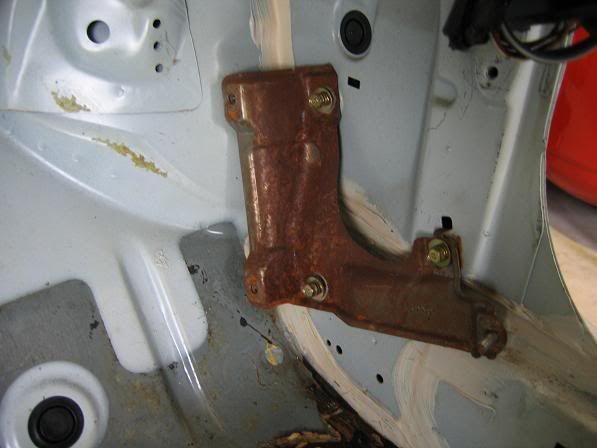
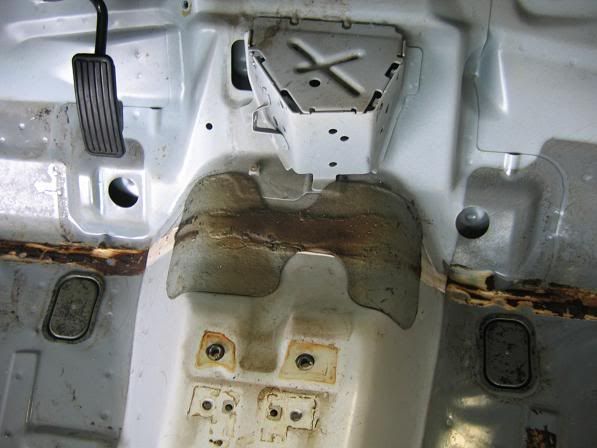
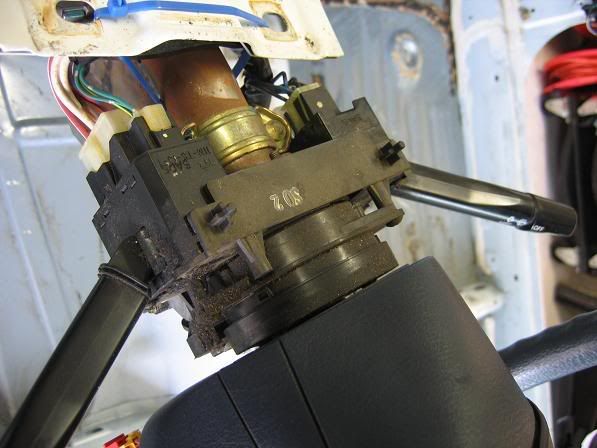
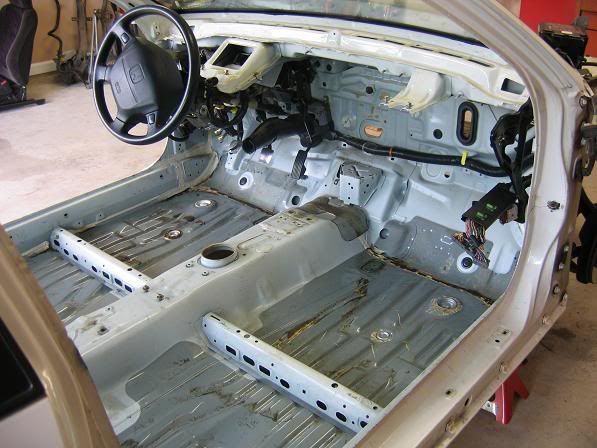
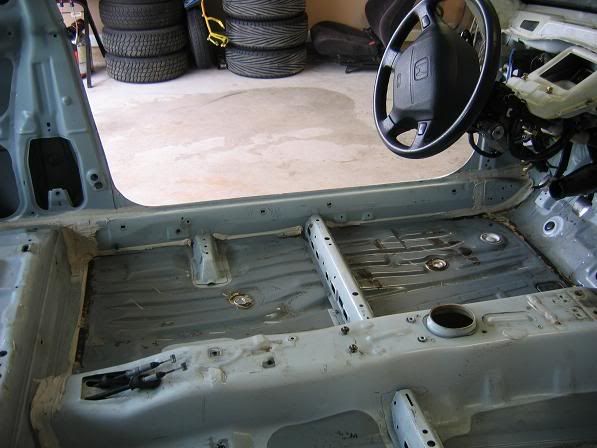
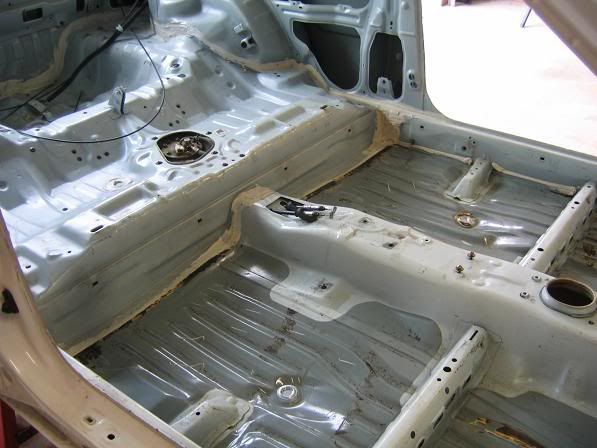
    Here's what I am working with:


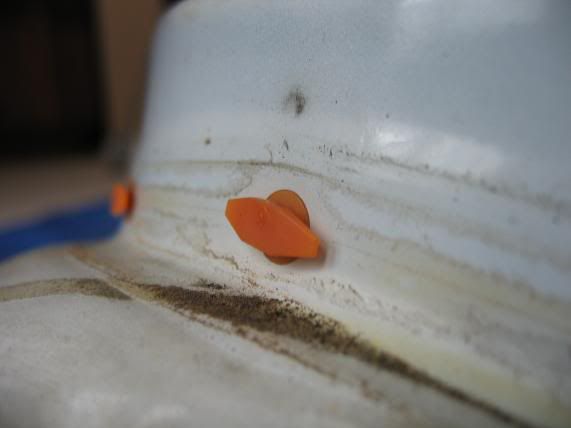
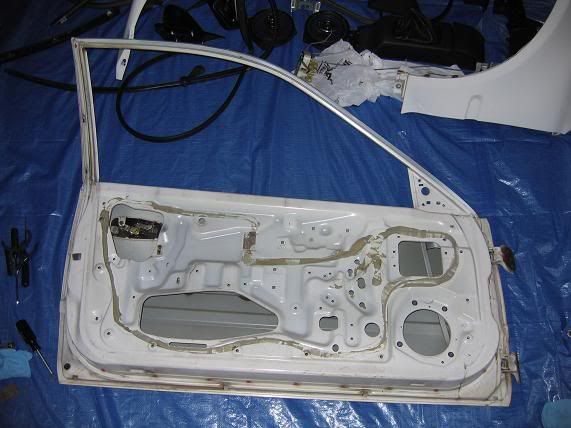
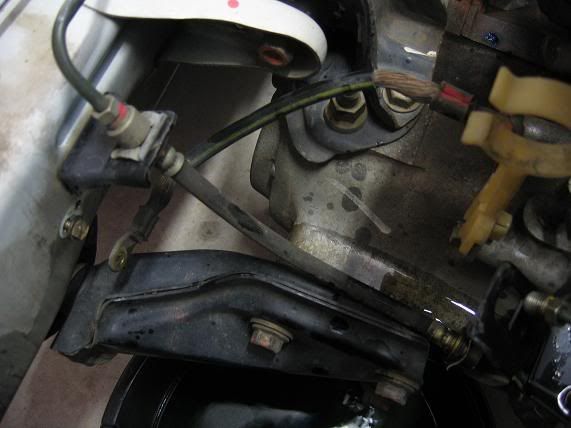
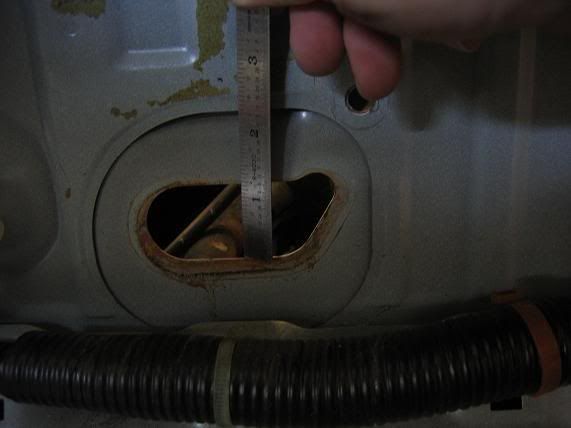
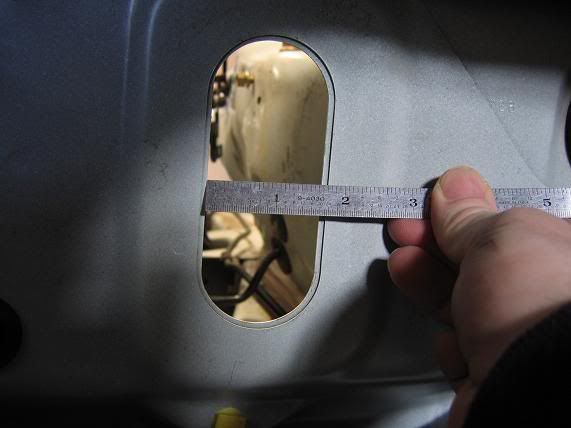
    I took about 20 measurements of the hood to fender, fender to door, rear quarter panel to door, etc.... I want everything back the way it was before removal :P


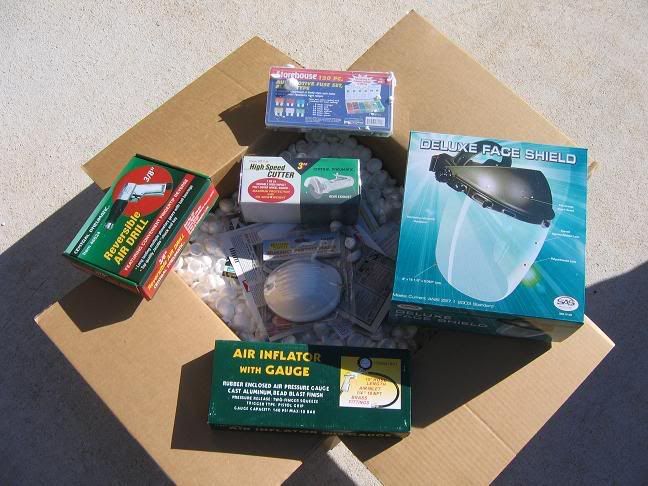
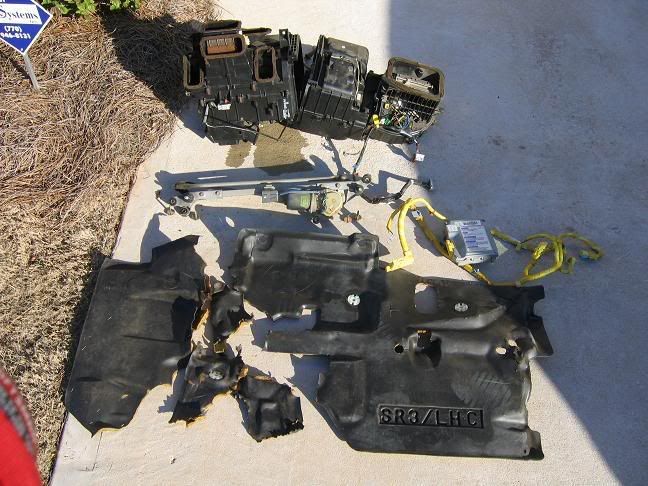
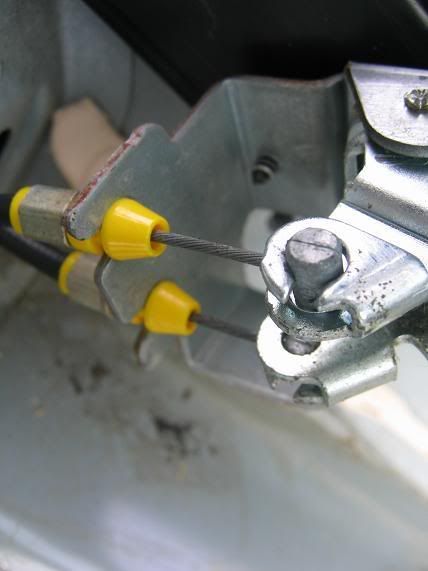
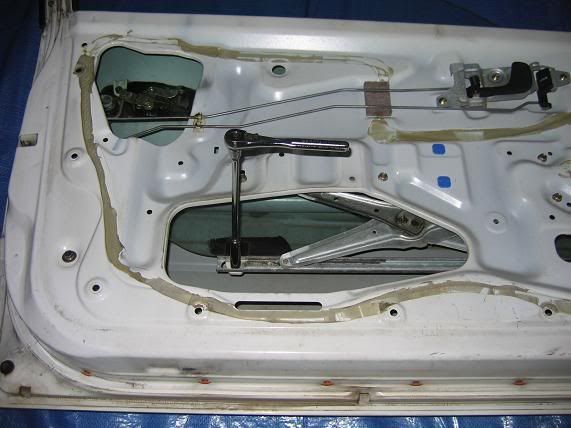
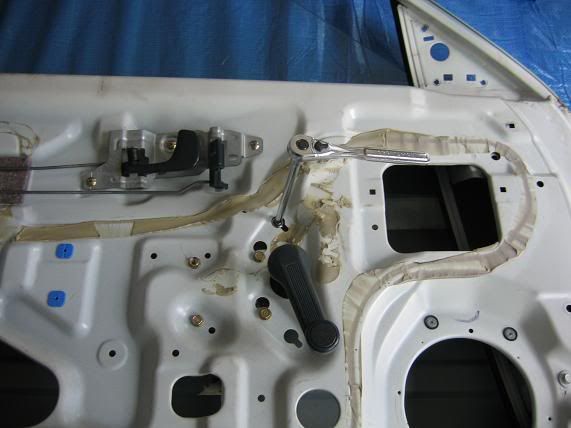
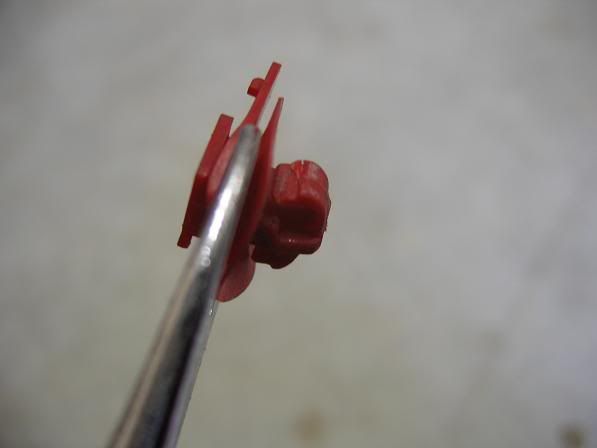
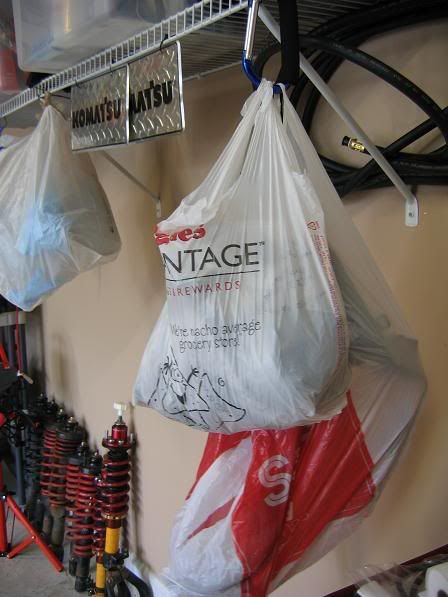
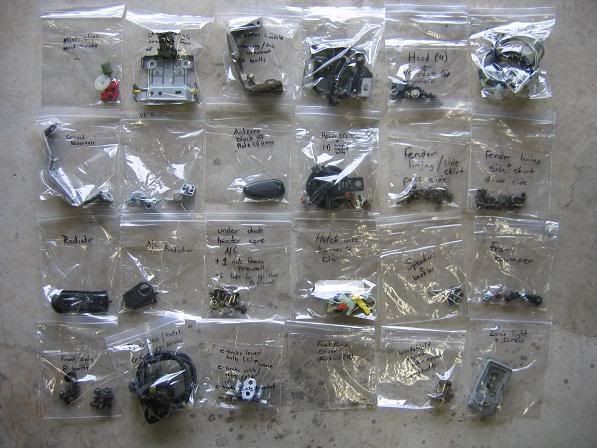
    Most bolts went back in the thread on the chasis and the rest will be stored like so:


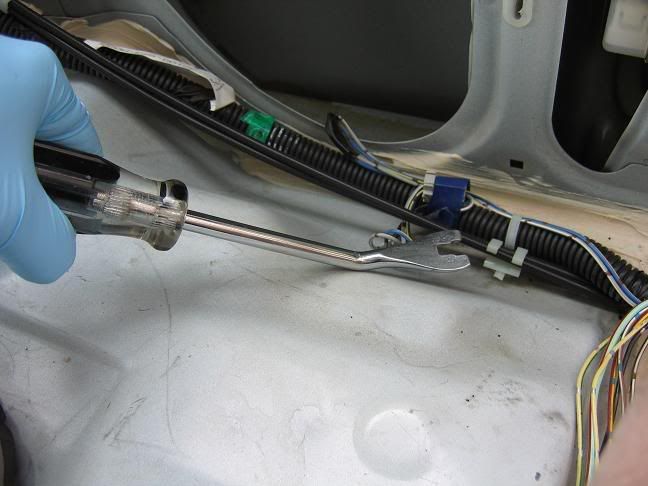
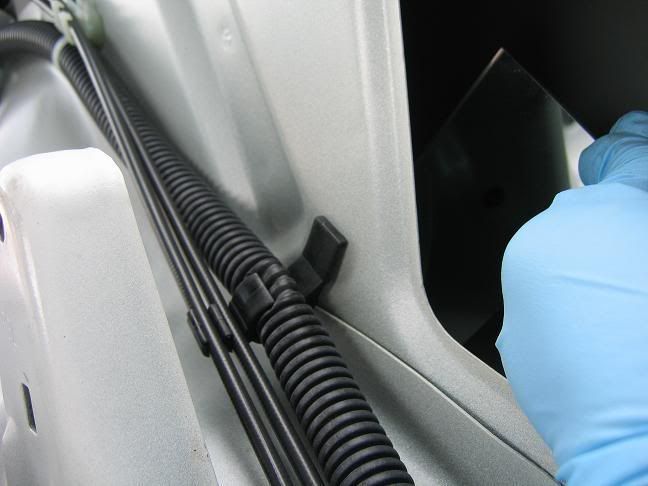
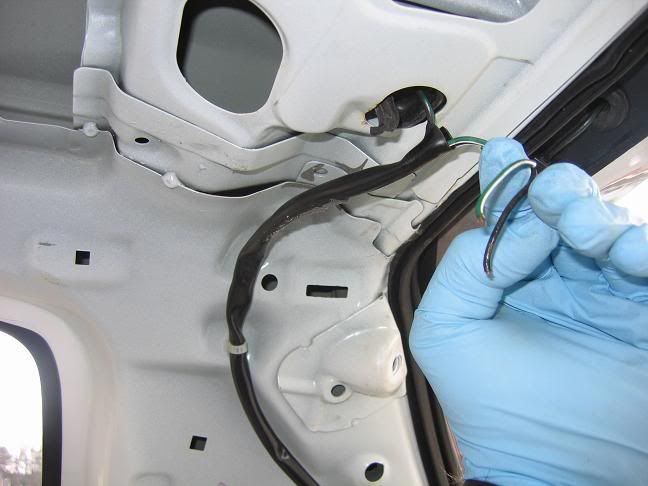
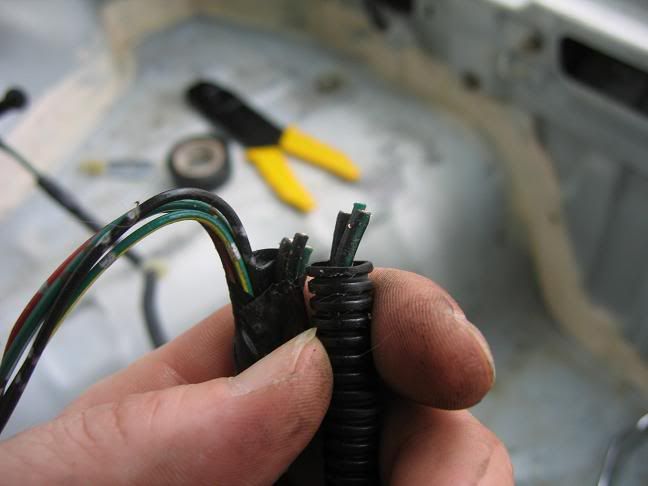
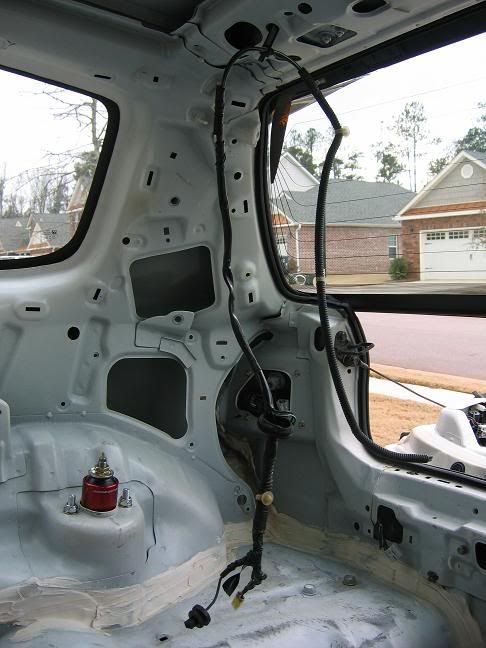
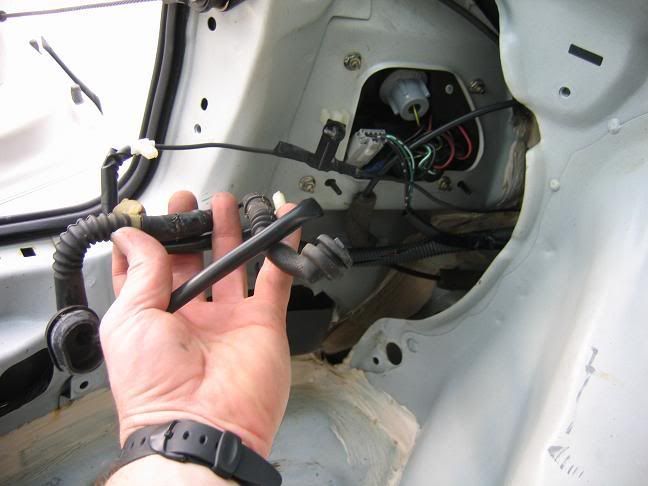
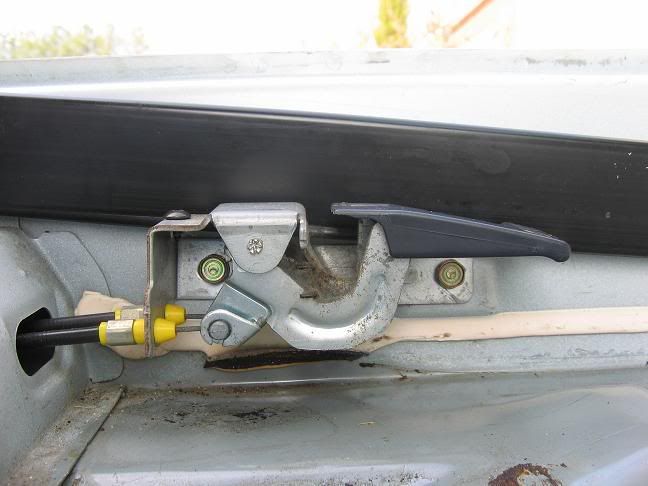
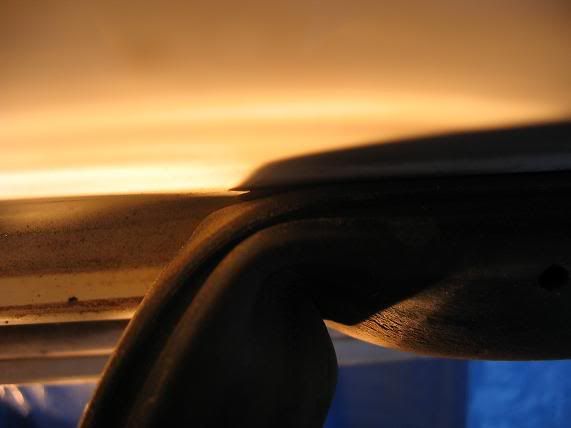
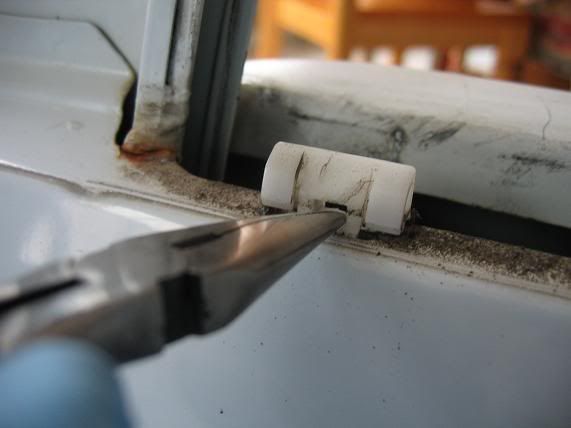
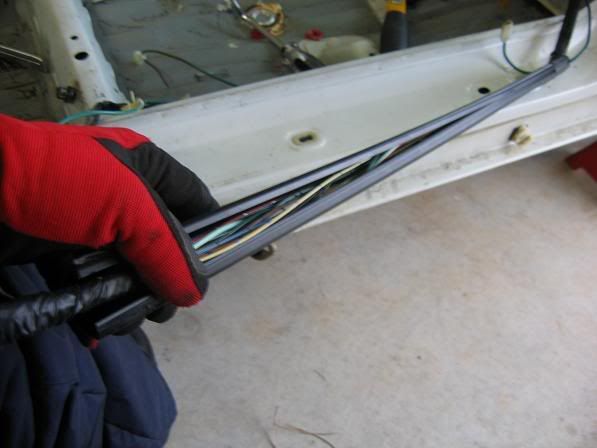
    It was tough at times, but I did it all myself. Well, me and buddy Jack....


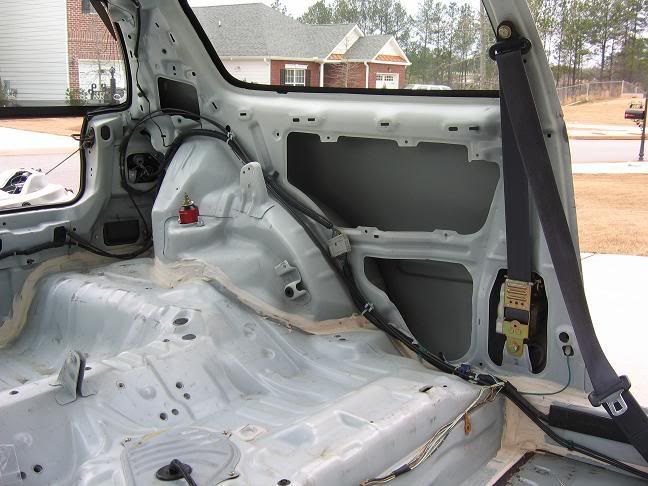
    How she sits at the end of day 1:
    (Love my xenon house lights :P)

    Last edited by Fuster_Cluck; 04-10-2008 at 08:39 PM.
    Nopi Drag Racing NHRA Atlanta Dragway March 29/30! > HERE!

  2. #2
    Senior Member
    Join Date
    May 2005
    Location
    Southside
    Age
    45
    Posts
    1,268
    Rep Power
    20

    Thumbs up

    $hit's dirty/nasty underneath =(


    The car came with this security key thing. Caused me a headache one night last year so it's coming out!!

    (Quick story about device) -- Went out of town last year and left the hatch in the employee parking lot at the airport. After riding the work bus back to the car from the terminal, could not find/remember what I did with the key. So, for several minutes I looked through the car in case I hid it and also emptied my luggage to not find it. So, then I had to push the car around the small parking lot and after the 4th time got it to crank by push start. PITA!!! Car is not daily driven so I should not need it. Maybe I'll put it on ebay since I can use every penny for the project.

    This is the key that you take when exiting the car:


    Not much security when all someone has to do is re-splice the wire :crook: If I were to keep it, I would try to move the splice further back out of the way:


    This is inside the box for the device. The ground is NOT grounded (unless I pulled it out when bringing the box down).


    Is it even wired correctly? Power / Starter is just splicing the wire??


    All that crap is coming out:


    Completion of Day 2:


  3. #3
    Senior Member
    Join Date
    May 2005
    Location
    Southside
    Age
    45
    Posts
    1,268
    Rep Power
    20

    Thumbs up

    Here we go Session 3:


    Look at all those leaves. That entire system was disgusting!!


    Looking better now:


    On to the firewall mat. It was a PITA on the drivers side up around the steering column. I got very frustrated because I had to get my hand up in small areas with a razor blade to help cut parts of the mat

    Fedex cheered me back up:


    Long a$$ extension FTW


    After the firewall mat was removed which BTW weighs 8 pounds, I started on the SRS system.

    Couldn't "unscrew" the bolts so I drilled them out with my brand new drill:


    SRS unit for those who've never seen it. My first time seeing one :boobies:


    Next was the windshield wiper system. Don't plan to drive in the rain and Rain-X works wonders

    Just 4 10mm bolts holding it along with a wire harness to disconnect:


    Cleaner and of course weight reduction is always good


    Session 3's work:


    How she sits after Session 3:

    ECU tucked 
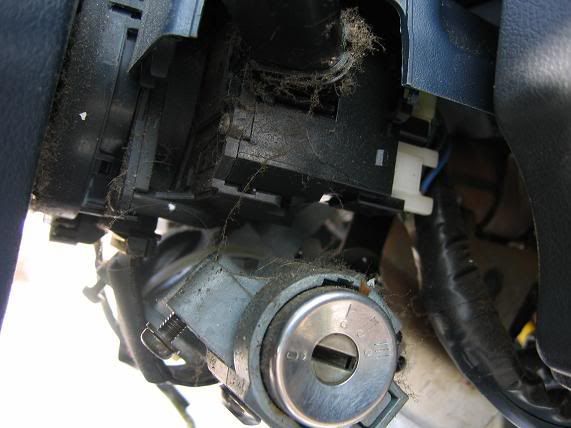
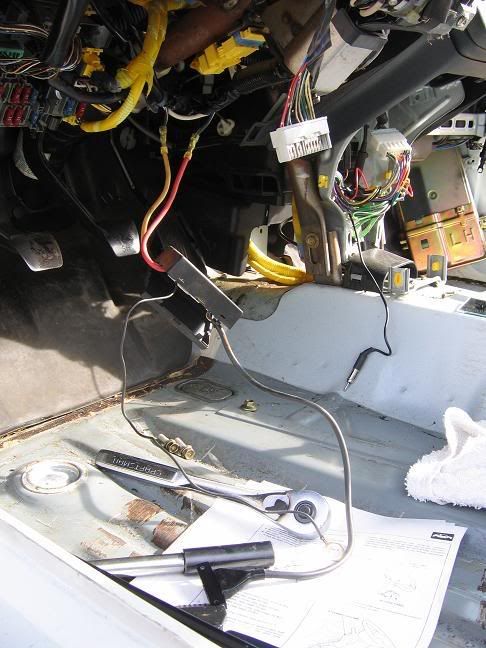
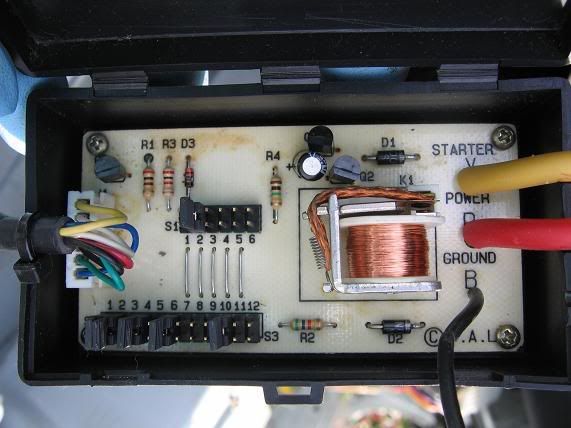
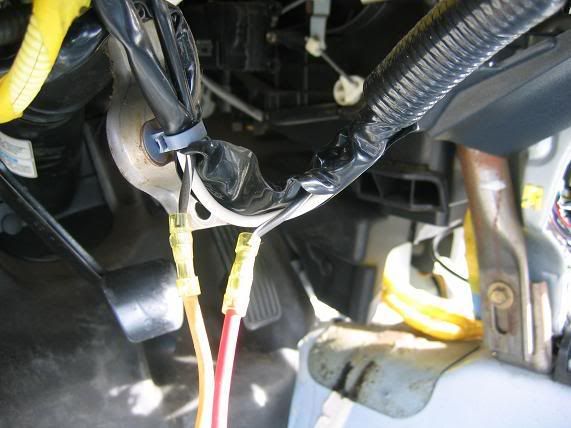
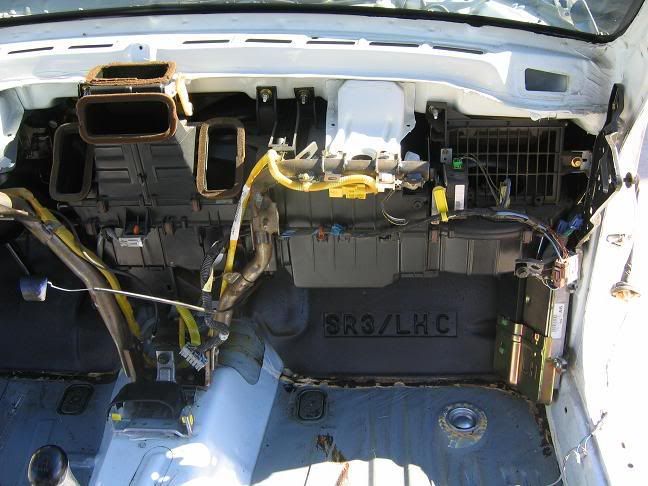
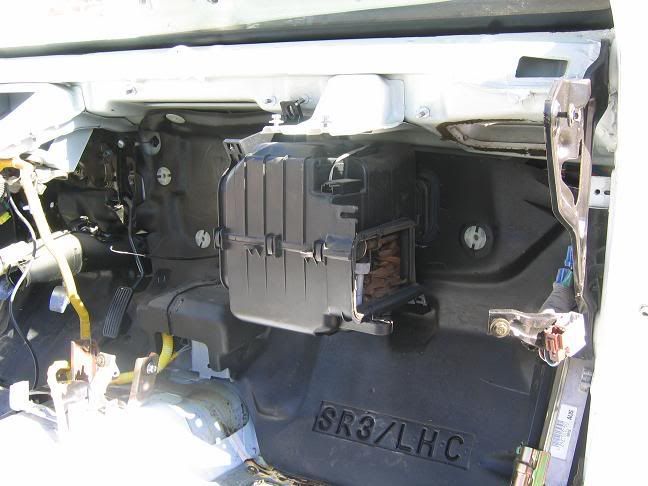
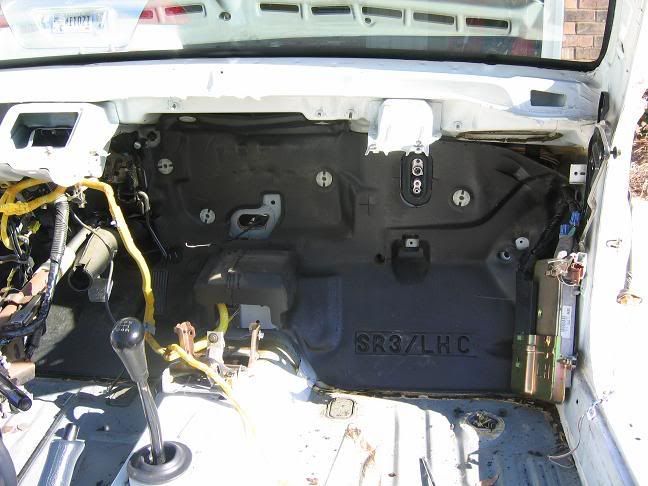
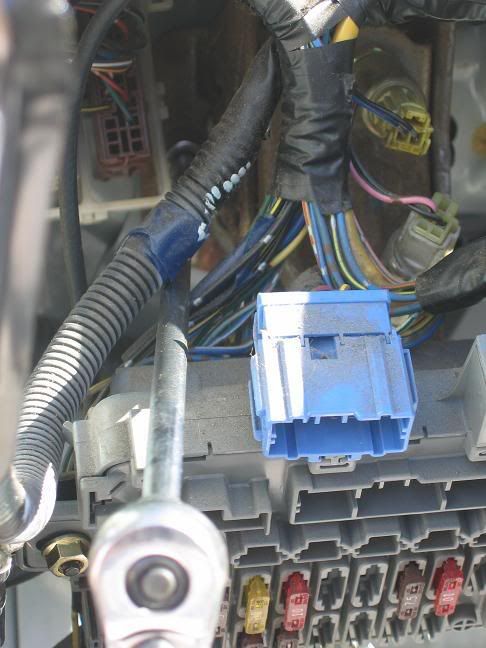
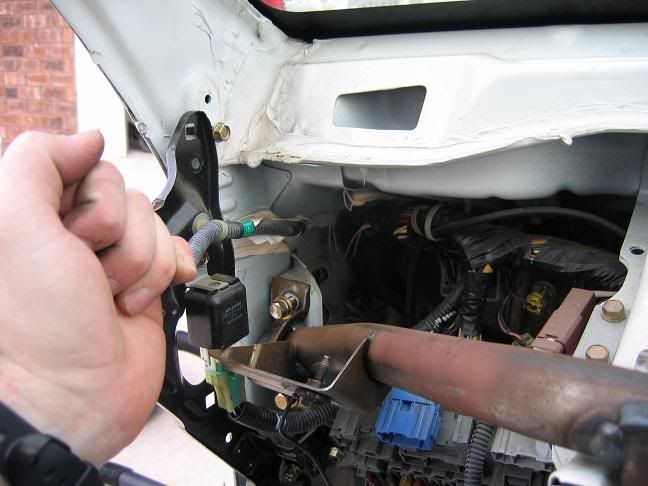
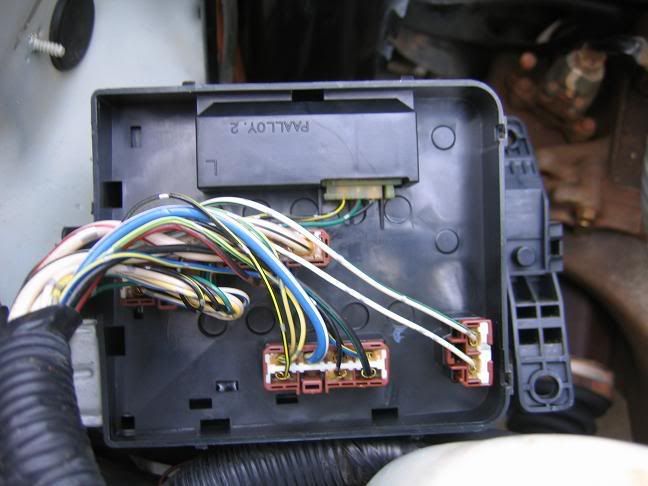
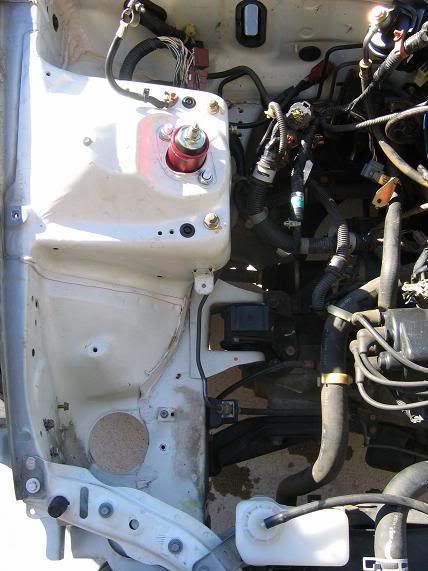
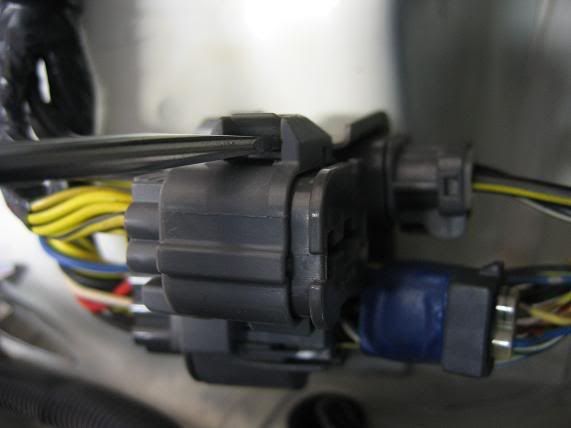
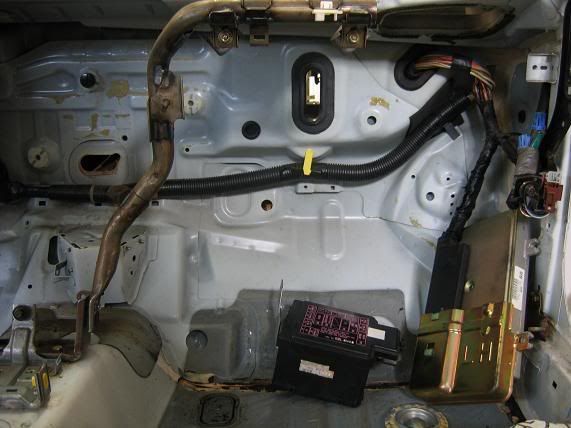
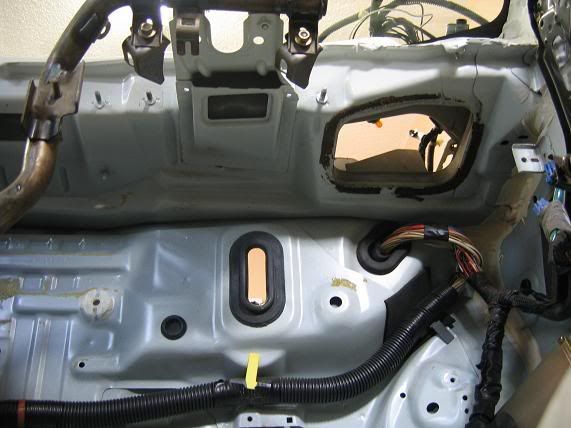
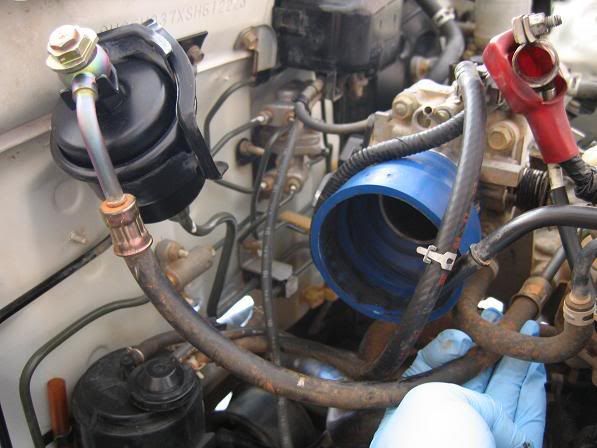
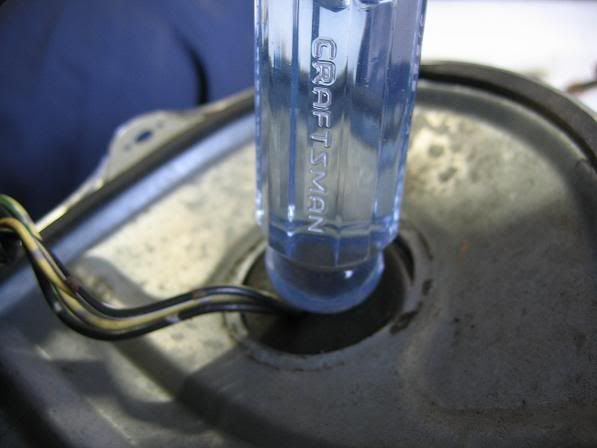
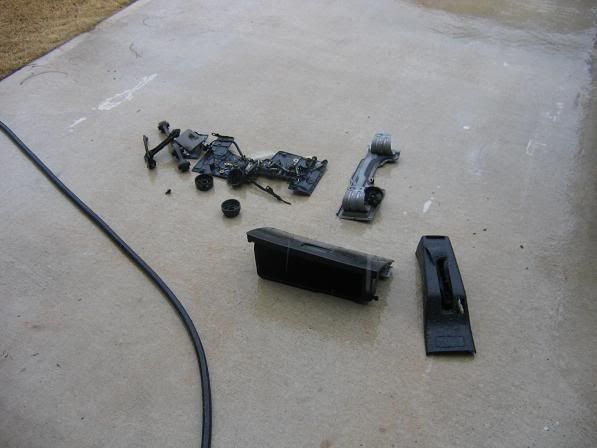
Time to work on the fuse box and possibly the battery


  4. #4
    Senior Member
    Join Date
    May 2005
    Location
    Southside
    Age
    45
    Posts
    1,268
    Rep Power
    20

    Default

    Session 4:

    Today I only had a few hours since I went over to a friends house to help move some sheets of wood to his attic from garage. I did manage to tuck the hatch wires, remove the dome light, and took a look at relocating the fuse box.

    Here's what I started with today:


    Panel tool really helped out with a lot of the clips:


    Handy little mirror allowed me to easily squueze the rear of the clips with angled pliers for an easy removal:


    These 2 wires were just tucked in the hole :hammer: Any idea what they were for??


    I ended up cutting that part of the harness since I don't need the 3rd brake light or defroster:


    This is what was removed when I made the cut above:


    There was no need to cut the driver side defroster harness, so I tucked it back out of the way:


    For the gas/trunk lever located inside the door sill remove the (2) 10mm bolts:


    With pliers just grab the wire and rotate downward toward the little gap. The wire will just come out:


    And the completed rear interior tuck:


    I removed the dome light harness.

    This is where the dome light wires lead to.
    Disconnect and the dome light harness is good to go for reinstall:


    Had a little bit of time left, so I took a close look at relocating the fuse box under the dash.

    My first time seeing the back side of a fuse box:


    How do I get that under here?? Need some pointers with this one
    I'm thinking first unwrap all the wiring under the battery area.

  5. #5
    Senior Member
    Join Date
    May 2005
    Location
    Southside
    Age
    45
    Posts
    1,268
    Rep Power
    20

    Default

    Had some change in plans for the interior paint. Looks like the weather is going to stay cool (30's-50's) until March. Not good for painting. So, talking with my bro down in Ocala he's decided he will be painting the interior, doors, engine bay, and complete exterior. He doesn't like to do dings and $Hit so in the meantime I am going to find someone who can remove EVERY ding on the car. He was already set on spraying the bay before the K20 goes in of course. Besides he is really good when it comes to painting. Throw some of his work in here:

    His Accord:


    The EK I traded for the EG I have now:


    Wettin' her up:


  6. #6
    Triniboy(Gecko Squad) boosted_nonv's Avatar
    Join Date
    Jan 2006
    Location
    Smackyaselfville
    Age
    42
    Posts
    3,000
    Rep Power
    23

    Default

    nice, good luck with the build
    Project Vox has begun

    NA is best...only when your to broke to go boost
    Turbobricks.com member
    Neva 2 Klean meet/event coming soon
    GeckoSquad

  7. #7
    Senior Member
    Join Date
    May 2005
    Location
    Southside
    Age
    45
    Posts
    1,268
    Rep Power
    20

    Default

    Removing the rubber that surrounds the perimeter of the door was pretty easy. Just need to pull the rubber to one side which then slips off that side of the banana clip. Then back toward the other side and the rubber slides off the banana clip. Repeat 17 or so times:


    Banana clip:


    Removing the glass:

    Remove the (2) 10mm bolts


    Carefully angle the forward part of the glass downward and raise the rear to remove the glass:


    When removing the molding that runs along the top of the door some clips may remain on the door. Just push as shown and lift off the door:


    Prying out that copper colored pin to remove the door handle was a PITA!!!


    Once said and done with removing the moldings and window crank , this is what's left:


    Yeah, nasty a$$ glue that is a PITA to remove 
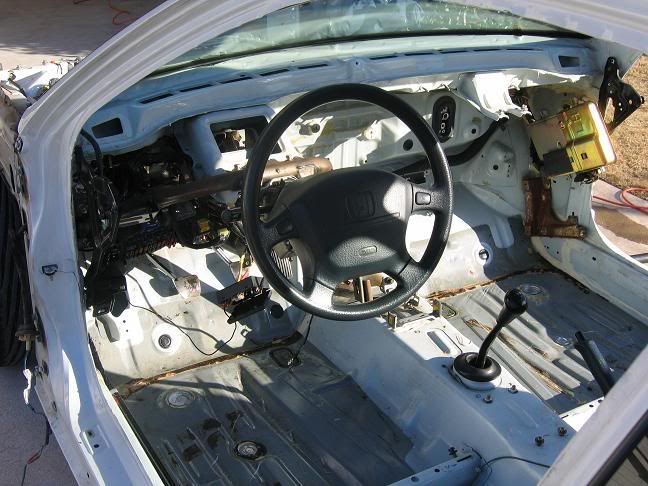
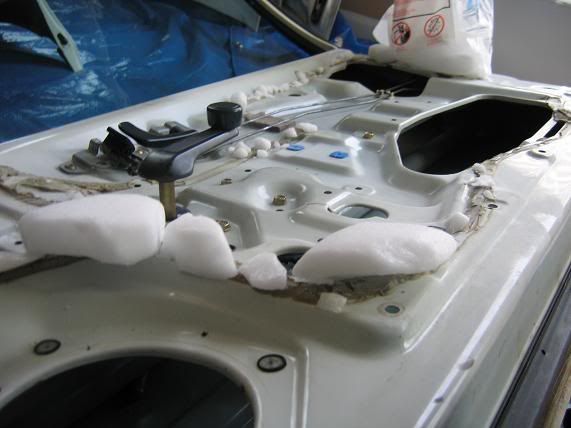
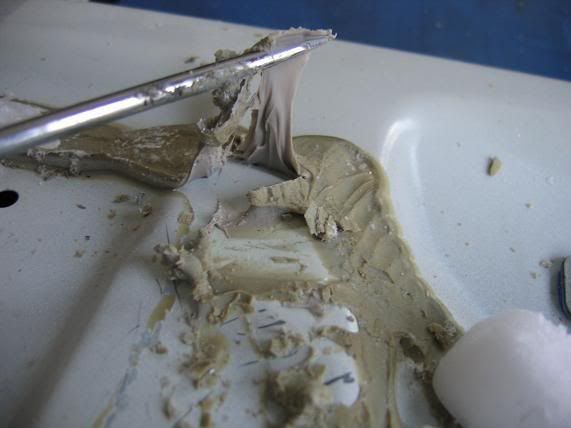
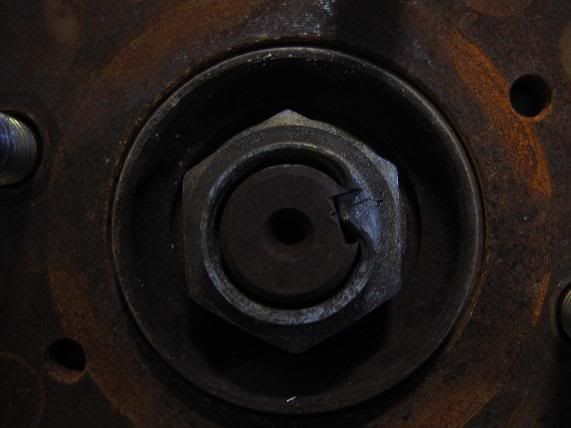
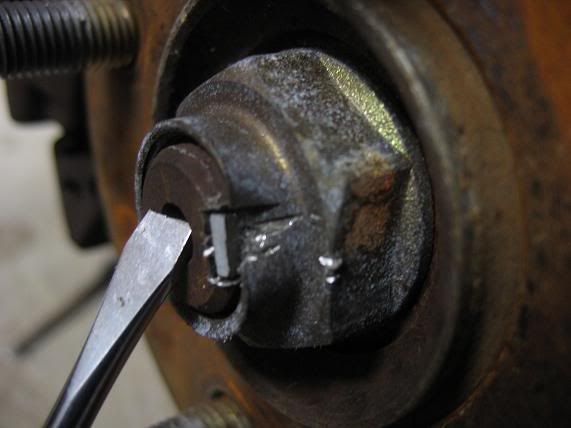
So, first I try some ice cubes to hopefully make the removal easier:


    It worked ok, but not the results I wanted especially with the mess from the melting ice. So, then I took the door out in the 30 degree weather and worked on it there for a few:


    Getting better, but still a lot of glue left

    Today was time I did the 2nd door:


    Didn't want to go back outside to work on the door, ice cubes suck!!! ....so I went to the local grocery store and picked up 4 lbs of dry ice:


    This is really a PITA. But, I just keep telling myself it's got to be done so DO IT


    Ended up crushing it down and feeding the door like a little baby:


    Here's what I ended up with at the end of the night. I'm hoping the glue that is left will harden over the next few days / week which is much easier to work with than the soft stage:


    And my $hithole living room


  8. #8
    Senior Member
    Join Date
    May 2005
    Location
    Southside
    Age
    45
    Posts
    1,268
    Rep Power
    20

    Thumbs up

    The Accord was due for an oil change and tire rotation. I knocked that out and thought I'd be ready to get back in the house since it was 40 degrees out. But, the double layer of clothing had me feeling good. So, I put some new gloves on and went to work.....

    From this:


    To this:


    From this:


    To this:


    Just pinch the clips and the harness came loose:


    What was removed today:


  9. #9
    Senior Member
    Join Date
    May 2005
    Location
    Southside
    Age
    45
    Posts
    1,268
    Rep Power
    20

    Thumbs up

    Session 7:

    My main goal today was to disconnect everything from the motor so I can pull it very shortly and start the cleaning, prepping, and tuck. On to the pics:

    Started with this:


    Removing the wire harnesses from the metal support brackets:


    I took pics of ALL the lines I disconnected so I know what is what:


    Coolant drained, clutch line and ground disconnected:


    B.A.M.F.B.B.FTW:


    3 bolts / 1 nut removed 
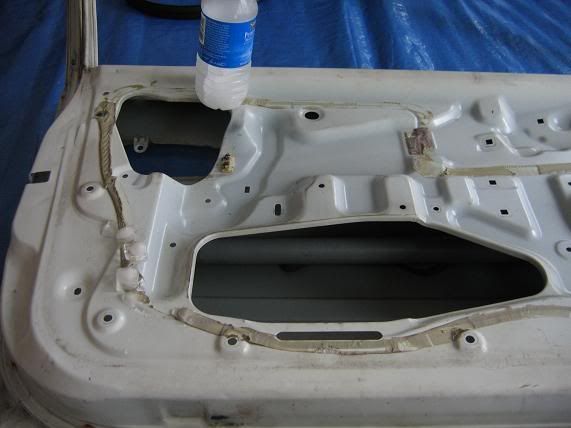
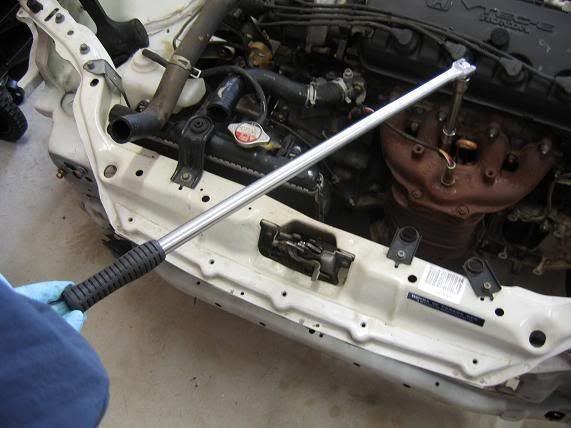
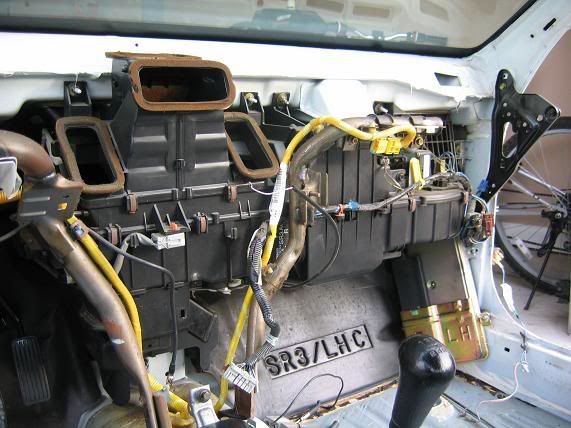
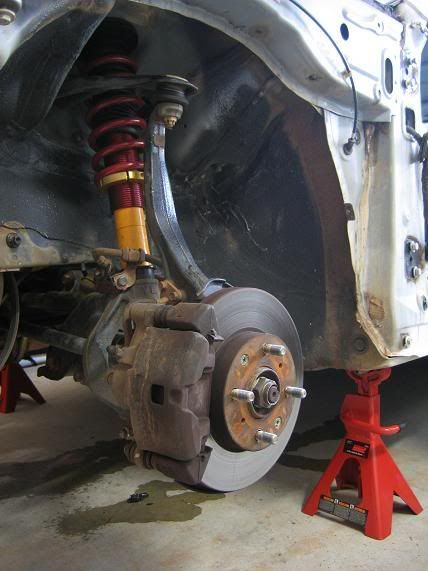
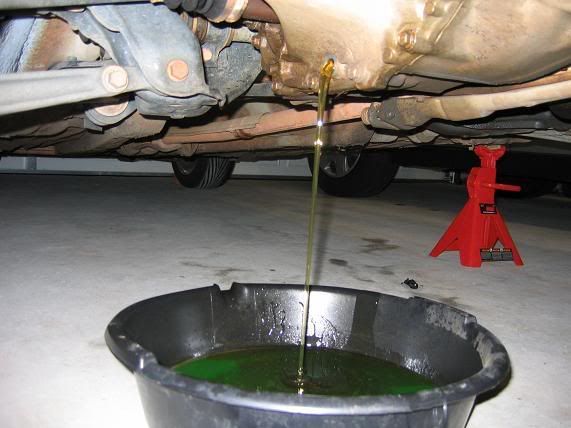
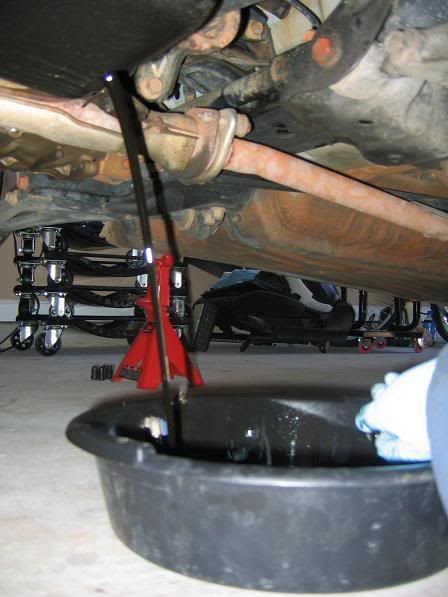
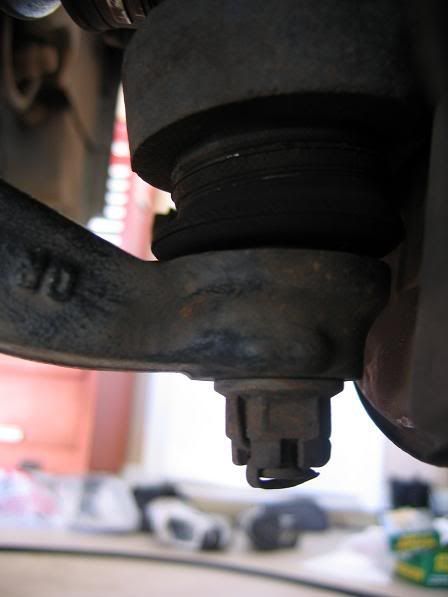
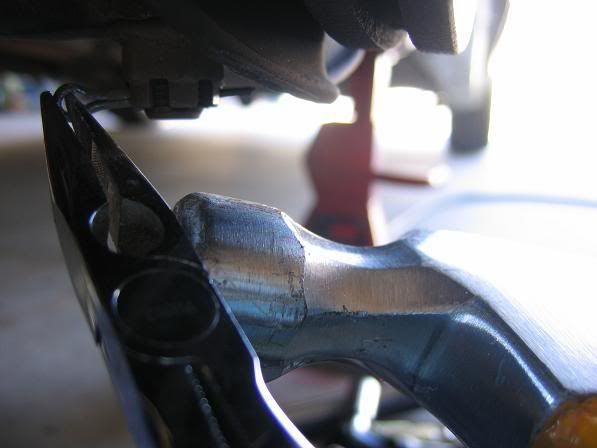
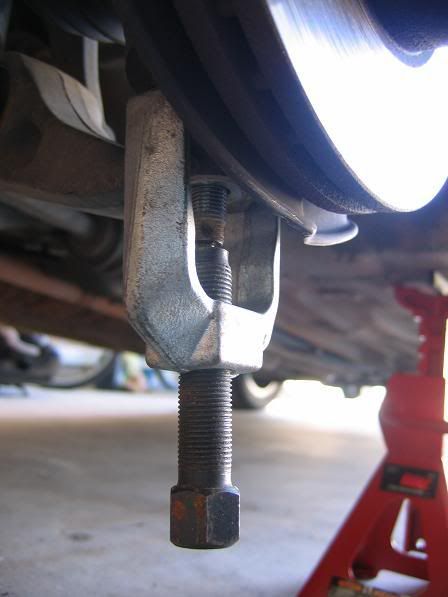
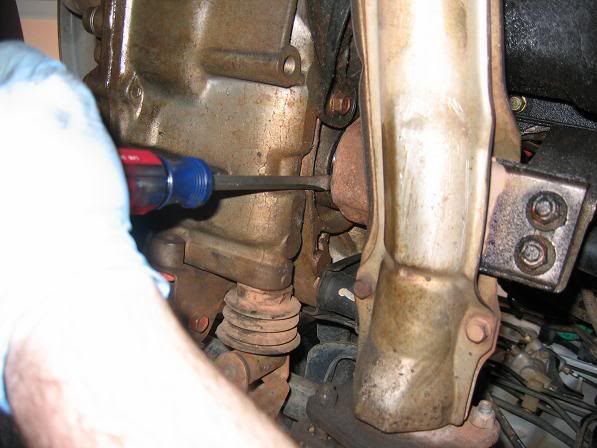
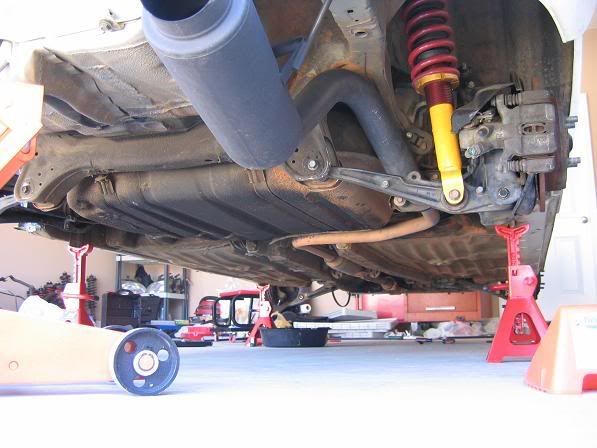
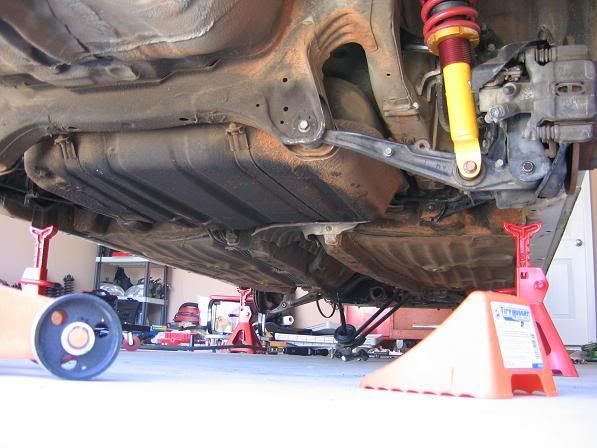
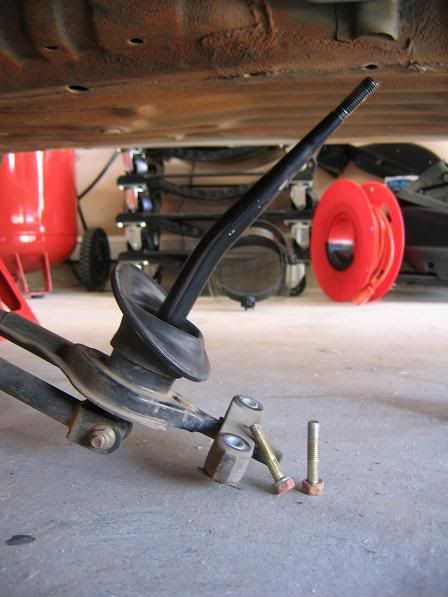
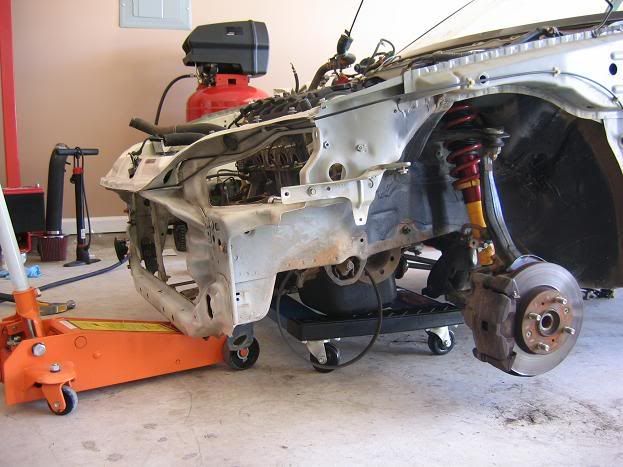
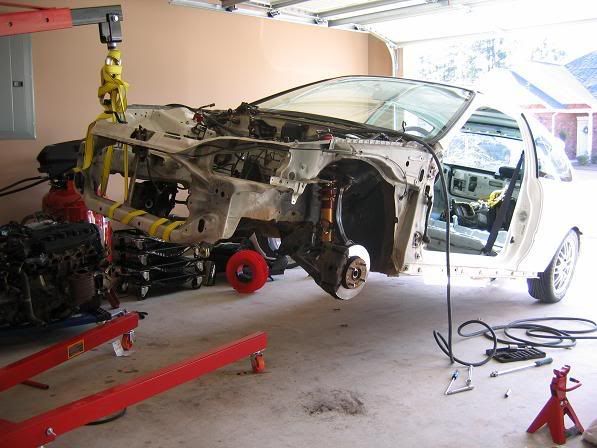
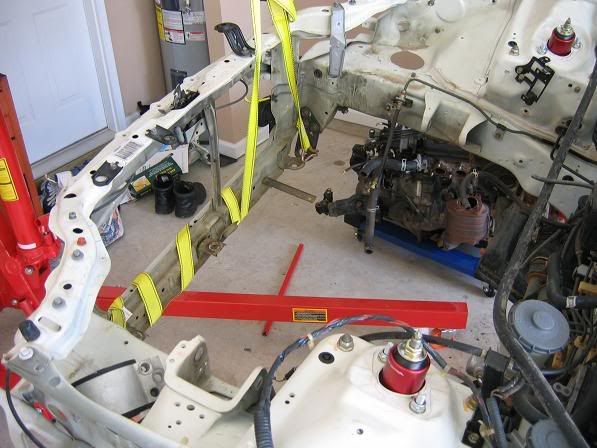
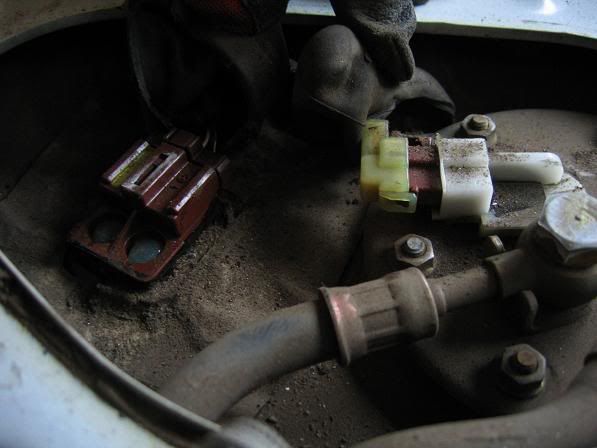
Most likely going to remove the entire exhaust since I am thinking about removing the motor from the bottom:
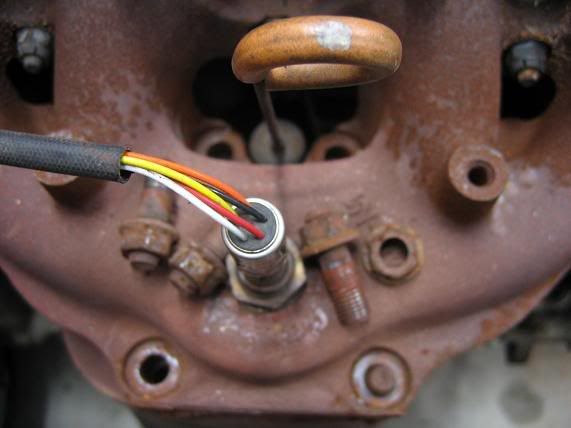
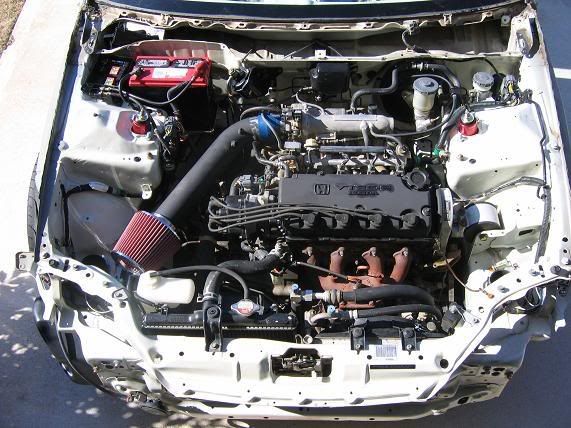
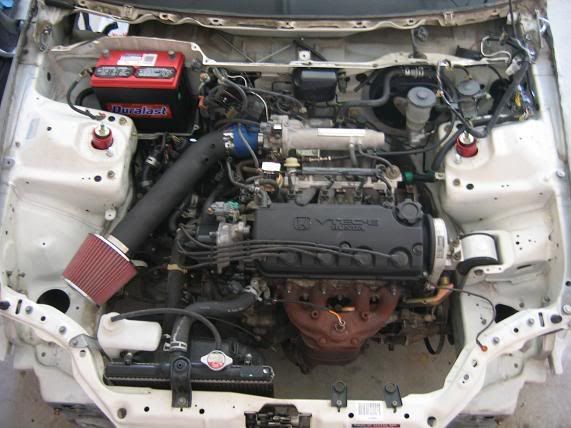


    Got to check out Tom's "How-To remove an axle" thread:


    Looking at where I want to mount the fuse box:


    Will water come into the car with that large opening?


    Which hole should I use to run my wiring for the tuck?

    A = approximately 1 1/4"


    B = approximately 1 2/3"


    What it looks like at the end of today:


  10. #10
    Georgia Muscle twinj's Avatar
    Join Date
    Sep 2005
    Location
    Da "A" Niccuh
    Age
    39
    Posts
    2,393
    Rep Power
    21

    Default

    Nice hatch, even tho it is taken apart. Good luck even tho you might not need it. You doing everything by text book down to the washer and nuts in the Ziplock.


  11. #11
    Senior Member
    Join Date
    May 2005
    Location
    Southside
    Age
    45
    Posts
    1,268
    Rep Power
    20

    Thumbs up

    Drained the tranny:


    Spent 30+ minutes working on the 2 axle nuts that were dented in from a mad man (other nut was worst)


    Damn:


    I also read that the metal on the axle nuts is so soft that a strong impact can remove the nuts with the indention intact. So, I'll give it a try next round....

    Picked these up today for $20 (going to need them; broke one above is an el cheapo):


    Went by Harbor Freight for a few things:


  12. #12
    All bark, no bite.
    Join Date
    Mar 2005
    Age
    40
    Posts
    3,368
    Rep Power
    24

    Default

    Good stuff.

  13. #13
    Senior Member
    Join Date
    May 2005
    Location
    Southside
    Age
    45
    Posts
    1,268
    Rep Power
    20

    Thumbs up

    Here we go with Session 9:

    Fooled around with these axle nuts for about an hour the other day and still they did not come off. Fired up the air compressor and after 15 seconds had the following results:


    Last fluid to be removed:


    Time to remove the axles. Castle nut:


    Cotter pin on the way out:


    Beat on the drivers side but for about 3 minutes with a rubber mallet. Then it clicked in my head that this tool was in my tool box from years back with the old EG. (Still miss you )


    Prying the axle out from the tranny:


    Time to remove the exhaust:


    But, first I took a break:


    Back to work and exhaust is out of there:


    Removed (2) 12mm bolts and dropped the shift linkage:


    Only line left to disconnect:


    Disconnected:


    Sitting on the Harbor Freight dolly


    Farewell to the D series:


    Had to make a trip to Wal-Mart when I realized the Harbor Freight engine hoist did not come with chains:


    On one wheel


    Bent my radiator bracket, but I straightened it out after wards. Got to remove them anyhow to relocate:


    Here she is with no heart:


    Can someone tell me what I will not need for the K20a2. Want to get the unnecessary things out:


    How do I remove this clip? It's holding the clutch line on the firewall:


    This is a picture of the hood release cable. How do you remove the clips without damaging them?


    Here's what they look like. I was able to remove this one because there was access to rear side. The rest are covered on the backside with sheet metal:


    Hood latch removal. Remove (3) 10mm bolts:


    Pretty straight forward to remove the cable:


    Horn is held on by a 12mm bolt:


    How she sits at the end of tonight:


    I am going to remove the LCA ball joints for a friend to fix the threads. I could not get either of the castle nuts to re thread on either ball joint. I won't be able to move the car tomorrow to clean her up. I'll just find something else to do instead and hopefully next week I will have the wheels on to roll her outside for a good bath!!!

  14. #14
    Senior Member
    Join Date
    May 2005
    Location
    Southside
    Age
    45
    Posts
    1,268
    Rep Power
    20

    Thumbs up

    Here we go with Session 10:

    Since my balljoints are screwed I decided to get inside and work on the wiring. I want to start prepping for the interior paint.

    Started with this:


    First I removed the radio antenna since my hatch has a giga mp3 player


    Then it was time to remove the clips that hold the fuel pump, optional rear speakers, and seat belt warning wires. Never did figure out how to properly remove them, but the panel tool got them out (some in pieces):


    Is it ok if I remove the seatbelt wiring? I'm actually just going to hide it when I reloom the wiring inside. I put the seat belt on without thinking so I don't need the indicator on the cluster.


    4 screws hold the fuel pump cover:


    Once removed disconnect the 2 harnesses:


    Using the butt end of a screwdriver push the grommet out:


    It started raining so I put some dirty parts outside for a free wash:


    Washer screwed on the seat belt. Don't plan to use them again so it's all good:


    Onto the parking brake. Pretty straight forward to remove:


    I'm a picture whore so here is a close-up of the e-brake indicator wire:


    At each end is tape that you can slit:


    Then you split 'er open:


    Once you remove both harness covers you'll have some red clips left behind. The panel tool pulled these out without damaging them (yeah the ones I won't need)


    Got to remove the rest of the center console:


    Disgusting ECU holder. I'll have to clean that up if I am to reuse it:


    Reminder to get some more dry ice:


    Got to see about removing the right stalk since I won't have a wiper system:


    Bag of gold:


    The gold:


    About ready to sand for paint. Still got to get the glue on the floorboard up:


    I couldn't work in the back area of the car because the rain was blowing into the garage. Shouldn't take too long to remove the rear hatch wiring:


    Basically that is 6 weeks of work above for me. I work a lot of hours and take LOTS of pics so I'm not getting too much done. Plus I don't even have the K20 yet, weather is too cold to paint..... so it's all good

    I have enjoyed the build so far and can't wait until I get to work on her again

  15. #15
    Shine on! Nittanys1's Avatar
    Join Date
    Nov 2002
    Location
    Raleigh, NC
    Age
    41
    Posts
    14,580
    Rep Power
    38

    Default

    nice!!! i cant wait for more pics!!!

  16. #16
    Certified Gearhead never2loud's Avatar
    Join Date
    Sep 2005
    Age
    40
    Posts
    678
    Rep Power
    19

    Default

    damn man keep it up, i wish i had the time to do something like that to my integra, but not yet.

  17. #17
    ConfusedKorean Repost Squintz's Avatar
    Join Date
    Mar 2005
    Location
    a-town
    Age
    38
    Posts
    8,608
    Rep Power
    29

    Default

    damn nice DIY

  18. #18
    Supra Equipped WhiteAccord's Avatar
    Join Date
    Jan 2006
    Location
    At Home
    Posts
    7,318
    Rep Power
    28

    Default

    Wow more more on build.....

  19. #19
    EE OG Revmaynard's Avatar
    Join Date
    Mar 2006
    Age
    34
    Posts
    11,401
    Rep Power
    38

    Default

    That shit is nice, I really can't wait to see it done!

    Which Harbor Freight did you go to? My friend that works at the Lilburn store is building a nice stock looking 02 turboed Protege. He's had the engine out building up the tranny and stuff and replacing the clutch before he throws the turbo on.Anyways...nice car, good luck.

    Bozzio for president.

  20. #20

    Default

    Mind me asking but HOW THE HECK DO YOU GET LEAVES IN THEIR!!!!

  21. #21
    just another d200
    Join Date
    Jan 2006
    Location
    Smyrna
    Age
    39
    Posts
    2,520
    Rep Power
    21

    Default

    wow man ultra nice job documenting that!!!

  22. #22
    VDUB BiH1320's Avatar
    Join Date
    Feb 2006
    Location
    Lawrenceville
    Age
    34
    Posts
    3,199
    Rep Power
    23

    Default

    dammn man. ur doing a good ass job. keep it up bro. cant wait for more pics.

  23. #23
    Autogragic Money pit HachiDori's Avatar
    Join Date
    Apr 2005
    Age
    39
    Posts
    4,816
    Rep Power
    26

    Default

    That's a tease!!1 G/l bro nice ass work!

    +1

  24. #24
    z00m z00m..... ORGANIZATIONXIII's Avatar
    Join Date
    Apr 2005
    Location
    San Antonio, TX
    Age
    40
    Posts
    7,350
    Rep Power
    28

    Default

    thats nuts!

    I'm in S'Bridge.. I'd love to check it out..
    twoONEoh

  25. #25
    h series
    Join Date
    Jun 2006
    Location
    norcross
    Posts
    1,968
    Rep Power
    19

    Default

    it's coming along very well man.


  26. #26
    under construction Da_unknown's Avatar
    Join Date
    Sep 2006
    Location
    BK ALL DAY
    Age
    40
    Posts
    5,168
    Rep Power
    25

    Default

    good job man...
    GECKO SQUAD MEMBER
    MSS RACING REPRESENTA.....
    the saga continues....

  27. #27
    c-ya sirhatch1030's Avatar
    Join Date
    May 2005
    Location
    southside
    Age
    42
    Posts
    565
    Rep Power
    19

    Default

    looks good , but i was wondering why you drop the motor out of the bottom , instead of pulling from the top. but good job

  28. #28
    Senior Member
    Join Date
    Sep 2003
    Posts
    1,109
    Rep Power
    22

    Default

    Looking good man! LMK if you need any help, I'm just around the corner.

  29. #29
    ewww...stinky thepolecat's Avatar
    Join Date
    Apr 2006
    Location
    Acworth
    Age
    41
    Posts
    3,148
    Rep Power
    23

    Default

    i say sticky this mofo
    95 Buick Roadmaster Estate Wagon Limited

  30. #30
    is better than you..
    Join Date
    Jul 2005
    Location
    Somewhere you're not
    Age
    34
    Posts
    3,108
    Rep Power
    22

    Default

    goood job! looks like a hell of alot of work.....props to you mean...

  31. #31
    IA's ICE CREAM MAN JDMJAYDC2's Avatar
    Join Date
    Jun 2006
    Location
    college park
    Age
    41
    Posts
    5,683
    Rep Power
    26

    Default

    i dont have the balls to pull my teg apart like that +1 to you sir wanna sell the ls mesh?
    now with LSD
    got an ef? www.eastcoastefcivics.com


  32. #32
    IA Official Groover puregroove's Avatar
    Join Date
    Mar 2005
    Location
    Georgia
    Age
    42
    Posts
    5,189
    Rep Power
    30

    Default

    awesome build thread *** it's subscription-worthy...I may be selling my rear suspension setup soon...you might be interested. wlyk

  33. #33
    magical negro/photog .blank cd's Avatar
    Join Date
    Jan 2006
    Location
    Kennesaw, GA
    Posts
    12,103
    Rep Power
    38

    Default

    Subscribed! Very nice work

    NIKON Squad member 01

    I HAVE SUBS AND CAMERAS AND LENSES FO SALE
    OF*C
    OEMFitment Crew Memeber 01

  34. #34
    INFINITE TRDwasiq's Avatar
    Join Date
    Oct 2006
    Location
    Gwinnett
    Age
    38
    Posts
    2,875
    Rep Power
    21

    Default

    u r the man

  35. #35
    BarefootRacing.org
    Join Date
    Oct 2006
    Location
    Snellville
    Age
    36
    Posts
    107
    Rep Power
    18

    Default

    very nice pics of the DIY, can't wait for more pics

    01 Ford Cobra
    92 Geo Prizm (DD)

  36. #36
    IA Member
    Join Date
    Aug 2003
    Posts
    52
    Rep Power
    21

    Default

    good luck man, keep us posted

  37. #37
    .:driftMechaniks:com:. down_shift's Avatar
    Join Date
    Aug 2003
    Location
    Marietta
    Posts
    1,353
    Rep Power
    22

    Default

    very nice write up so far. subcribes

  38. #38
    Soul Crusher RUFFIAN's Avatar
    Join Date
    Apr 2006
    Location
    in your nightmares
    Age
    48
    Posts
    2,422
    Rep Power
    22

    Default

    +1000 for DIY and being super detail oriented.
    N/A>>><<<BOOST

  39. #39
    I'm a motherfucker! Evil Goat's Avatar
    Join Date
    Oct 2005
    Location
    JJSPEC Racing
    Age
    41
    Posts
    8,038
    Rep Power
    45

    Default

    good job man, that documentation will payoff big time in the end...me and my dad did his impala the exact same way when we did his frame off...had tons of pictures on cd's and when we started putting it all back together we just setup my laptop out in the shop and used when needed
    -2001 Lexus IS300
    -2004 Pontiac GTO - 530hp/625ft lbs - 10.62@130mph - Sold!

    Quote Originally Posted by Echonova View Post
    I got five on it, that if this guy ever does meet Evil Goat he shits his pants and says nothing.

  40. #40
    Senior Member
    Join Date
    Mar 2005
    Location
    Marietta, GA
    Posts
    1,210
    Rep Power
    21

    Default

    man! that is quite fantastic!
    That's my dream btw....... Building a nice ass Eg from the beginning..

Page 1 of 25 1234511 ... LastLast

Posting Permissions

  • You may not post new threads
  • You may not post replies
  • You may not post attachments
  • You may not edit your posts
  •  
About us
ImportAtlanta is a community of gearheads and car enthusiasts. It does not matter what kind of car or bike you drive, IA is an open community for any gearhead. Whether you're looking for advice on a performance build or posting your wheels for sale, you're welcome here!
Announcement
Welcome back to ImportAtlanta. We are currently undergoing many changes, so please report any issues you encounter with the site using the 'Contact Us' button below. Thank you!