
- WRITE UP: DIY Light Box
-
 WRITE UP: DIY Light Box
Materials:
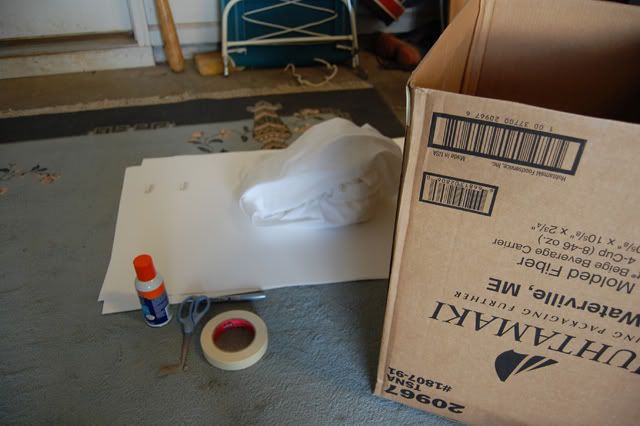
Large cardboard box
Bristol board (regular poster board will work and will be cheaper, but bristol board will be stronger)
Muslin Fabric (find this at any craft or fabric store. Walmart has this too I believe)
Scissors, Razor (some kind of hand held cutting apparatus)
Spray adhesive
Masking Tape
Marker (or some kind of marking instrument)
Ruler, Tape measure
Since every box is different, I wont be giving any exact measurements
1. Cut the top flaps off your box. Given that your box is a perfect cube, this will be the end that you shoot from.
2. Using your marker, mark your box at least 2" from every corner. Do not mark the physical bottom (the bottom of the box before you modified it) and the side you will be setting your objects on (if you set the box on the ground, this will be the "new" bottom) As you will not be cutting these two sides. I marked with tape here because I didnt have a ruler handy
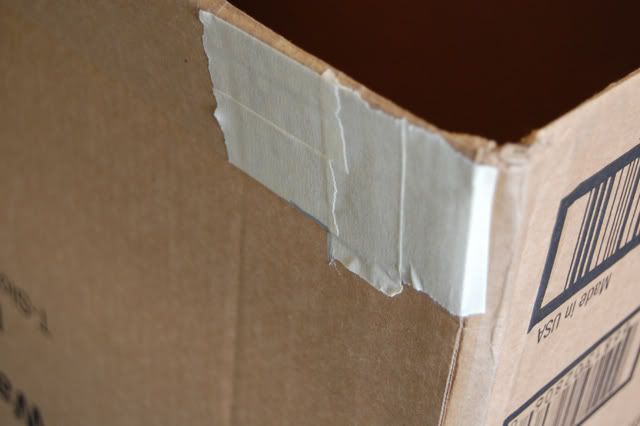
3. Cut out the square sections you've just marked out. DO NOT THROW AWAY ANY CARDBOARD YET! Your box should look like this now with a total of 4 open sides. Your viewing side and the three sides you've just cut out. This box is sitting with the "phyisical top" up. I'll use the left side you see to set my objects on, and the bottom you see will be my background.
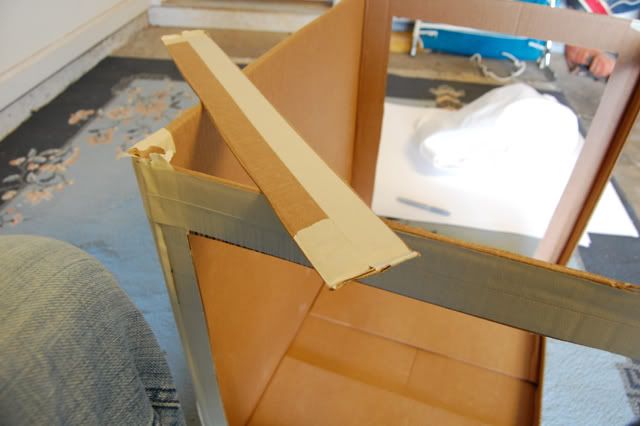
4. Use your cut out cardboard to cut out 2" sections (shown above) to use as support for the "physical top" of your box. Use your spray adhesive to bond these strips to the top of the box.
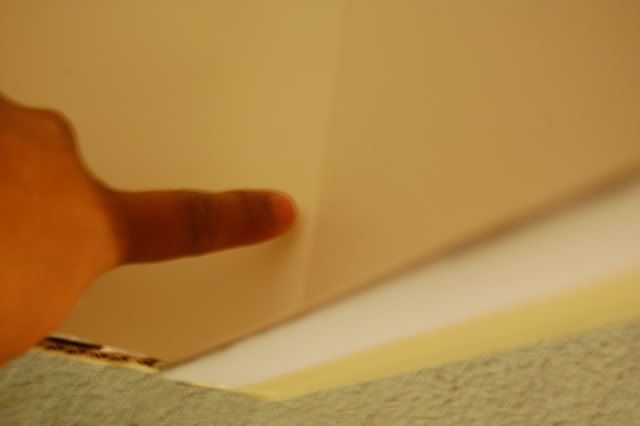
5. Now you have your frame. Time to make your box white. Use your bristol board or poster board for this. Alot of custom work here. You just have to cover ALL the brown pieces with poster board.
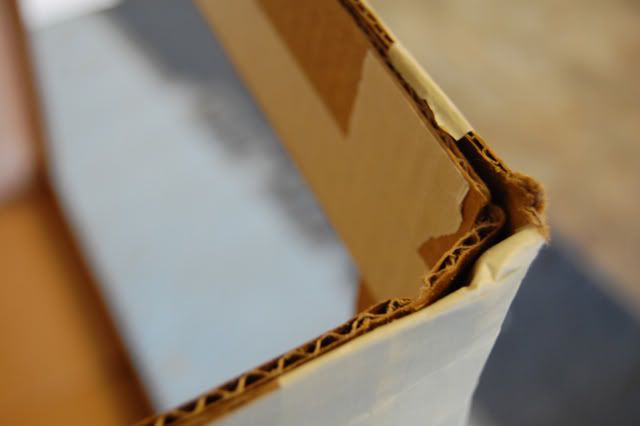
6. Cut some 5" strips to wrap around the corners.
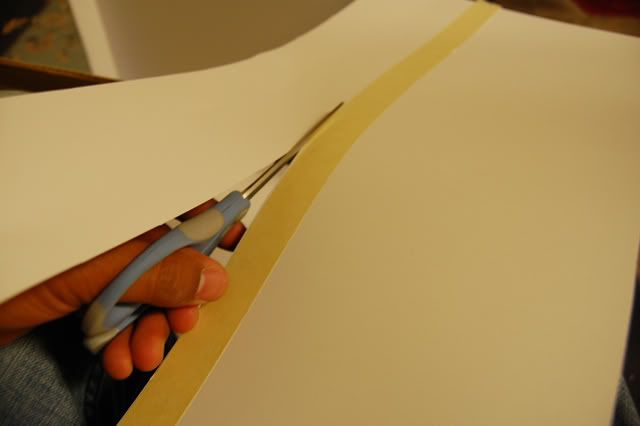
7. Overlapping is the way to go. Do not worry about creases as they will be masked with your flash. Remember "No brown box at all!" I used spray adhesive and an OBSCENE amount of masking tape here to get the job done
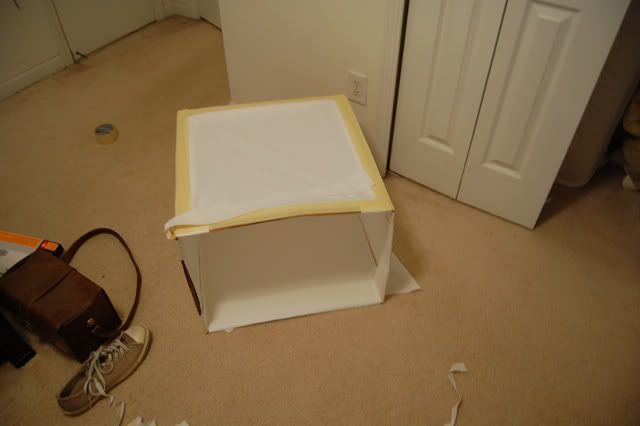
8. Now get your muslin fabric and cut it to fit the three holes you previously cut out. Make sure to stretch it taught so there are no folds or creases in the fabric. These windows is where the light from your flash will enter. I used my masking tape to secure the fabric here too. All in all, I used about the whole roll of tape
9. If your box looks similar to this, you're finished! You can use external lights (flourecent, halogen. One of the lightbulb companies sell "TrueView" light bulbs that arent so yellow when lit up) and your external flash to illuminate your box.
Here is an example shot from the new box:

-
-If You Own A Honda And Say "Headers", Go Jump Off Bridge...........
-
great results man.... very good writeup..
GECKOSquad
NIKOND7000 Shooter | flickr
-
-
you dont have to do all that work
i did this with nothing but a sheet of paper and one flash

should have done a white balance set first
-
Yeah thats what i was doing before, but its kinda limited
-
only if you are doing like wheels......
real ones.
-
also, dont use your flash AND other lights. use either or. results will be better
-
Very cool. Thanks for the writeup
- WRITE UP: DIY Light Box
 Posting Permissions
- You may not post new threads
- You may not post replies
- You may not post attachments
- You may not edit your posts
-
Forum Rules


 Reply With Quote


