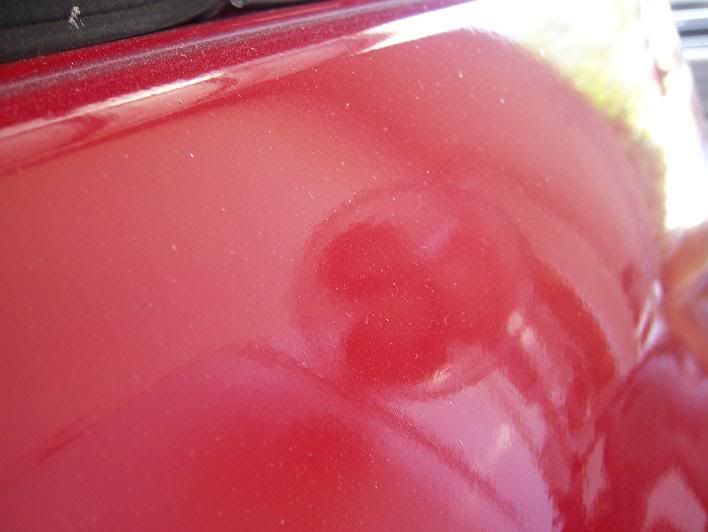
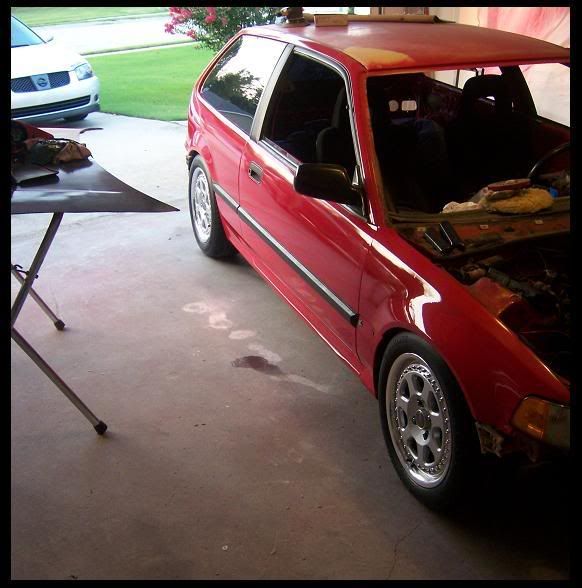
Looks good, despite what alot of people think you really can do a decent paint job at home if you know what youre doing! Plus the car looks 10000x better.


Looks good, despite what alot of people think you really can do a decent paint job at home if you know what youre doing! Plus the car looks 10000x better.

wow, that looks really good homie. i wanna see how well that paint job looks in person.
kick this project into gear and get her rollin!
UPROOT Photography FTW
Originally Posted by Oz10


Looks good from here!!

paint looks good man

Looks a million times better than when you started man! Can't wait to see it all painted up, this car makes me want to repaint mine instead of leaving it faded red lol.
Oh and the polished f5's look good too!
FC - Death by rotary forever
CRX daily... Gas prices suck, i love my HF

^^^ Yeah it looks wayyy better then what it used 2 look like... I cant wait to finish this project either.
Thx, im doing the best I can... Work is killing me the past 2-3 months, so when I have a day off I really dont feel like doing anything u know. But I think ill get her out the garage in 3-4 weeks

looks really good man, im doing all my body work/paint myself too, im hoping it will look as good as yours.
is that milano red you used?
Its the OEM 91 ef paint.

nice ef...i love the nismo fron lip on that sentra
~CREW LEGIT~IMPORTALLIANCE.ORG~All IN FAB~BISIMOTO
word.
thx...yeah thats my other car

LOOKS LIKE IT'S COMING ALONG GOOD CANT WAIT TO SEE IT FINISHED+1

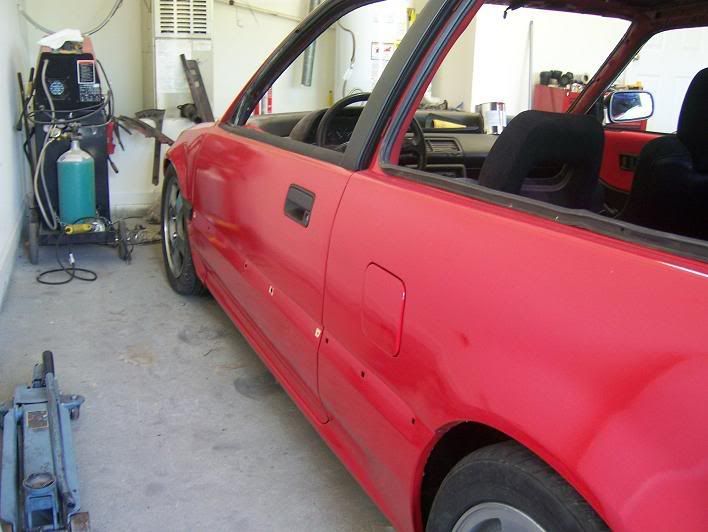
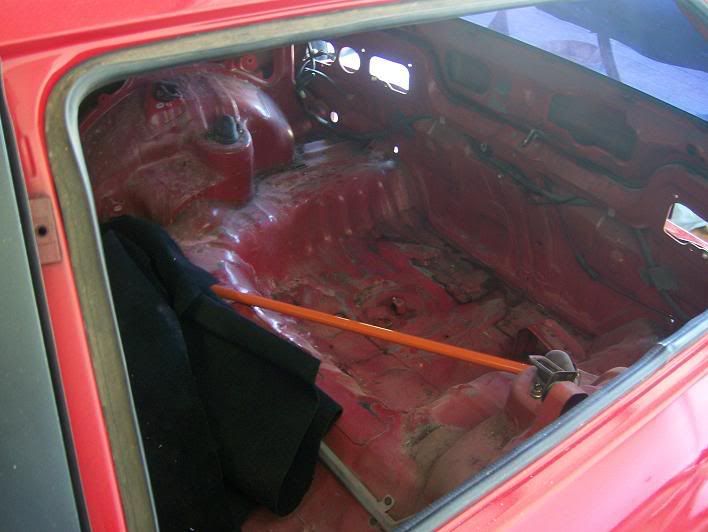
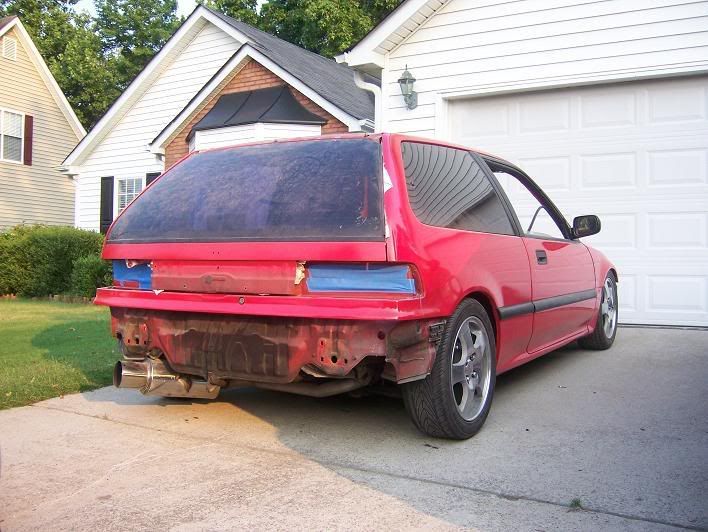
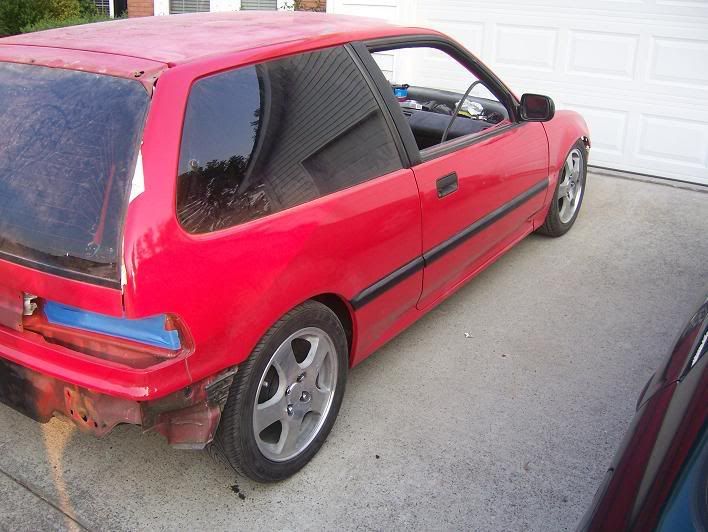
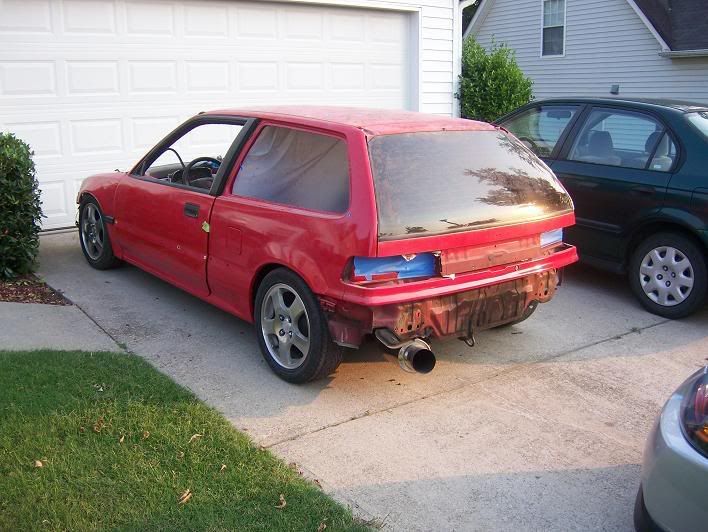
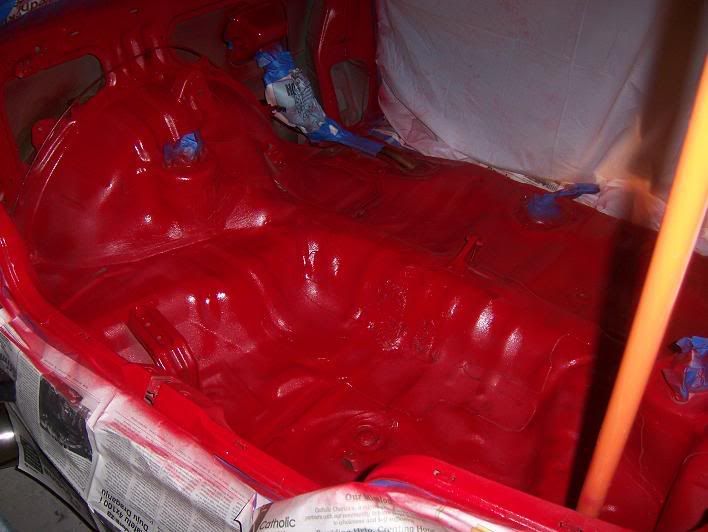
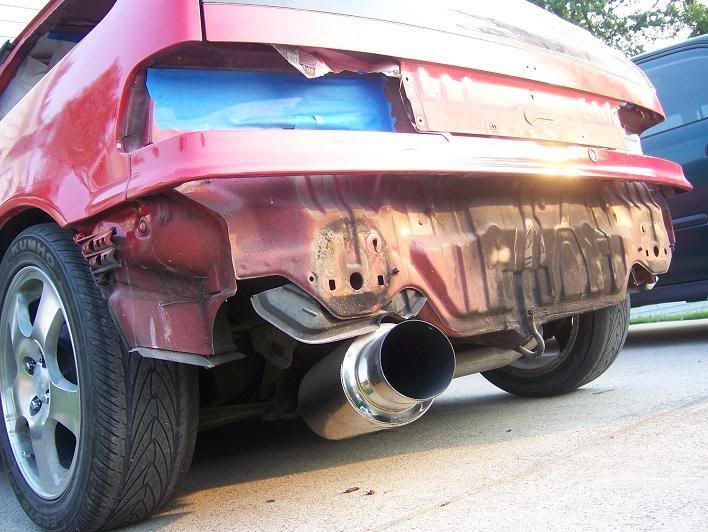
Here are some more updates on the EF as of June.06. I will take some more pic's of the driverside, cuz its finally done. The only few more things that is left are: painting hood,roof and bumpers... and the interior (floor) cuz im not gonna have carpet in it. Ohh yeah and new winshield... and its finally done
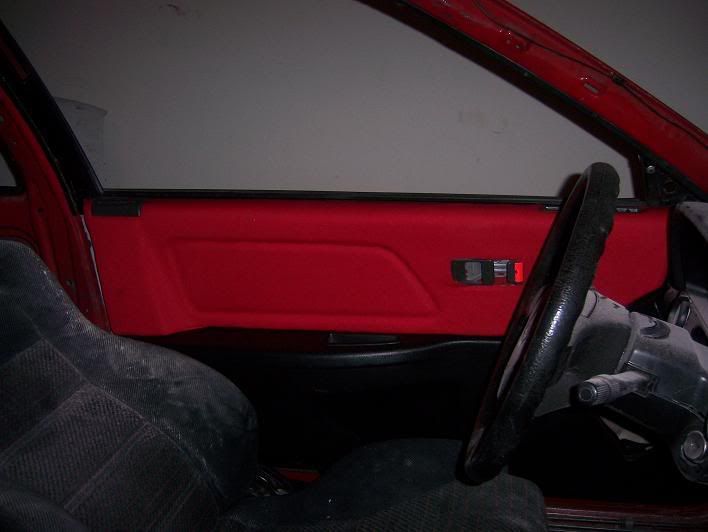
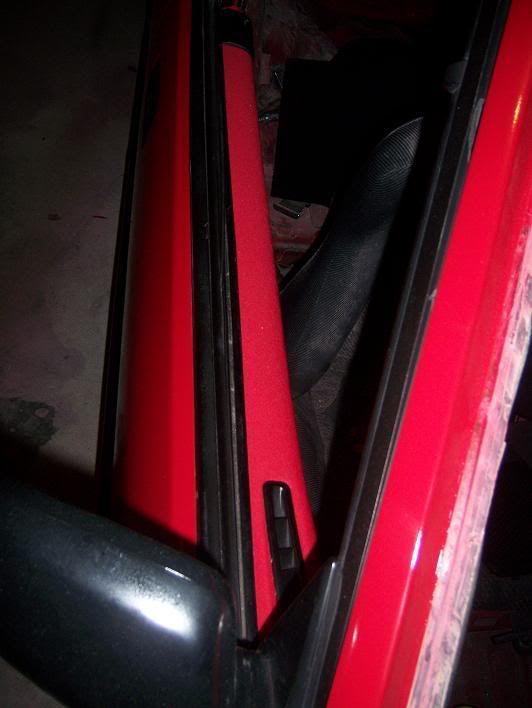
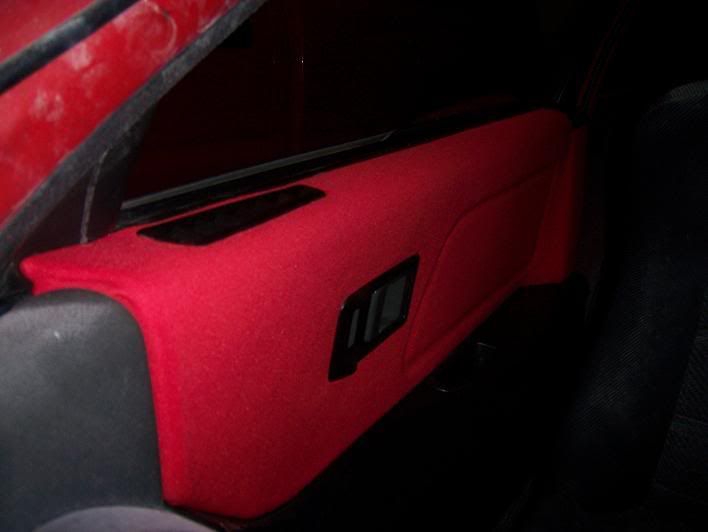
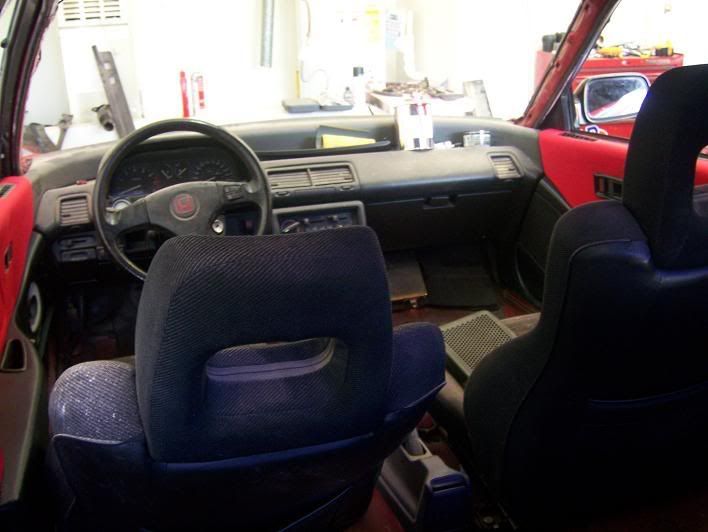
Here are some pix of the door panels I did the other day.
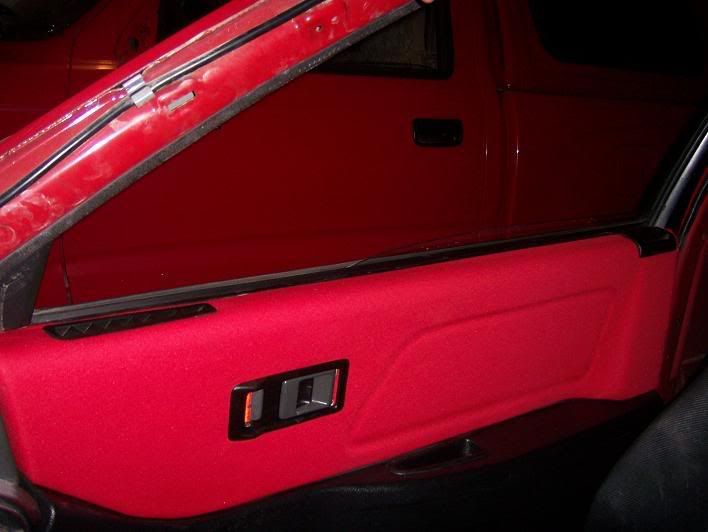

That actually looks really good. Now you have to do the upper part of the dash to make it match.
unique bro. props for that.
and x2 on wut jeff said. that'd really make it "pop"
Yeah I thought of doing that, but idk it might be a little ricy or something... Im just gonna do the upper part black to match whole dashboard.
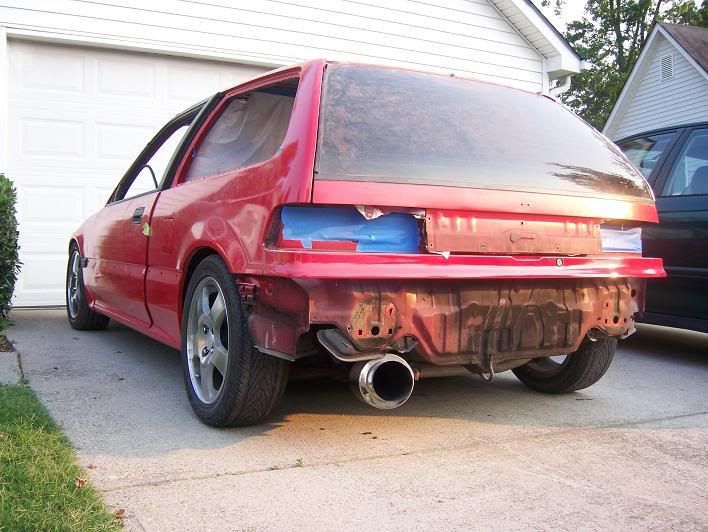
just a few more pic's of the hatch... cuz im bored
Ewwww
And now , but its not done... have to go over it one more time and then clearcoat it
tell ur pops to come and paint my hatch! haha
^ i see you changed ur user name! haha
Its a pain in the a$$ but here it is...
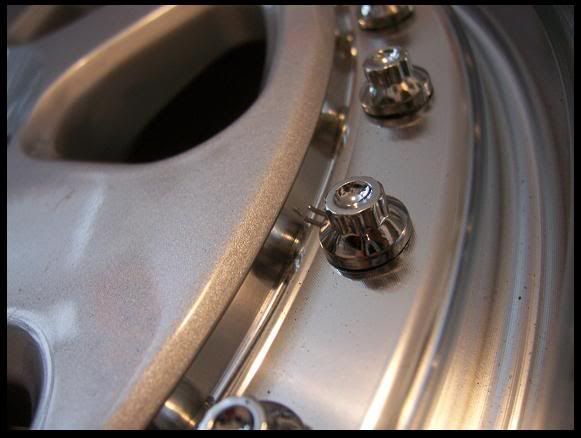
Taken from a quick writeup i did on a local forum.. questions, comments, editing welcome. A side project i started in the middle of winter and finally finished. takes about 4-5 hours/rim. took way longer than i expected but once i started i couldnt turn back. anyway.. here's what i wrote.----------
The person i baught my SiR rims off of didn't take very good care of them. Drove them in the winter and they seen their fair bit of salt. Clear coat is chipping off and there is some pitting.. and for some dumb-ass reason Honda decided to put the wheel weights on the outside of these rims leaving nasty marks when you change and rebalance your tires..
So now i'm left with the job of trying to make them look new again.
Things you'll need.
Gloves - buy a 100 pack at the drug store, if you dont use gloves get ready to have black hands for a week.
Sandpaper 150*, 220, 320, 400, 600, 800, 1500
2 cans of mothers polish
6" Buffer
Small palm sander
A few rolls of that blue paper towel stuff from canadian tire..
* Be carefull with 150 grit..use only to sand down curb scrapes or really bad areas.. you'll need to speed 3 x time with 220 grit to get rid of the sanding marks that the 150 will leave behined.
Step 1: strip rims with heavy duty paint stripper - follow the instructions exactly, do not do it on a humid or cold day or expect to do it agian!
SKIP TO STEP 4-8 if rims are smooth after stripping - use your own judgement. Sir rims and many other OEM rims have concentric machined rings that need to be sanded off so you need to start off with 220 grit
Step 2: Sand down with 220 BY HAND use a wood block for flat parts. take your time and make sure you dont see anything but the sanding marks that the 220 will leave behined. I sand dry with 220. this step will take the most time! do a good job.
Step 3:
Use 320 with the palm sander along with lots of water.
Palm sand as much as the rim as you can but be carefull not to let the sanders lip hit anything! let the sander to the sanding and use lots of water.
clean with clean rags and water.
hand sand areas you cant get at with the palm sander
sand again with the palm sander and fresh sand paper.
Step 4: (same as step 3 with 400 grit)
Step 5: (same as step 3 with 600 grit)
Step 6: Hand sand with 800 grit - take your time and get everything! I used this maroon colored paper from home hardware - it didn't last long using lots of water but it worked so well. buy 4 sheets of this stuff! Thumb Up I did 2 good passes with this stuff.
Step 7: Do the same with 1500 grit. the rim will look very smooth and very DULL. if it looks even and dull than you did a good job.
Step 8: Smear a decent amount of mothers on the whole rim. WITH A NEW CLEAN bonnet buff until you start to see circles/haze - you'll see the rim start to get very shiney but will leave a buffing patteren. keep doing this but dont let it get competely dry.. hard to explain but you cant really screw anything up at this point, just might have to do it over. turn the bonnet inside out for the next 'step 8' that you do.
Step 9: WITH A NEW CLEAN bonnet buff the rim. If you did the buffing part right the rim will look like a mirror in seconds. if it still looks hazy than keep experimenting with step 8. you will surprise yourself
I will not share any info on how i painted between the spokes and got the clean lines between the painted and polished parts. ya'll can figure it out if you want..
--------
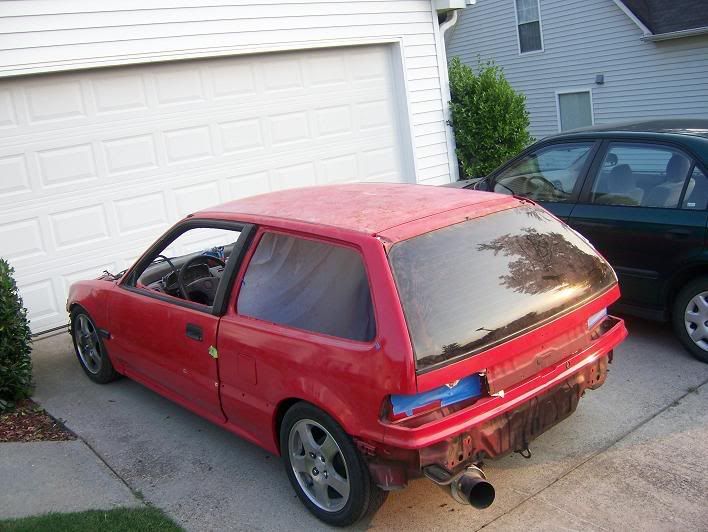
got bored today and took some pic's of the hatch...

nice EF i saw u yesterday in the SE-R
thx dude... do i know u?
just a random pic i took... I think this will be my new sig!
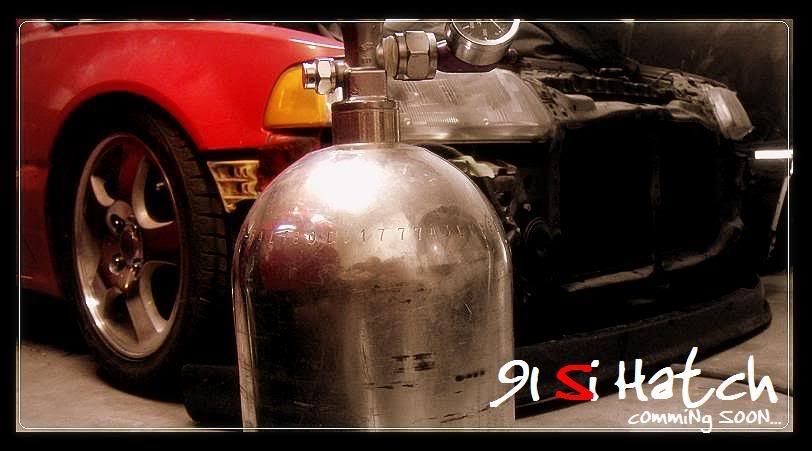
Your fresh new sig features a spelling error.
I see it...fixed
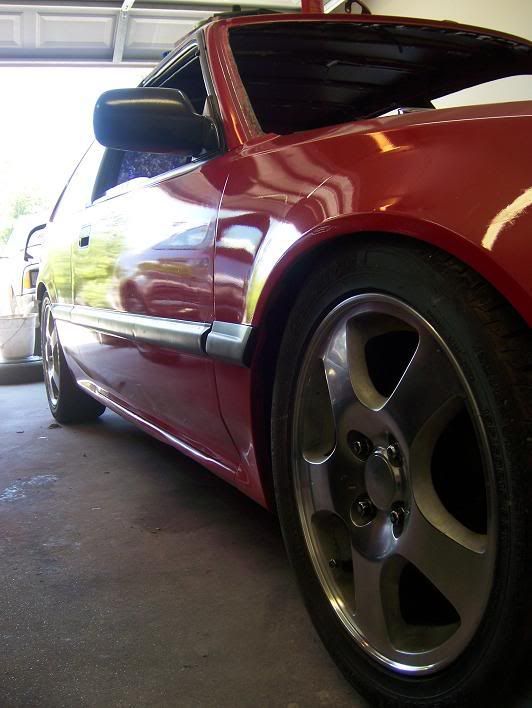
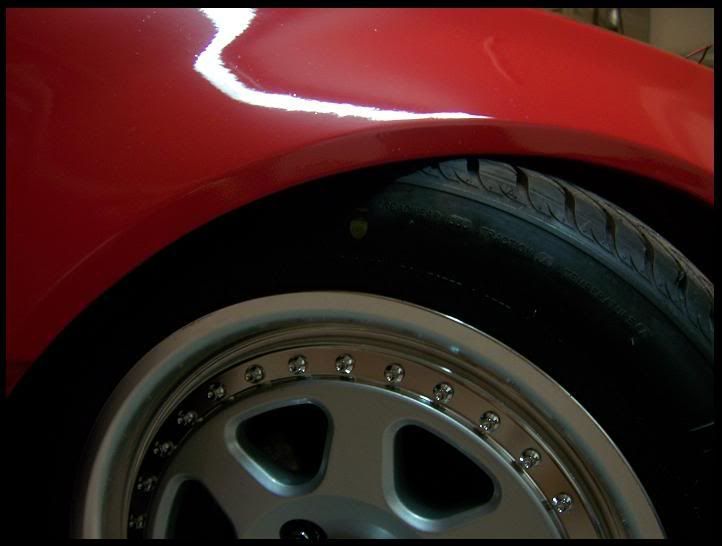
My new wheels just came in today, im about to mount them tmrw... here is a wheels pic teaser
I'm not a fan of M7s.

Nice build
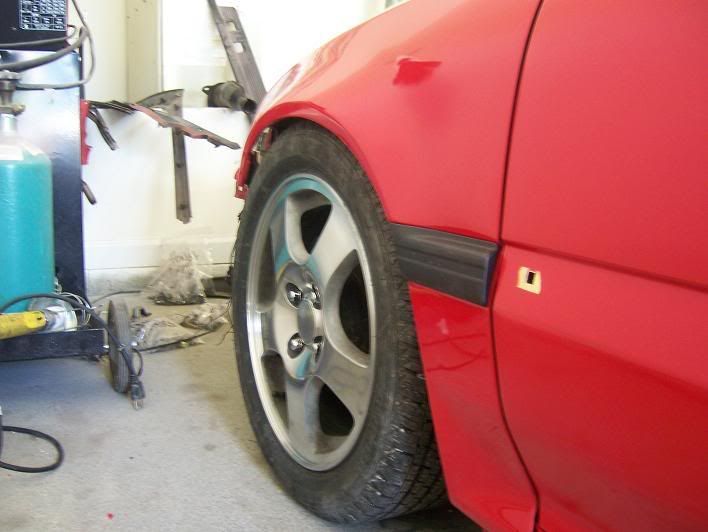
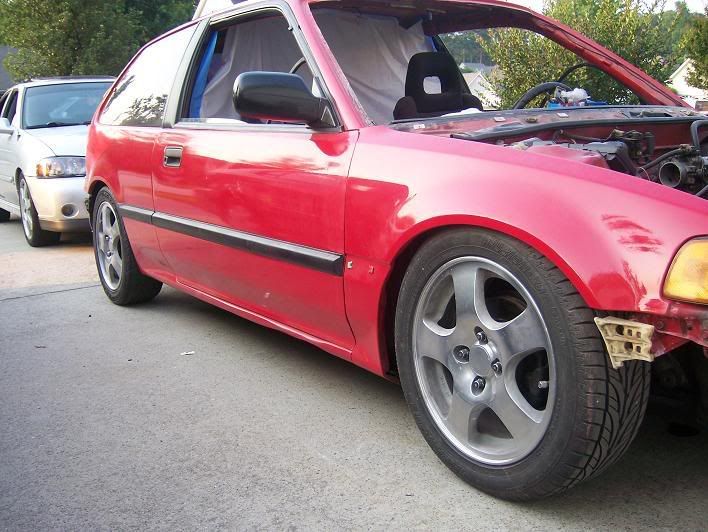
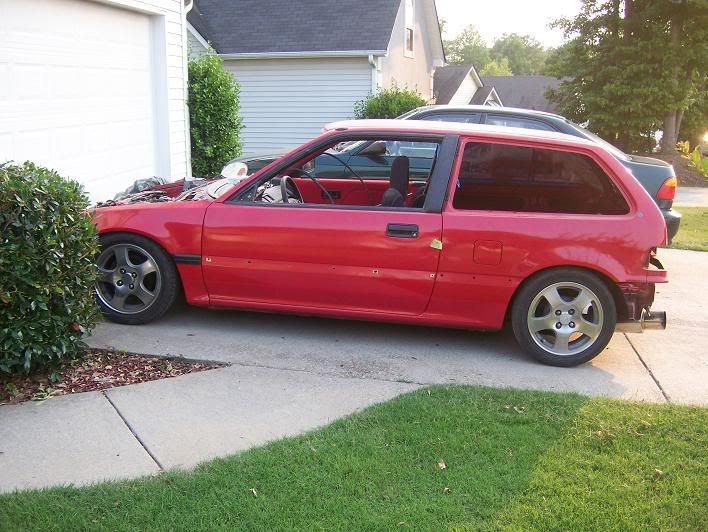
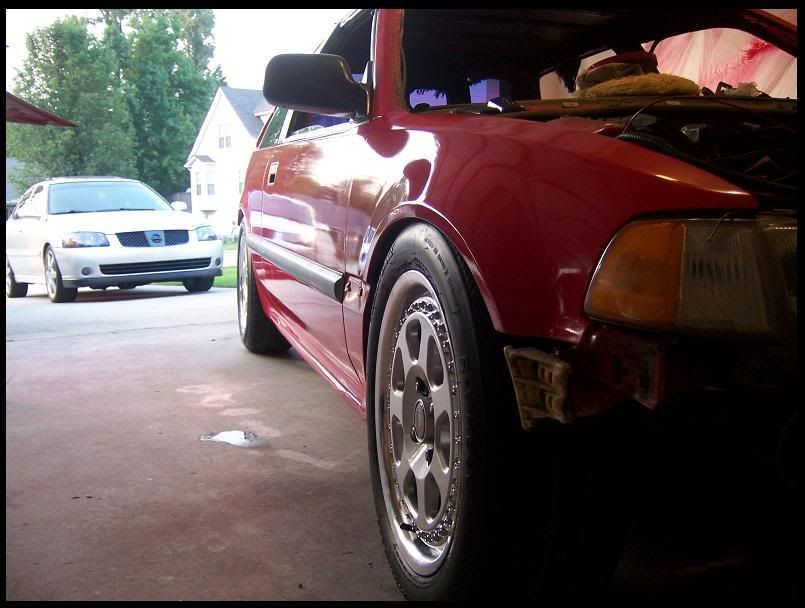
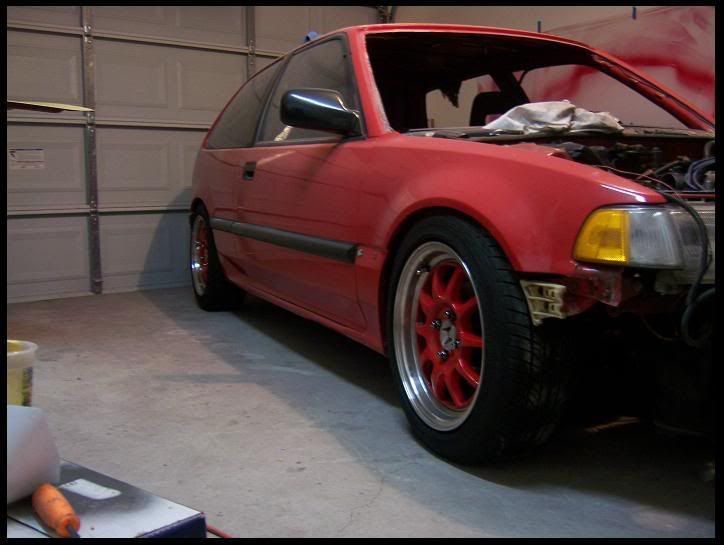
Some pic's of the wheels on the car...
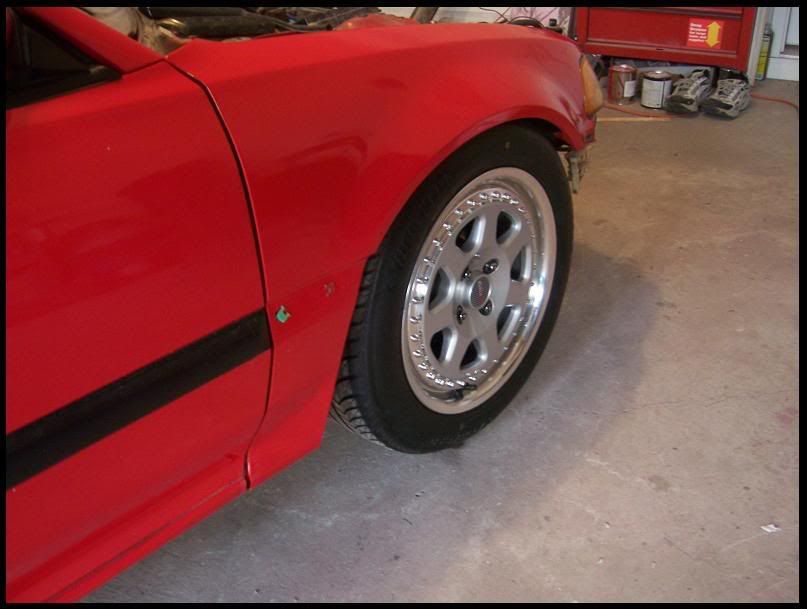
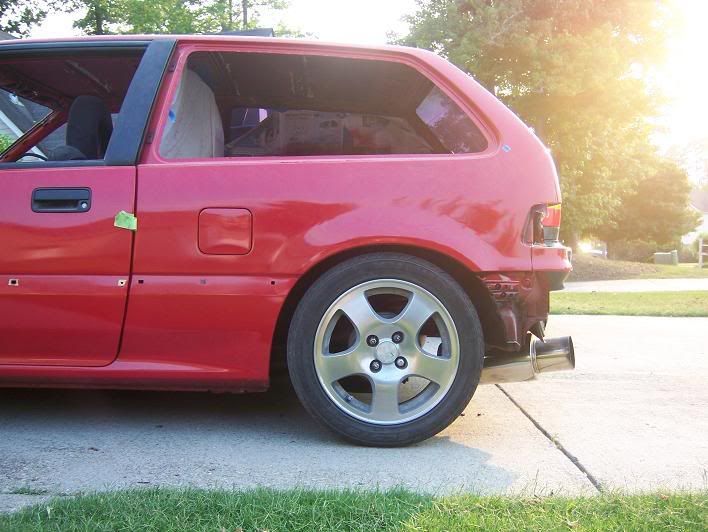
Today, I was about to take the car for a spin (well tired) ... but I couldnt go anywhere. Its sitting way to low and the tire is catching the fender. So I have to get a new suspension.
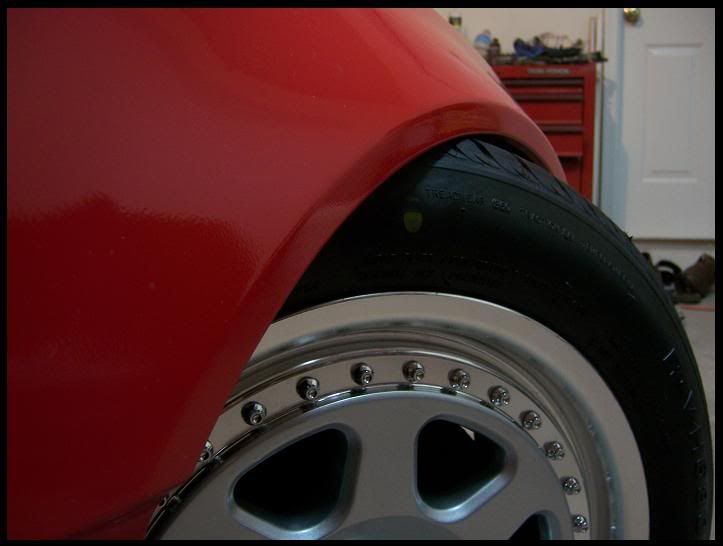

You gotta roll the fenders bro.
BUY MY HATCH <--click the link, cuz.
New wheels again
lol thought u were trading for those green wheels when i left the meet? lol
those look better IMO though.
LoL, I was but the guy couldnt make his mind up ... So I got these. Yeah, I think these look better and they have better tires(Falkens) then what I had on mine (no name brand).
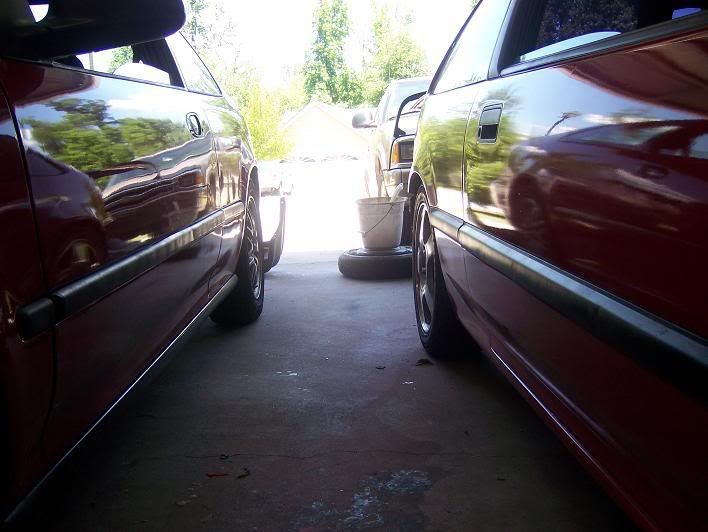
HAHA both mirza's old cars lol.
nice work on the EF.
 Posting Permissions


 Reply With Quote