


It's a pretty simple process, although it takes a while. Keep in mind, everyone has different methods, so if you have something to add, please feel free to do so. I will write-up a step by step, but I'm not actually polishing anything at the moment, so I have grabbed some pics from the internet.
Now, this process can pretty much be done to any metal, but aluminum is soft and doesn't rust. If you do it to steel, make sure it's high in chromium and nickel, although this is very hard to do.
STEP 1:
Clean the piece you're working with. Getting grease or dirt everywhere while you're trying to sand sucks.
STEP 2:
Depending on the finish, you might be able to skip this step. If your part is unmachined and still has the casting, or just has a very rough finish you will most likely want to follow this step.
You will now either use a right angle die grinder with a sanding wheel or very abrasive sand paper (about 60 grit on the sand paper, 120 or so on the grinder). I will warn you, if you don't pay attention very well to detail, you might want to use the sandpaper. Using the die grinder takes constant motion and a close eye on what it's doing. It'll easily gouge the surface.
Perfect example of a part needing step 2. This will bring the surface to a more even finish. You will be able to run your finger along before and after to feel the importance of this step.
The part should resemble this:
STEP 3:
Using 180-220 grit sandpaper (wet/dry), you will wet sand the part until you notice there are no more deep and wide marks from the 60 grit. This will take a while, but this step will take the metal from looking scratched, to looking more "brushed" but not quite as smooth as the picture below.
STEP 4:
I will summarize these next few, otherwise there'd be a few more steps written out than really needed.
Go from the 220 above, to a 320 grit, to 400 grit, to 600 grit, to 800 grit, to 1000 grit, to 1200 grit, to 2000 grit.
Eventually, your part will look and feel very smooth. With each step you'll remove the scratches from the previous step, and replace them with finer scratches from the current grit. If you leave some behind, they'll generally get sanded down with the next grit or two.
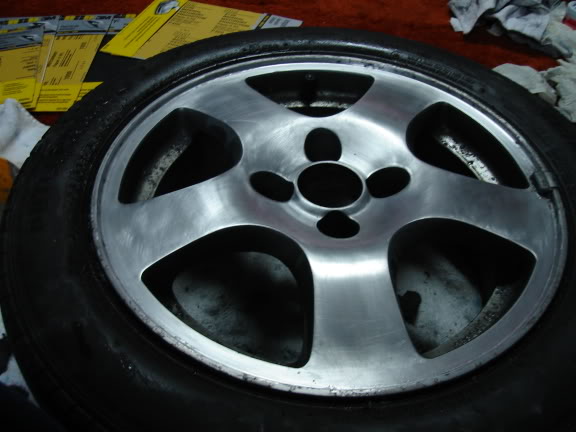
As you see it almost has a shine, even though it's not polished yet.
STEP 5:
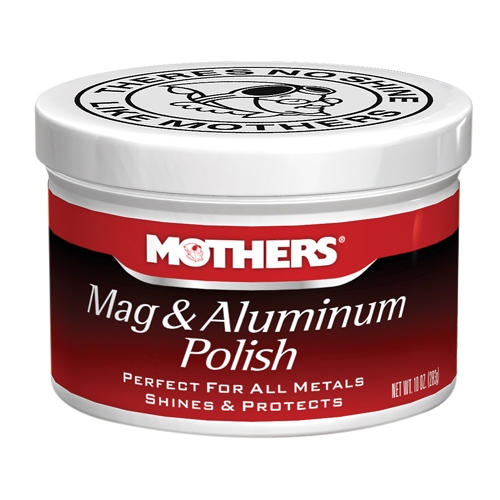
Mothers Aluminum Polish. Your bestfriend.
You'll want to wash the part again. Get it as clean as possible for this step. Take the part to a clean enviroment, use a NEW rag/t-shirt/towel (make sure it's soft), and dab the cloth into the polish. Wrap the cloth around your thumb or fingers, and start moving it in a circular motion. It'll get black really fast, but keep going till it feels dry. At this point, it should have a little bit of a shine. Repeat this till it's polished looking.
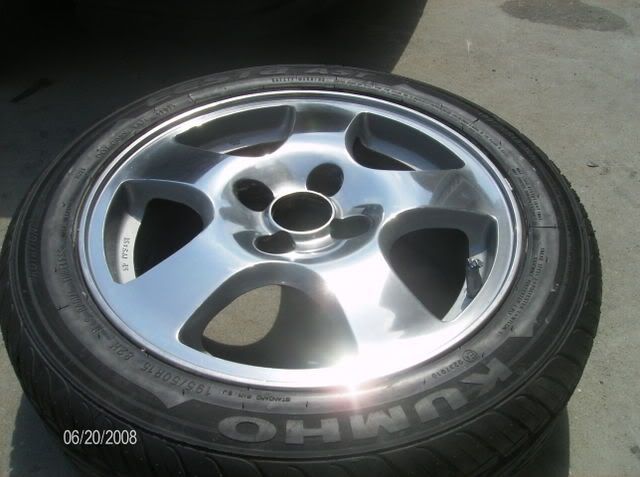
You can see the difference in the pre-polish and post-polished areas.


 Reply With Quote

 +REPS!


