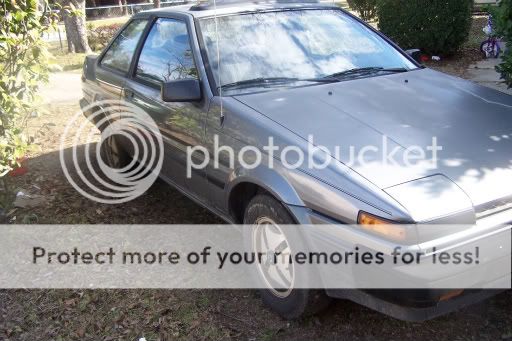
I've actually had this car for almost 2 years. I had another '87 SR5 before this one but it needed ALOT of work... which is why I only paid $25 for it.
But I got this car as a one owner all original, female driven car. I paid $1000 for it. It was actually bought here on IA. So this build is a little far behind. When I got the car I was told the carb was messed up. I fould out a few weeks later I learned that the carb was indeed messed up, but also it had a blown head gasket.
I already had a 20V that I had gotten for my first SR5, but for the time being I Just changed the head gasket and installed the carb from my first car. The moment I got it to start the first time, the water pump turned into a frag grenade.... Pulled the water pump and fan from my other SR5, and it fired right up.
Been driving it since then up untill about the middle of October '08 when the ORIGINAL clutch finally gave up at 164,XXX miles.
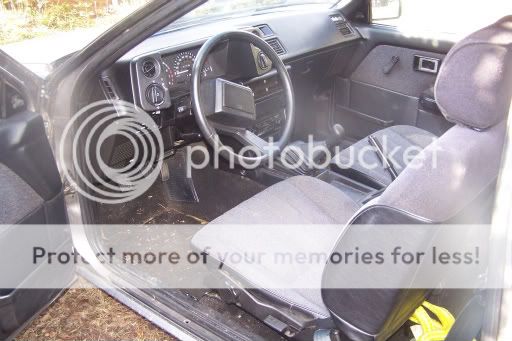
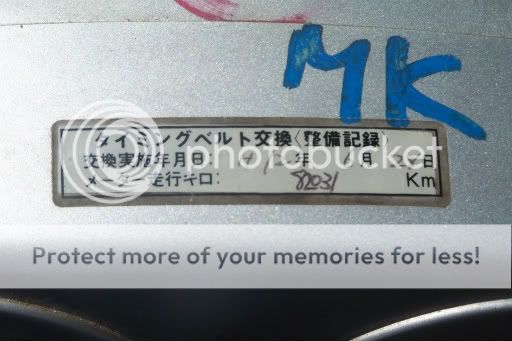
The original owner kept VERY detailed records of everything done to the car all the way up to 158,XXX miles... all the way down to the part numbers of the stuff she replaced, and even what oil and filters she used on the car. The spare tire, jack, and tools (still sealed in the original green Toyota canvas bag) had never been used.
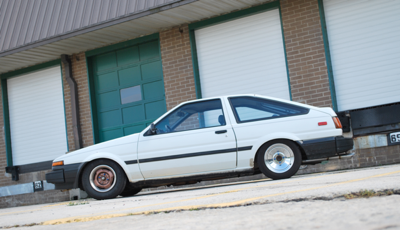
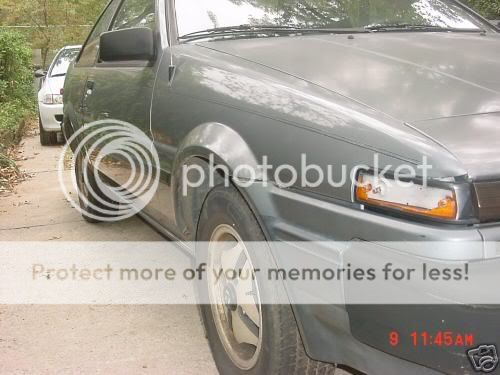
The car now has '85 celica-supra rims on it that I painted the centers gunmetal and polished the lips and left the center cap tops the factory chrome and just painted the sides gunmetal to match the wheels and used crome lug nuts with 185/60/r14 tires. Swapped some painted 13" steel SR5
rims for these. So... $0
I pulled the power steering and swapped in a MR2 manual rack, using a T3 adapter bushing. And I got a MKIII supra intermediate steering shaft to lengthen my steering column from Ryan at CCR. Cost me all of about $80. Feels great.
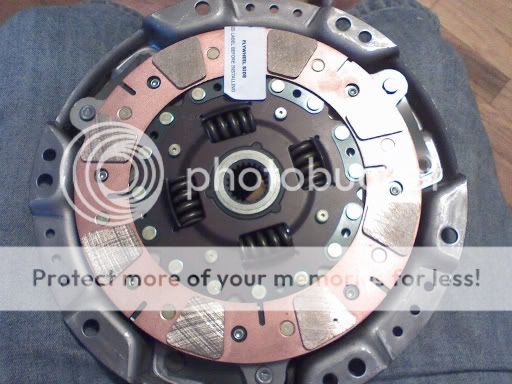
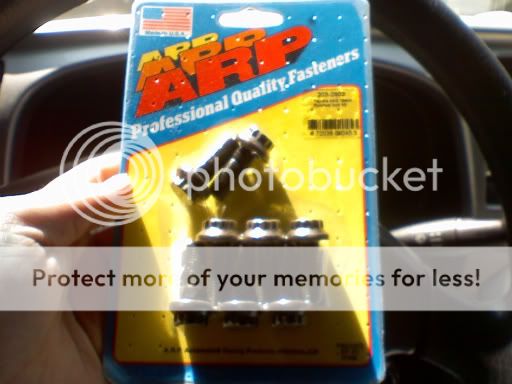
Got my clutch from Max on Club4ag.com. He is the owner of Illegal Garage in Cali. He's a great guy and always answers the phone peronnally once you get past his digital assistant. Got a flywheel from a 85 GTS from Tyler for free (Thanks man) when he was with CCR, and purchased ARP flywheel bolts off ebay for $32. Went to Toyota and bought 6 pressure plate bolts.$6.83.
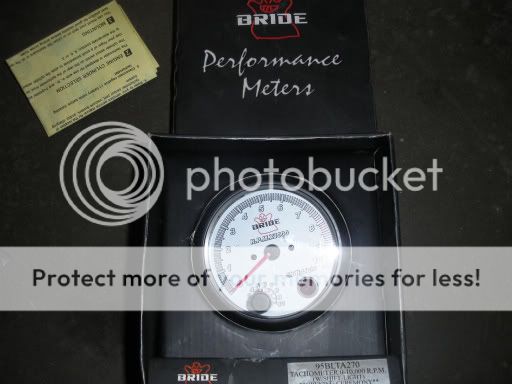
I'm using Megasquirt 2 with a version 3 board, and harness from DIYautotune.com $225
(THANKS JERRY!)
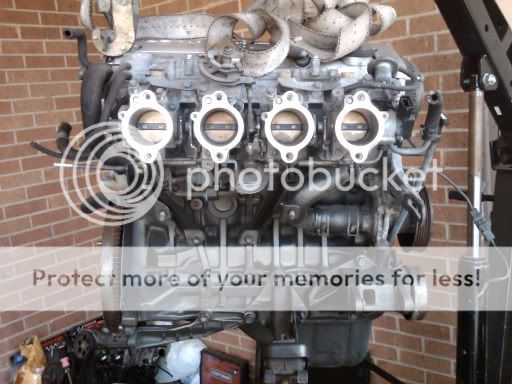
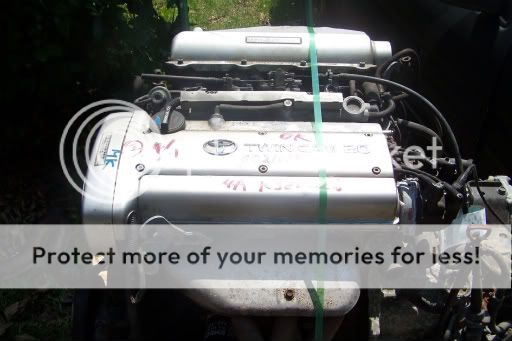
Got my 20v from a company in Texas that no longer exists. The engine appears to be in good shape, but they failed to send my the rest of the harness, a computer, MAF, coil, igniter, coil to cap spark plug wire... you get the idea. I'm glad I only had to pay the shipping on the motor.... well actually a friend paid for it as payment for some work I did on his eclipse. (Thanks Adam) so.... $0
I've finished the computer, and did some mods to the wiring harness.
I have a GTS gas tank with pump, but no lines that I also got from Tyler, But I don't think that the lines will be an issue. $50
I will also be swapping out the 6.38" rearend with a 7.5" one from an early 80's toyota pickup. So at my local junkyard I started scouring around and found a '86 Supra with a N/A 5M engine and a auto tranny with a 4.10 LSD equipped 7.5" rearend with 76,XXX miles. It was in great shape, so I pulled it. Checked the price list and found that LSD or not, they only charge $35 for rearend chunk.... I said "MINE!"
I also have a unknown double core radiator from my friend Randy's old turbo DA Integra. It is the same height at the stock Corolla radiator, but is twice as thick, and is 4" wider.
Any way, here are some pictures of the car and some pics of what I've done so far.
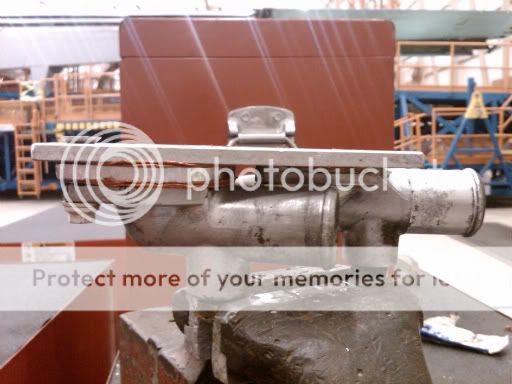
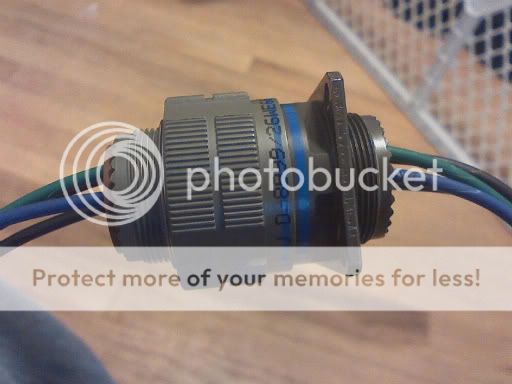
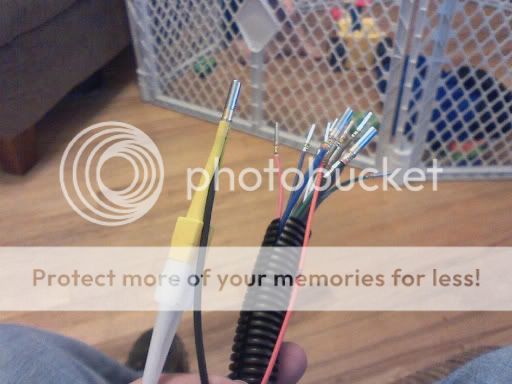
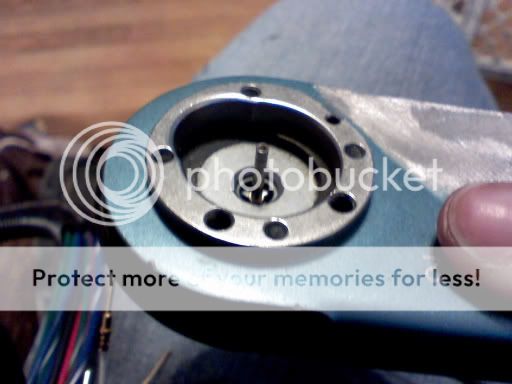
Cannon Plug for Ground wires and Injector wires for Megasquirt. The side with the flat plate will be mounted to the firewall. This will make removing the engine easier since the two halves simply screw together and have a self locking feature to prevent accidental disconnection.
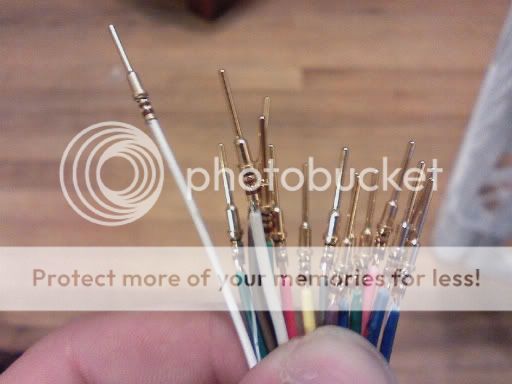
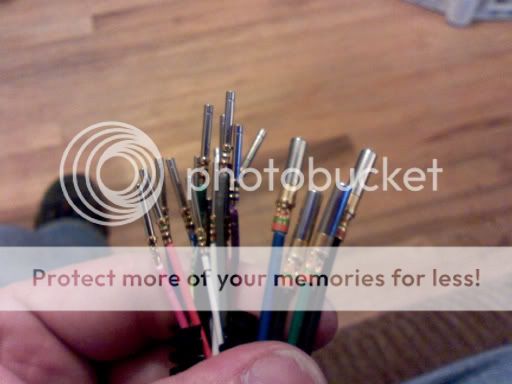
Pins that go into the cannon plugs
Recepticals that go in the other half of the cannon plugs
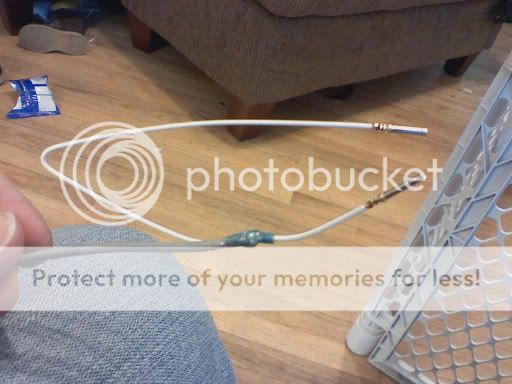
In the middle of this solder sleeve is a ring of solder that is used for grounding shielding for wires
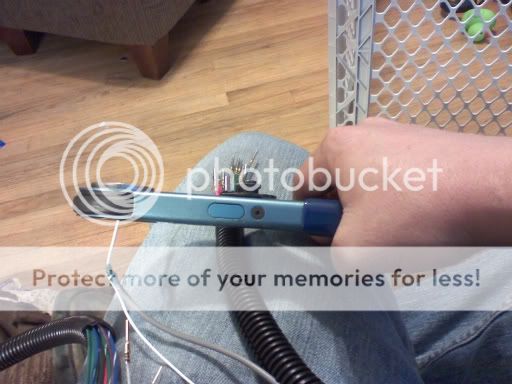
Used a heat gun to shrink it to the wire and melt the solder. Crimped the recepticles to the ends...
The install tool for installing the pins and recepticles into the plugs.
The crimping tool for the pins squeezes from 4 directions at the same time.
Such a big crimper for such a small pin. lol The crimper is actually adjustable and the handle ratchets, so if you need to readjust your hand, it won't release the pin. The only way to make it release the pin is to fully crimp it. The adjustment settings will only allow you to over crimp the pin if you input the wrong wire gauge on the adjustment dial.
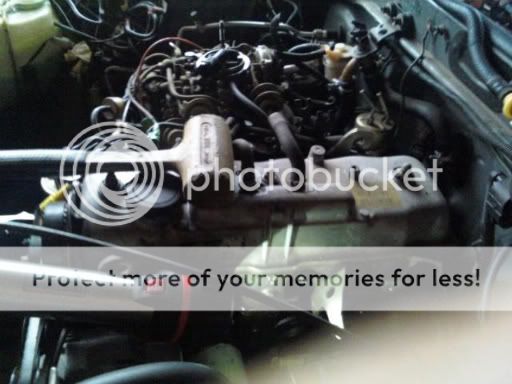
The old 4AC... still runs strong....
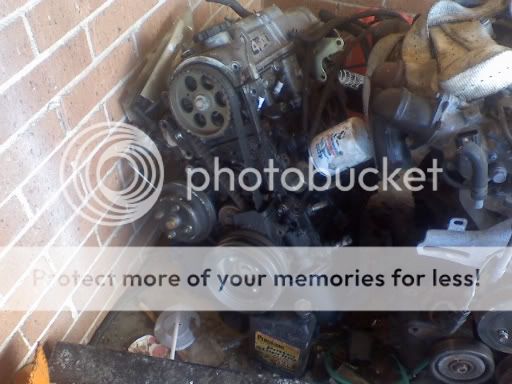
The 4AC has landed....
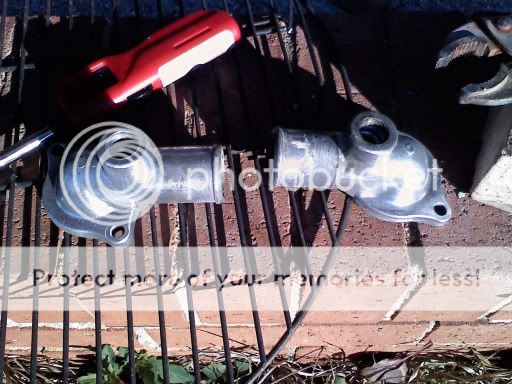
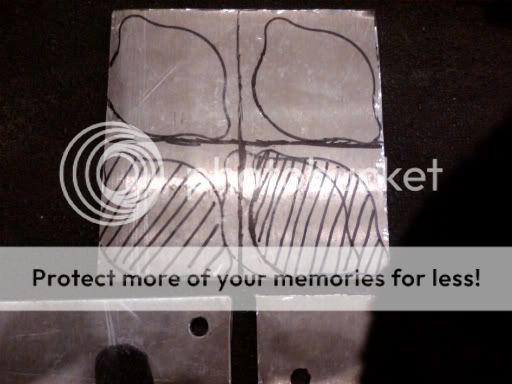
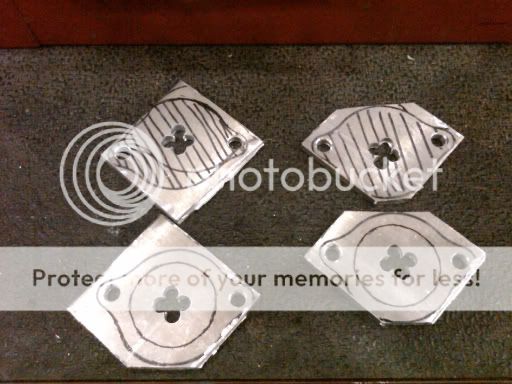
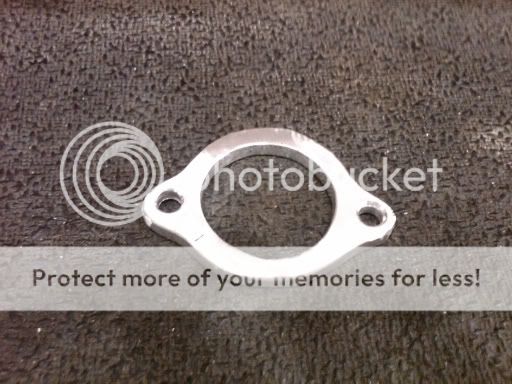
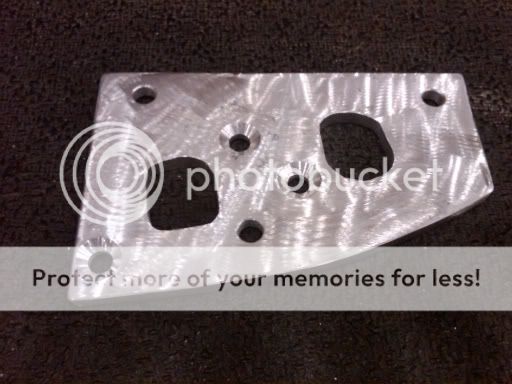
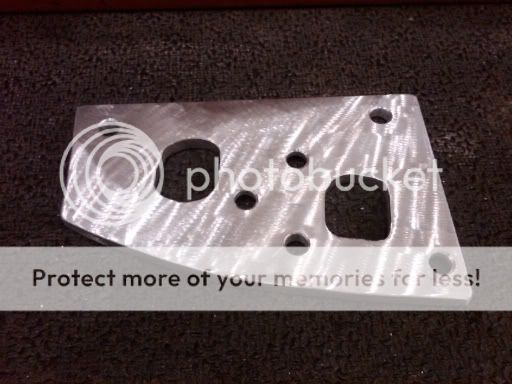
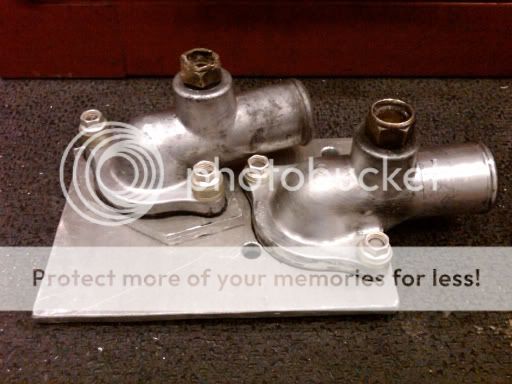
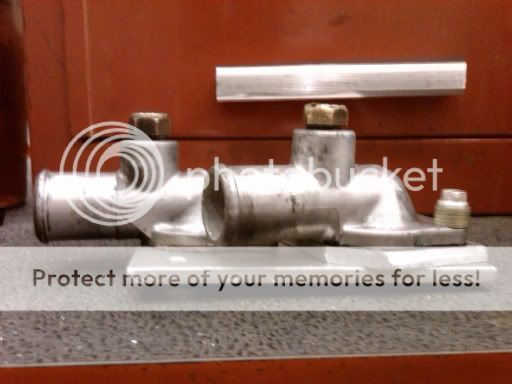
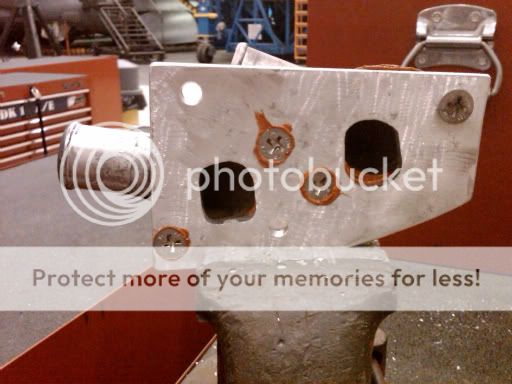
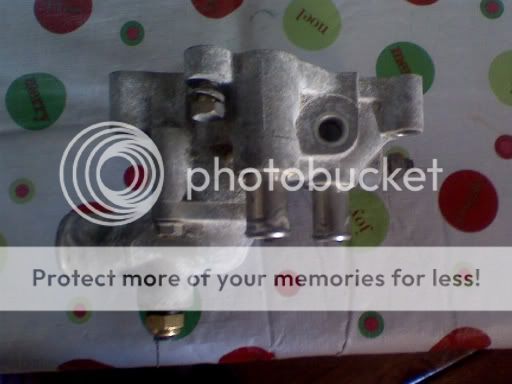
Removed the thermostat housing.... I plan to put a plate on the back of this with holes cut identicle to the holes in the head. Then I will attach two water inlets off of two 7AFE engines that were cores returned to the junkyard. I'll make another plate to match that will be bolted to the head. Run two hoses between the two and then just connect the radiator hoses from the housing to the radiator, and the heater core hoses. Keep the stock thermostat and my heat will work like it's supposed to. And all without drilling the head, or reversing the flow either.
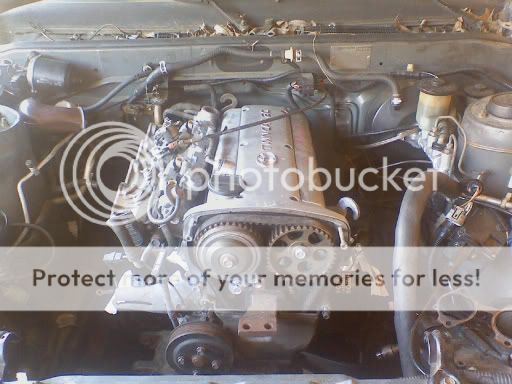
Test fitting the engine to see how to fabricate the relocation kit
The heater core valve clears the ITB's with no modification. Woohoo.... Cause I'm a puss and I like having heat in my car... LOL
I bought some aluminum plate at from Prince Sheetmetal for about $10. The radiator hoses were $3.50 each at the junkyard. The junkyard I go to doesn't have a price on their sheet for water inlets, but they charge $3.50 for thermostat housings. I put the two water inlets on the counter when I bought the hose, and he charged me $.25 for them. I was like, "hey, I'll be back for two more in a few days."
I'm still uploading the pictures of my relocation kit, and some newer pictures of the car with the motor in it. Hopefully I will get some more work done soon and get some more pictures and update up. Thanks for checking out my build.


 Reply With Quote