Damm man!! Nice work and very detailed!!
I just take off and hop i know where it all goes when i put back toghter!!
Your doing a awesome job!! If u need any help or idea let me know!!


Damm man!! Nice work and very detailed!!
I just take off and hop i know where it all goes when i put back toghter!!
Your doing a awesome job!! If u need any help or idea let me know!!
bunch of worthless pictures
sponsored by: workhard motorsports. // tuned by
Thanks guys for the feedback.
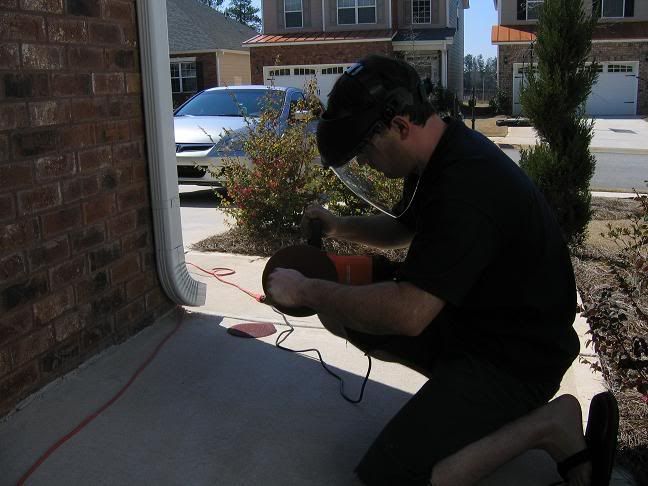
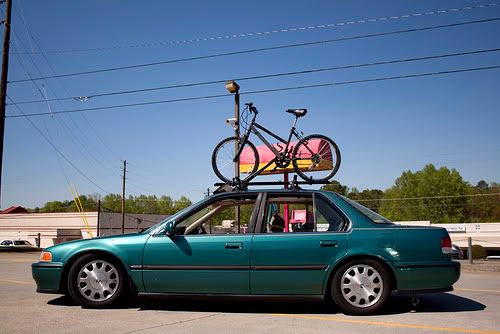
Today was 70+ degrees and not a cloud in the sky. So I spent some time in the garageI removed the GC/Koni's from the rear and installed the OEM suspension. Once the suspension was installed I rolled her outside:
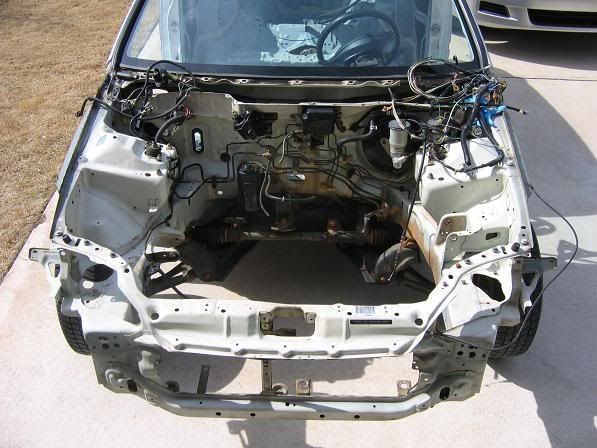
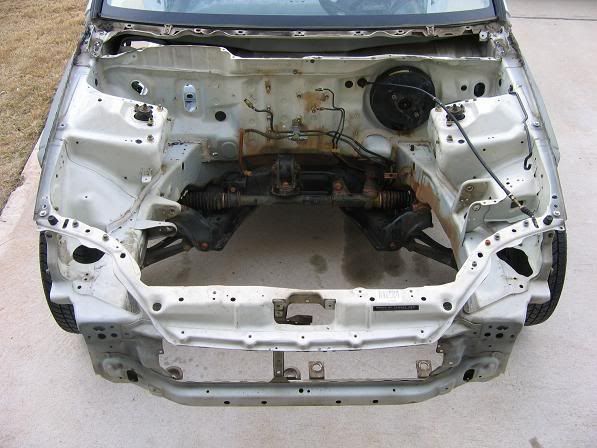
Time to start removing $hit so I can start prepping for paint
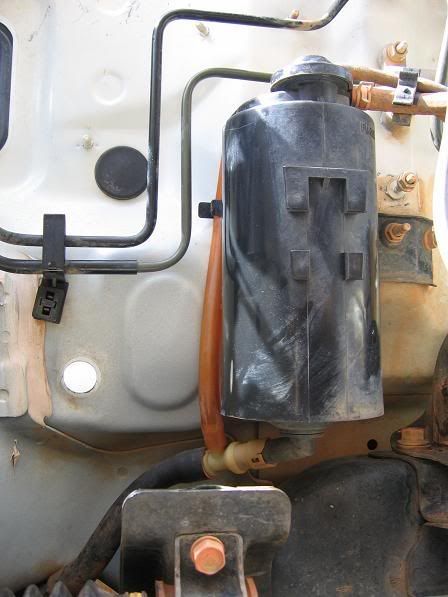
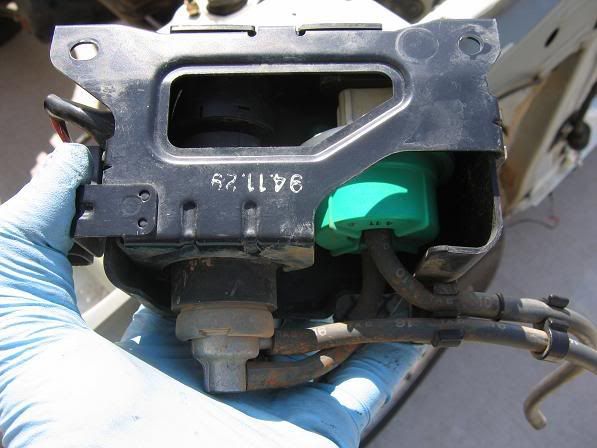
Charcoal canister OUT:
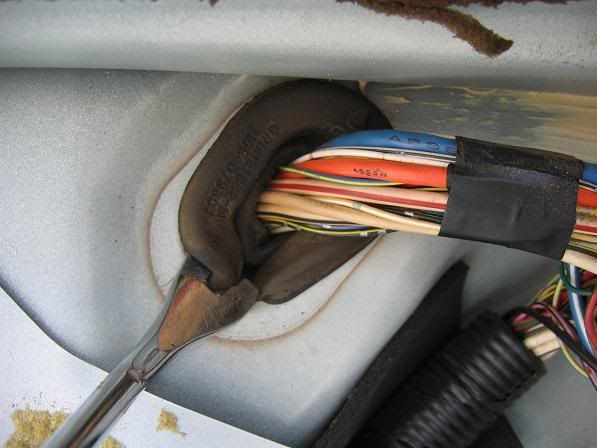
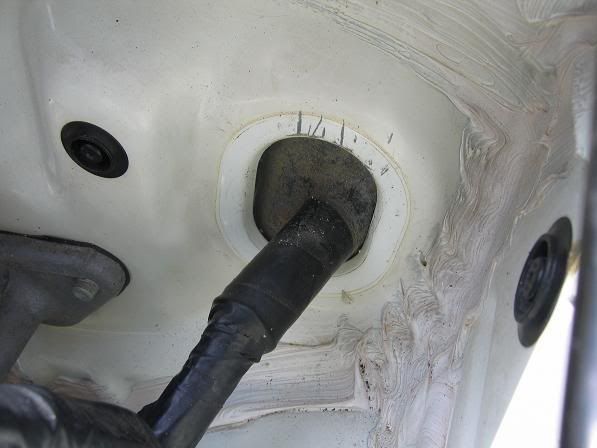
To bring the wire harness back into the car you'll need to remove the grommet by pushing or pulling it from the hole:
Everything fit through the hole to get back into the cabin:
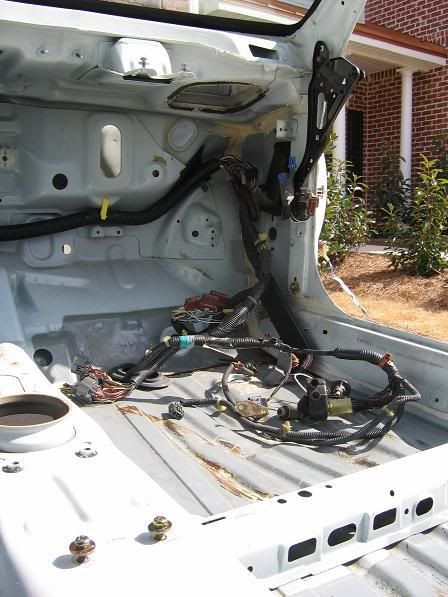
Most likely going to remove this dead weight and rewrap the harness:
Push the drivers side grommet into the cabin and reel the harness in:
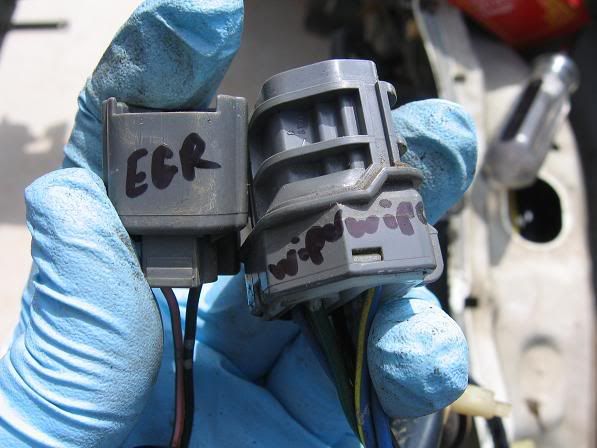
Back of the EGR valves:
I had no intention of removing the brake lines, but after easily breaking the first line.... there was no turning back:
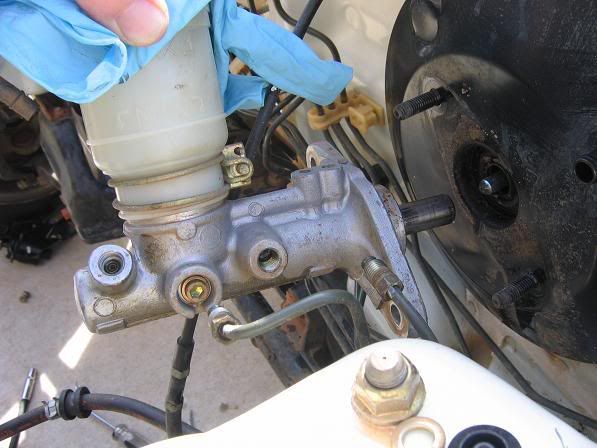
Removing the master cylinder:
I need to figure out how to remove these lines that go to the rear of the car:
How she sits at the end of today:
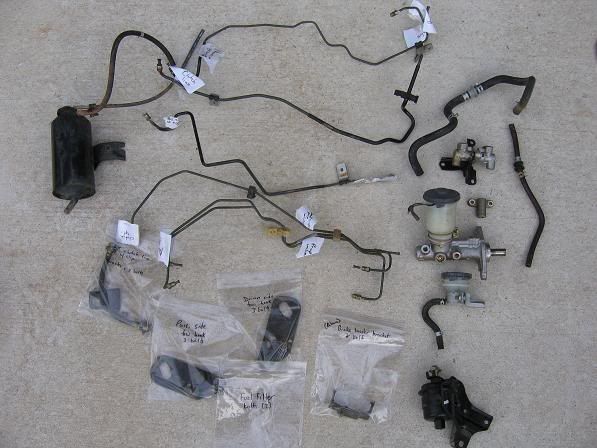
What I removed today (yes the brake lines are labled to where they go):
I didn't get a chance to clean her upGot to get the brake booster out, rest of the lines, and slave cylinder. Then I'll start prepping the bay for paint :
Just crazy!
wow man u are definately a very careful guy. +1 for ziplock bags
dude. i have done these type of work, and props to u for doing it .... i know its alot alot alot of work ... lol....oh btw. the brake lines that goes to the back...u have to remove them from the back then lower the wntire thing....and also when paiting ur bay....remove the cross member and subframe as well....might as well

Keep up the good work.. and keep updating...
lol yeah i can 2nd that... its alot of work... better off just taping off and coving off the lines that run to the rear if you dont want to remove then...ive helped Li a few times and you should drop the subframe when you paint it... it helps you get every last sppot....Originally Posted by _/[)/\/\ __ //_ ][
Thanks for the info guys about removing the lines and subframe
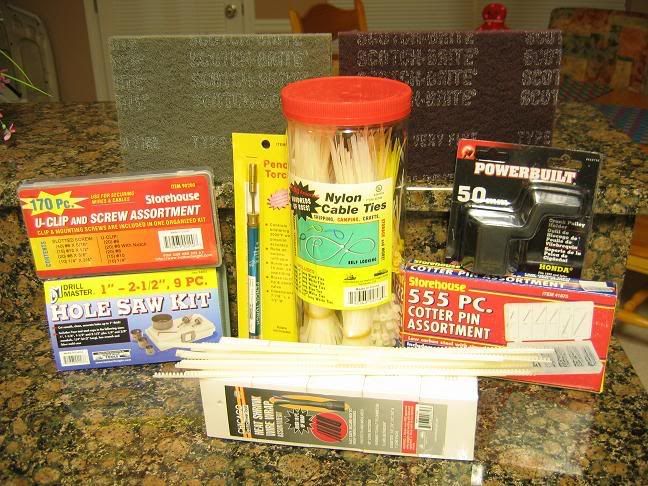
No work since last post, but I did scoop some supplies that should be very helpful:
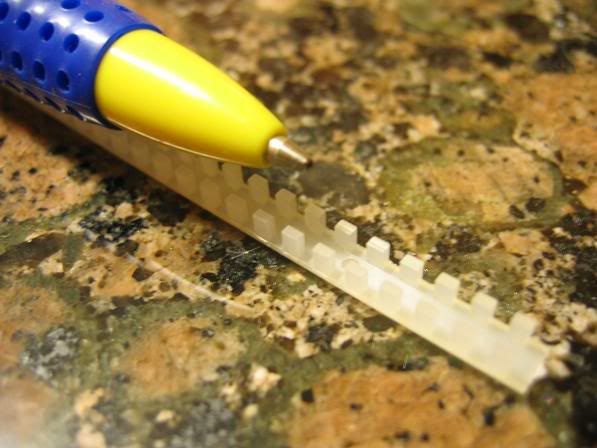
This is what I will be using to keep the metal edges from touching any wiring:
It's called chicken run and comes in 12" pieces. You can see the entire piece(s) sitting on top of the heat shrink from Harbor Freight. The crank pulley tool, chicken run, and scotch pads were picked up from other places (the rest Harbor Freight).
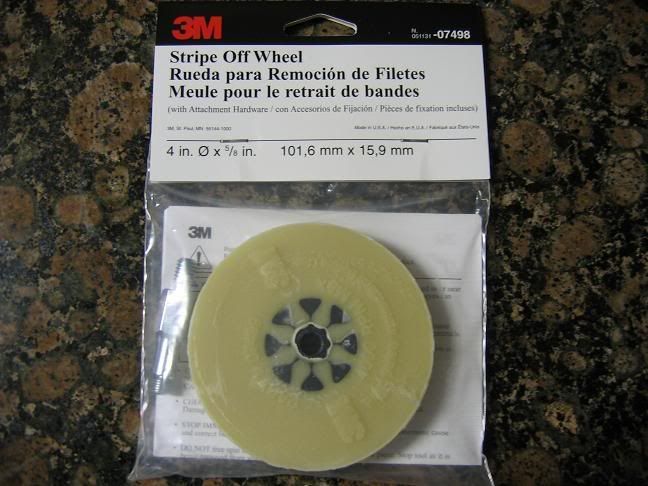
I think I found the solution to door glue removal:
Next up: Karcepts kit cutout and start prepping the interior / engine bay for paint
Thanks again for all the props and help
Nopi Drag Racing NHRA Atlanta Dragway March 29/30! > HERE!

Yeah, I clicked on this thread. My computer froze, I heard the fan kick on, waited for a while then "must shut down application" popped up. So Im back now, but I had to go strait to page 3 in order to tell you: Good work and keep it up!
Hahaha.... sorry about that
Yeah, there are a ton of pics on page 1, lol. Thanks for the props even though you missed most of the work
Nopi Drag Racing NHRA Atlanta Dragway March 29/30! > HERE!

nice stuff keep up the good write up ..
You will never meet a motherfucker quite like me....

i really enjoyed the long DIY. good luck on the project, cause it takes balls and skill to do something of this magnitude. +1

g/l on the build man awsome work
FYCN in a rick james voice

Nice write up, keep it comming, reminds me of my freind s old eg, gsr swap, with gsr interior and dash. Kinda fun, but we forgot where everything went.

Man good job keep up the good work!

Good luck man.. unlike you.. I just went out and bought a K'ed EG. I don't really have the time to do the swap. If you need anything for you car... I can get it 10% over cost. Since I work at a Honda dealership.
nice nice nice

sick! such good work.

nice build thread.. my buddy is about to start a K20 R swap into his Egg..
goodluck
2002 GS300 Sport Design
92 Supra Turbo
97 SC3 RSP/Black NA-T
95 SC3 5spd black intr, VOLK, GREDDY, HKS (sold)
95 SC3 Twin Turbo (sold)

Impressive,

sick... i love your car. i want one too
*subscribes*
this is the first time ive seen meshies on a eg... pretty nice look my friend

that looks clean, wish my car was white.
Black Is Beautiful
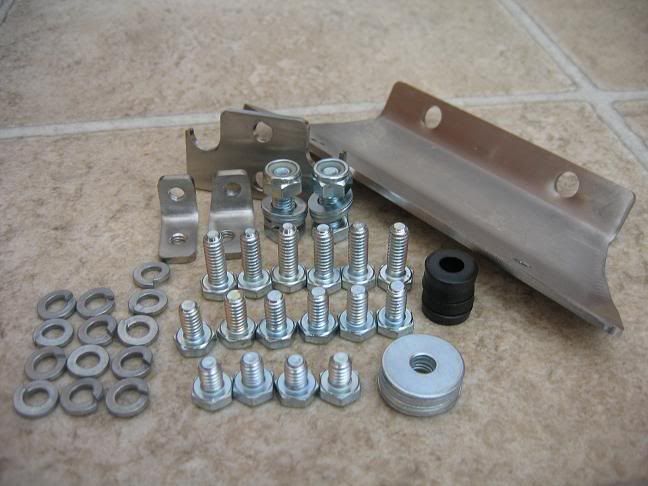
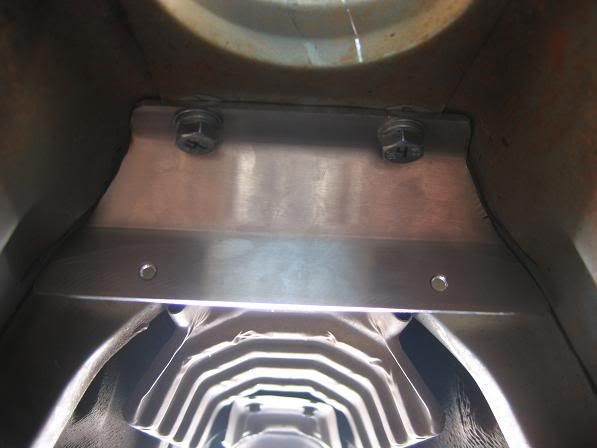
I was hoping to have the Karcepts shifter kit cut out completed by the end of the day. That didn't happen since I ran into a couple obstacles.
Karcept's shift kit hardware:
Make sure the 2 little brackets are correct:
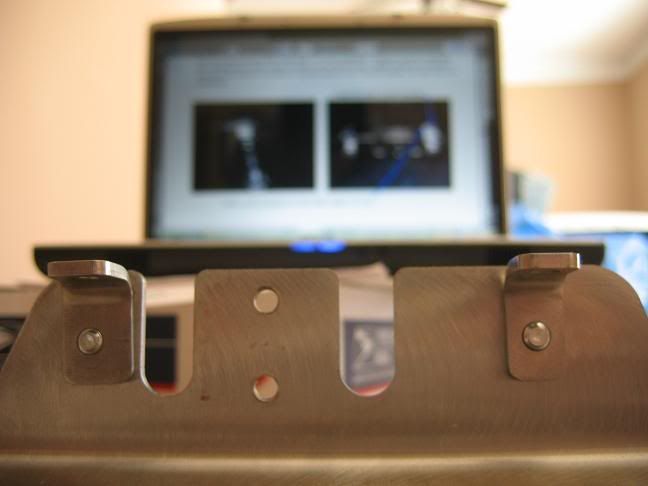
(Note the laptop in the background / it was outside as I worked -- the instructions are about as detailed as you can get
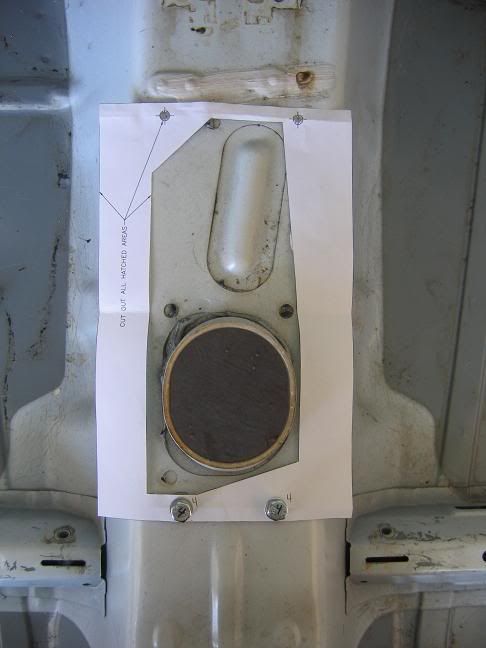
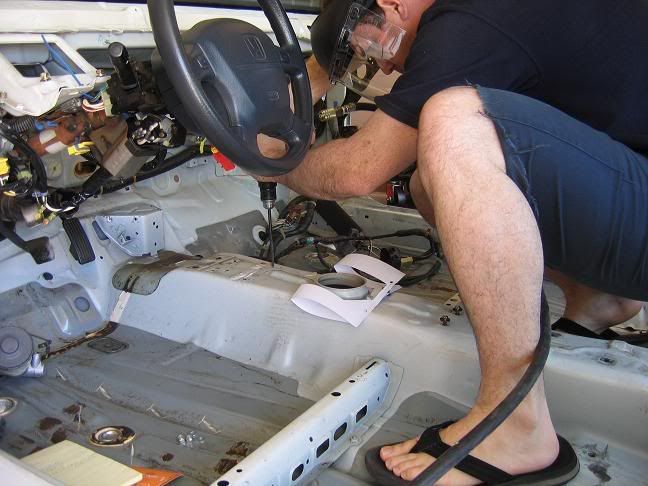
Template mounted and 2 holes marked for drilling:
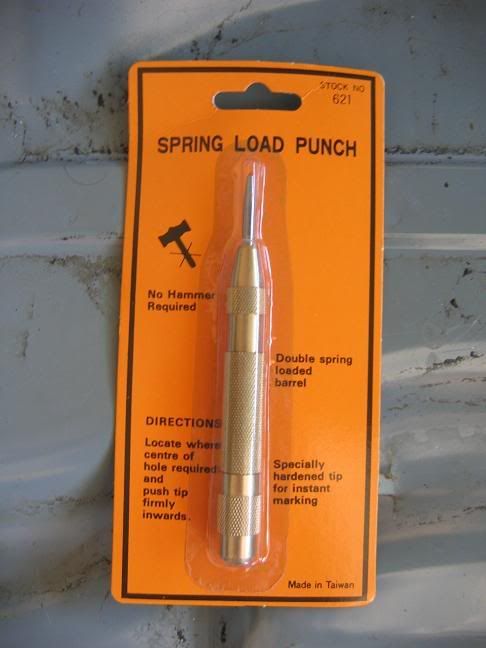
Pop's gave this to me as a X-mas gift as well as a few other Harbor Freight goodies. Awesome punch:
Drilling the holes:
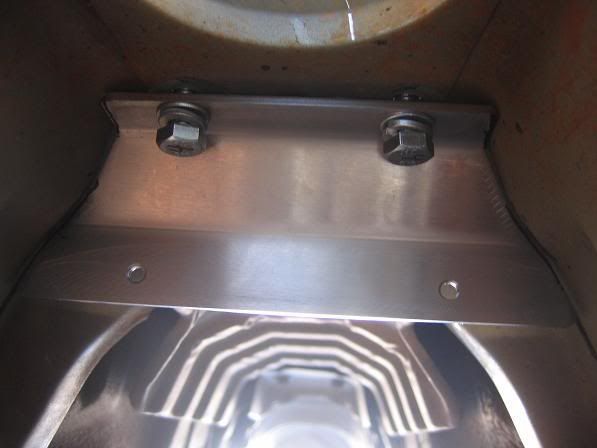
The rear mount bracket was a little wide as you can see in the pic:
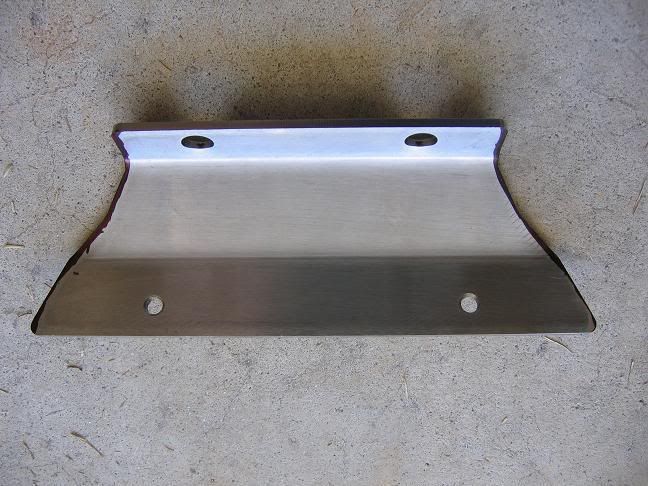
I marked what needed to be trimmed off:
And started trimming with my Harbor Freight polisher/sander (hopefully the neighbors didn't see the camera/tripod when I was taking work in progress pics
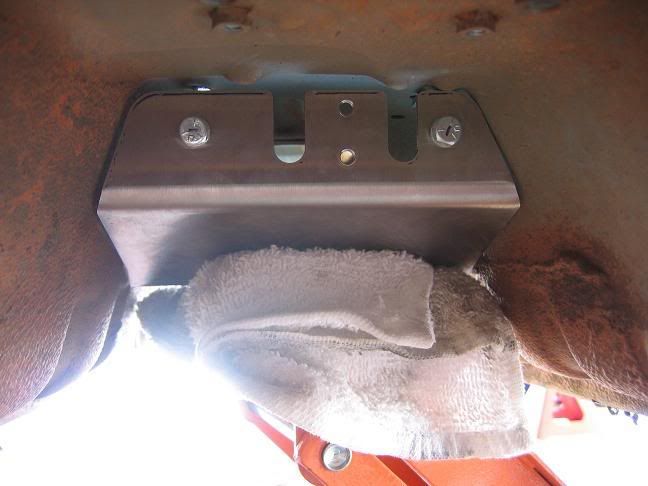
Much better fit:
Not sure if I need to trim some off the right side so the left side will sit flush. Karcepts said the gap should pull out fine once the hardware is installed and tightened down. Great service with Karcepts
Waiting on a router bit to slot the holes. Once slotted I will finish the kit with the cut out.
While waiting I have scrubbed most of the engine bay with a toothbrush. I am going to remove the subframe / steering rack for cleaning/paint + better paint job in bay! Then it's time to start prepping for paint
Thanks again guys for the support
Nopi Drag Racing NHRA Atlanta Dragway March 29/30! > HERE!

bro...this thread is awesome...
mad:reppage:::

I love looking at this thread. Its fucking awesome and so is his work.
Cant wait for more pictures.
Best thread on IA I must say.

incredible work so far! keep us posted.
+1 for you!

Pay me Mcdonald's and Ill help clean the car with a toothbruish.
Should one of the admins sticky this thread... cause the work is almost to perfection....

rediculously meticulous, +1 for jooo mayng

MORE!!!

keep up the good work

---------------------------------------------------------

I demand more! Awesome work man. What are your intentions for the car? Hard parking or you gonna track it some?

damn dude.. keep it up.. cant wait to see it finished..
there i did it.. what'd you think?

Damn that's awesome. How long have you been working on it?

Damn that is a nice ass job! +1
I want to do a wire tuck myself, but i'm still confused what goes where???Also, when you do the wire tuck, can you keep everything except powersteering??? I dont want to have to sacrific basic needs, cause its going to be my daily driver...
Keep it comming!
Trend settin'

oh dang i was hoping to see more...cant wait to see more...

Work DAMMITT WORK!! Great Job doing it right +1 for you and patience...I break clips and lil shit when I get frustrated...
Funny thing is right now my buddy has a 2nd gen Neon he is doing the EXACT same work too for a SRT4 twin turbo swap..(he's alittle further ahead but has help..sometimes) and the dry ice and removing windows (intact to make templates for lexan) is a bitch. TIP use to people one inside car one out with each holding onto a piece of welding wire and go back and forth the hole way around the windows to remove in one piece to make templates for the light weight lexan
Thanks so much for the props and all the +1's..... and I have not even got into the good stuff yet (motor) haha..... I should be getting a motor within a few weeks. Waiting on the tax return.
Is that TT SRT4 local as well?? I'd like to see it
On to some work from Nov 2006.....
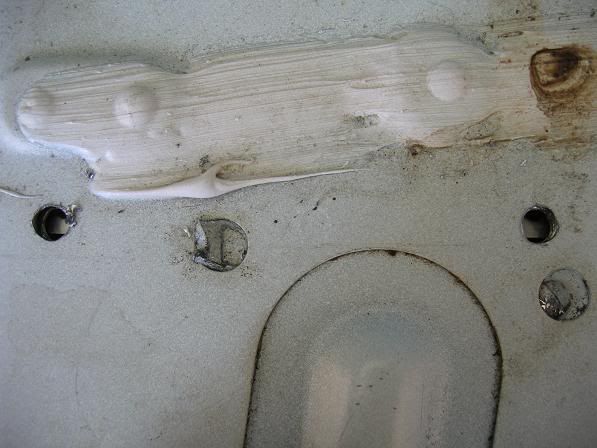
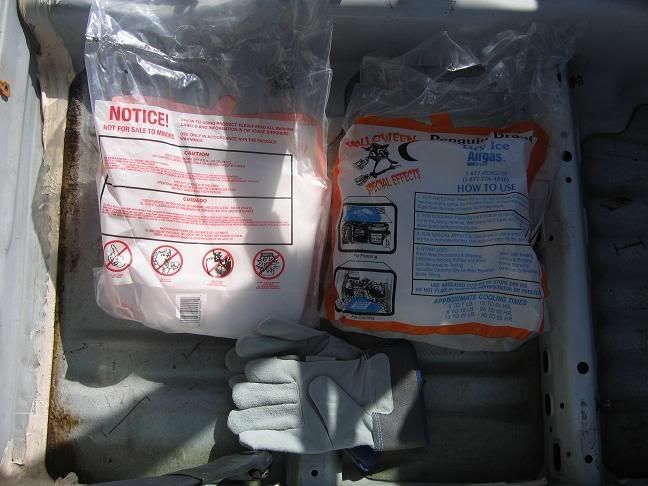
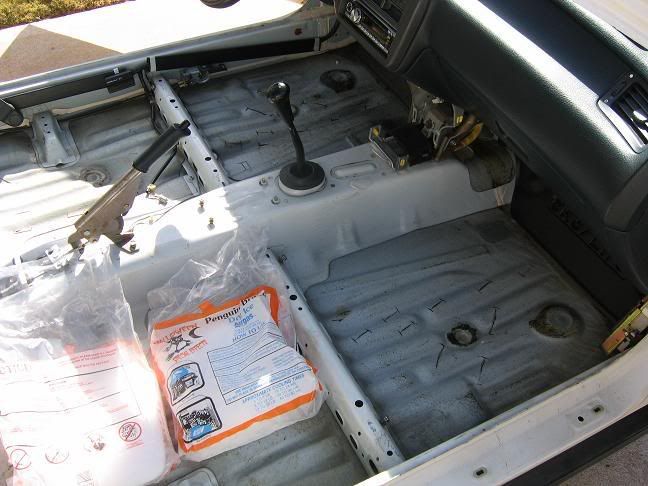
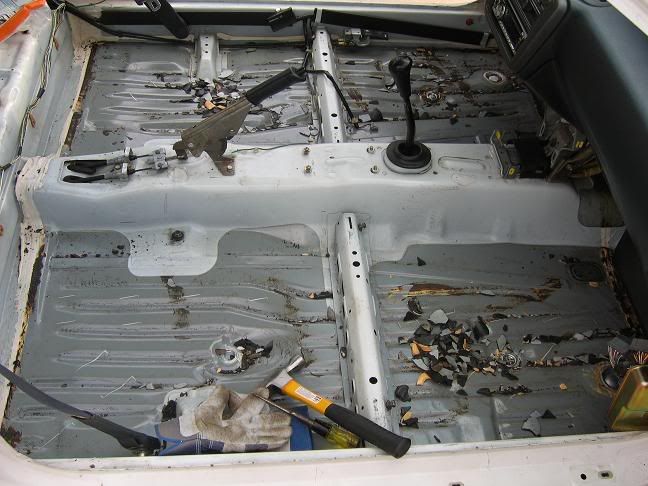
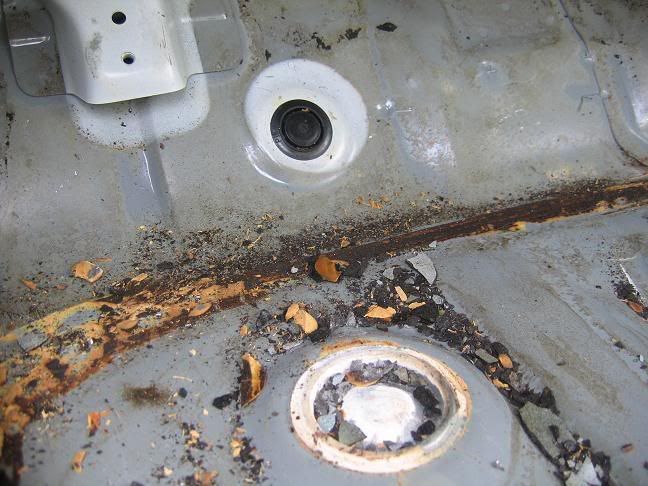
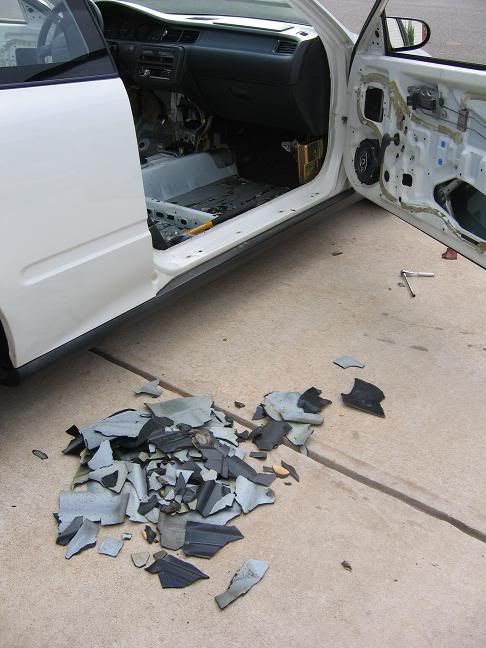
Here is some pics when I removed the sound deadning material back in November 2006:
Is it ok to remove the brown glue or is that a sealer? Should I just clean it up really well, hit it with some sand paper lightly, and paint over it?? (Pic below)
Pass side removed:
Turned out to be like 9-11 pounds.
Nopi Drag Racing NHRA Atlanta Dragway March 29/30! > HERE!
 Posting Permissions


 Reply With Quote